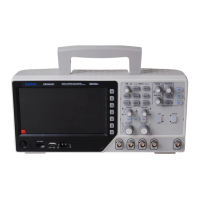
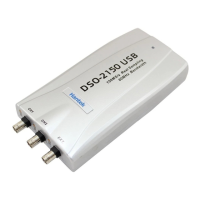
DSO4000 Series Digital Storage Oscilloscope 3
: This icon lights up only when the USB slave interface is connected with the computer.
6. Main Time Base Window
7. Display of window’s position in data memory and data length.
8. Window Time Base
9. Operating Menu shows different information for different function keys.
10. Readout shows frequency count.
11. Readout points out horizontal waveform position
12. Trigger Type:
: Edge trigger on the rising edge.
: Edge trigger on the falling edge.
: Video trigger with line synchronization.
: Video trigger with field synchronization.
: Pulse Width trigger, positive polarity.
: Pulse Width trigger, negative polarity.
13. Pop-up Prompt
14. Readout tells trigger level.
15. Icon indicates whether the waveform is inverted or not.
16. 20M Bandwidth Limit. If this icon lights up, it means the bandwidth limit is enabled, otherwise
disabled.
17. Icon indicates channel coupling.
18. Channel Marker
19. Window displays waveform.
1.2 Functional Check
Follow the steps below to perform a quick functional check to your oscilloscope.
1.2.1 Power on the oscilloscope
Plug in the oscilloscope and press the ON/OFF button. Then push the “UTILITY ->F6 ->F6 ->
F6->DEFAULT” button. The default Probe option attenuation setting is 10X.
1.2.2 Connect the oscilloscope
Set the switch on the probe to 10X and connect the probe to Channel 1 on the oscilloscope. First,