8
H2-Kit only / H2- Separate items
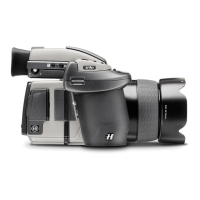
If your new H2 was supplied in kit form, you will only need to insert the camera
batteries to make it useable immediately. After completing steps 1- 4, you can go
straight to 6-7 and 9-10 (marked in red) and then directly to the section after step
17 to activate the camera.
(Please note:
if you want to use a rechargeable battery pack
immediately, please see separate instructions under the ‘Camera Body’ heading for use
and then go straight to step 4).
If, however, the equipment was supplied as separate items, you will need to follow
the whole sequence for full assembly and use.
1. Remove the battery holder from the grip by depressing
the battery holder button and simultaneously swinging
the battery holder retaining lever down until it stops. Pull
battery holder downwards.
2. Depress the red button on the battery holder until the
battery cassette is released. Withdraw the cassette from
the holder.
3. Load three CR-123 Lithium batteries into the cassette, en-
suring the polarity of each battery is correctly oriented
(see the ‘+’ markings on the cassette). Re-insert the cas-
sette into the battery holder, ensuring the red button
clicks back into its retaining position.
4. Holding the battery holder flat against the grip and align-
ing the two upper lugs with the slot in the grip, slide it
back into position as far as it will go. Swing back the bat-
tery holder retaining lever until it clicks back into place.
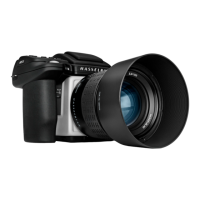
5. Remove the front protective cover from the camera body by
keeping the lens release button depressed and rotating the
cover counter-clockwise until it is released.
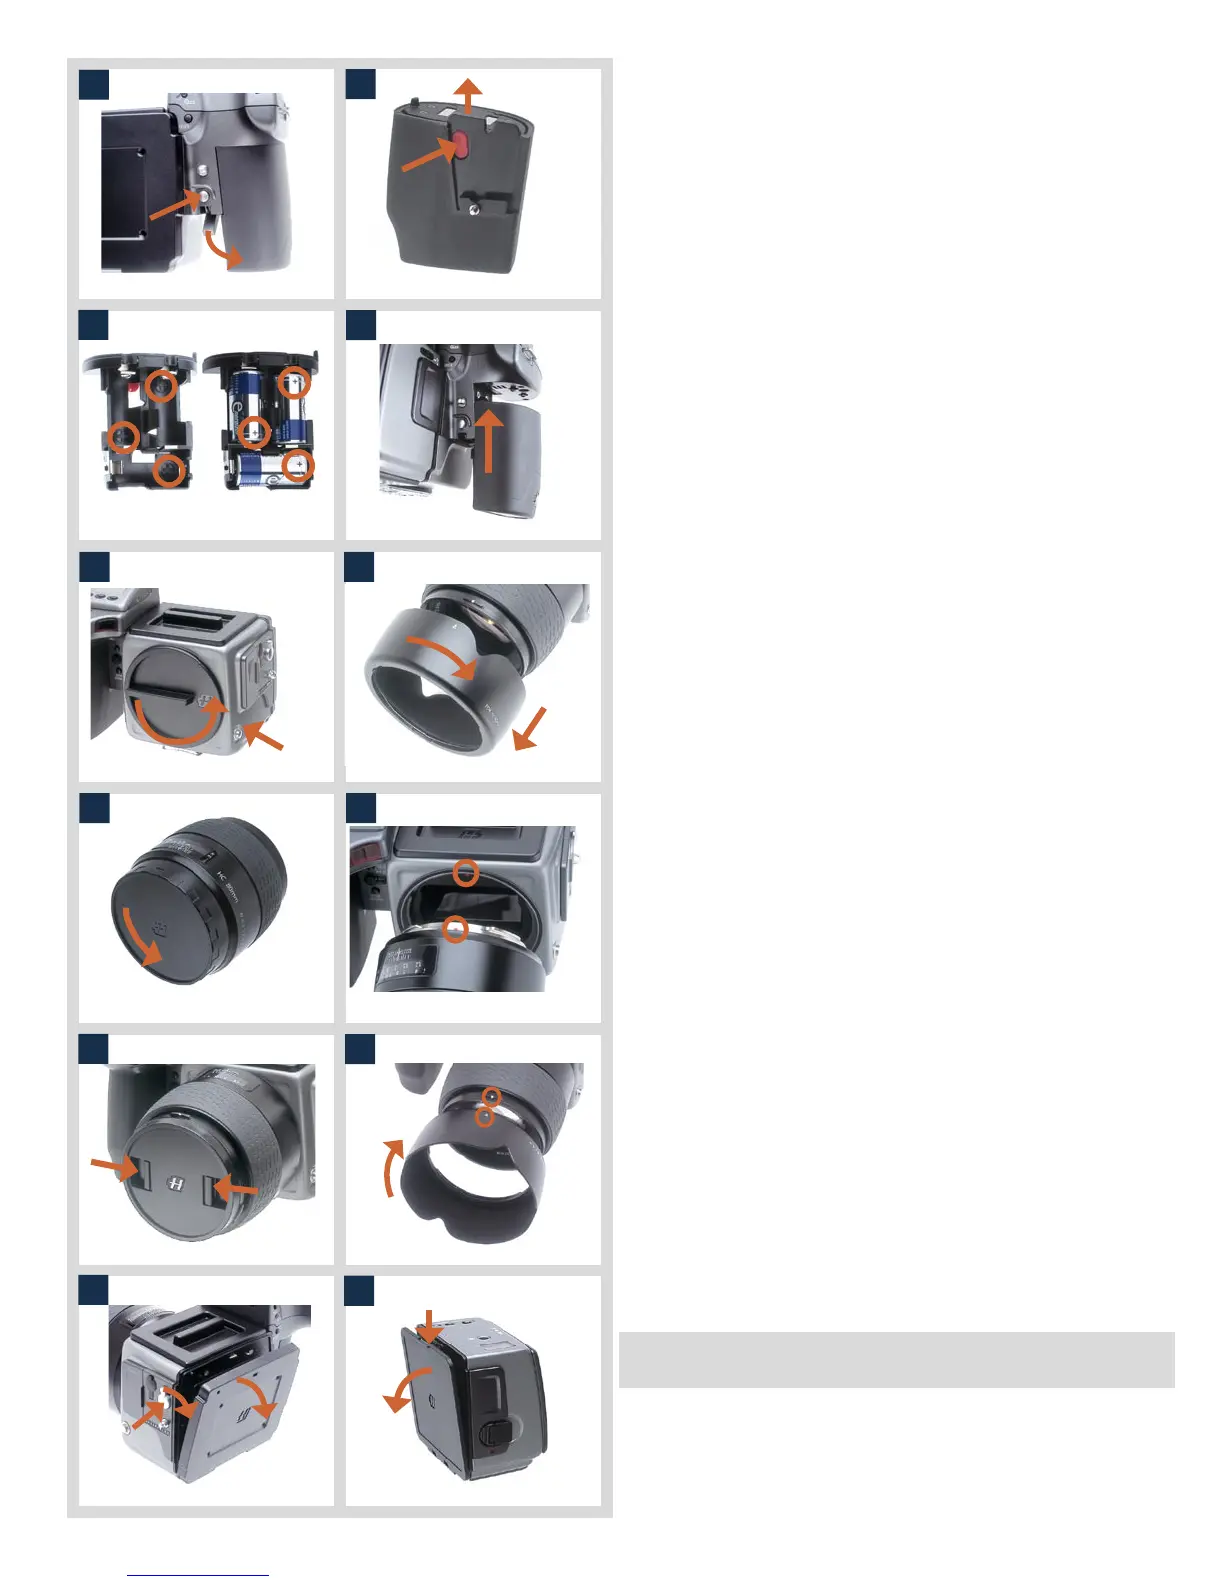
6. Remove the lens shade by turning it clockwise.
7. Remove the rear lens cap by unscrewing it in a counter-
clockwise direction.
8. Attach the lens to the camera body by firstly aligning the red
index on the lens mount with the red index on the camera
mount. Grip the lens by the metal barrel (not the rubber
focusing ring) and turn it approximately one quarter turn
clockwise until it clicks into place.
9. Remove the front lens cap by pinching together the two
retaining clips.
10. Attach lens shade to lens by aligning the indexes and turn-
ing the shade clockwise a quarter turn.
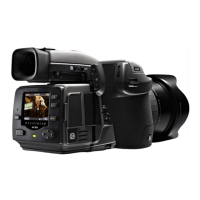
11. Remove the rear protective cover from the camera body
by pushing the magazine retaining latch to the right and
inwards simultaneously.
If you decide to attach a digital back instead of a film magazine at this point,
please check with the appropriate user manual for details.
12. Remove the protective cover from the film magazine by
placing your thumb on the upper recess and pulling the top
of the cover away from the magazine. Push downwards on
the cover to release the lower catch on the cover from the
magazine retaining bar.
2
1
2
1
1
2
1
2
3
4
5
6
7
8
9
10
11
12