30
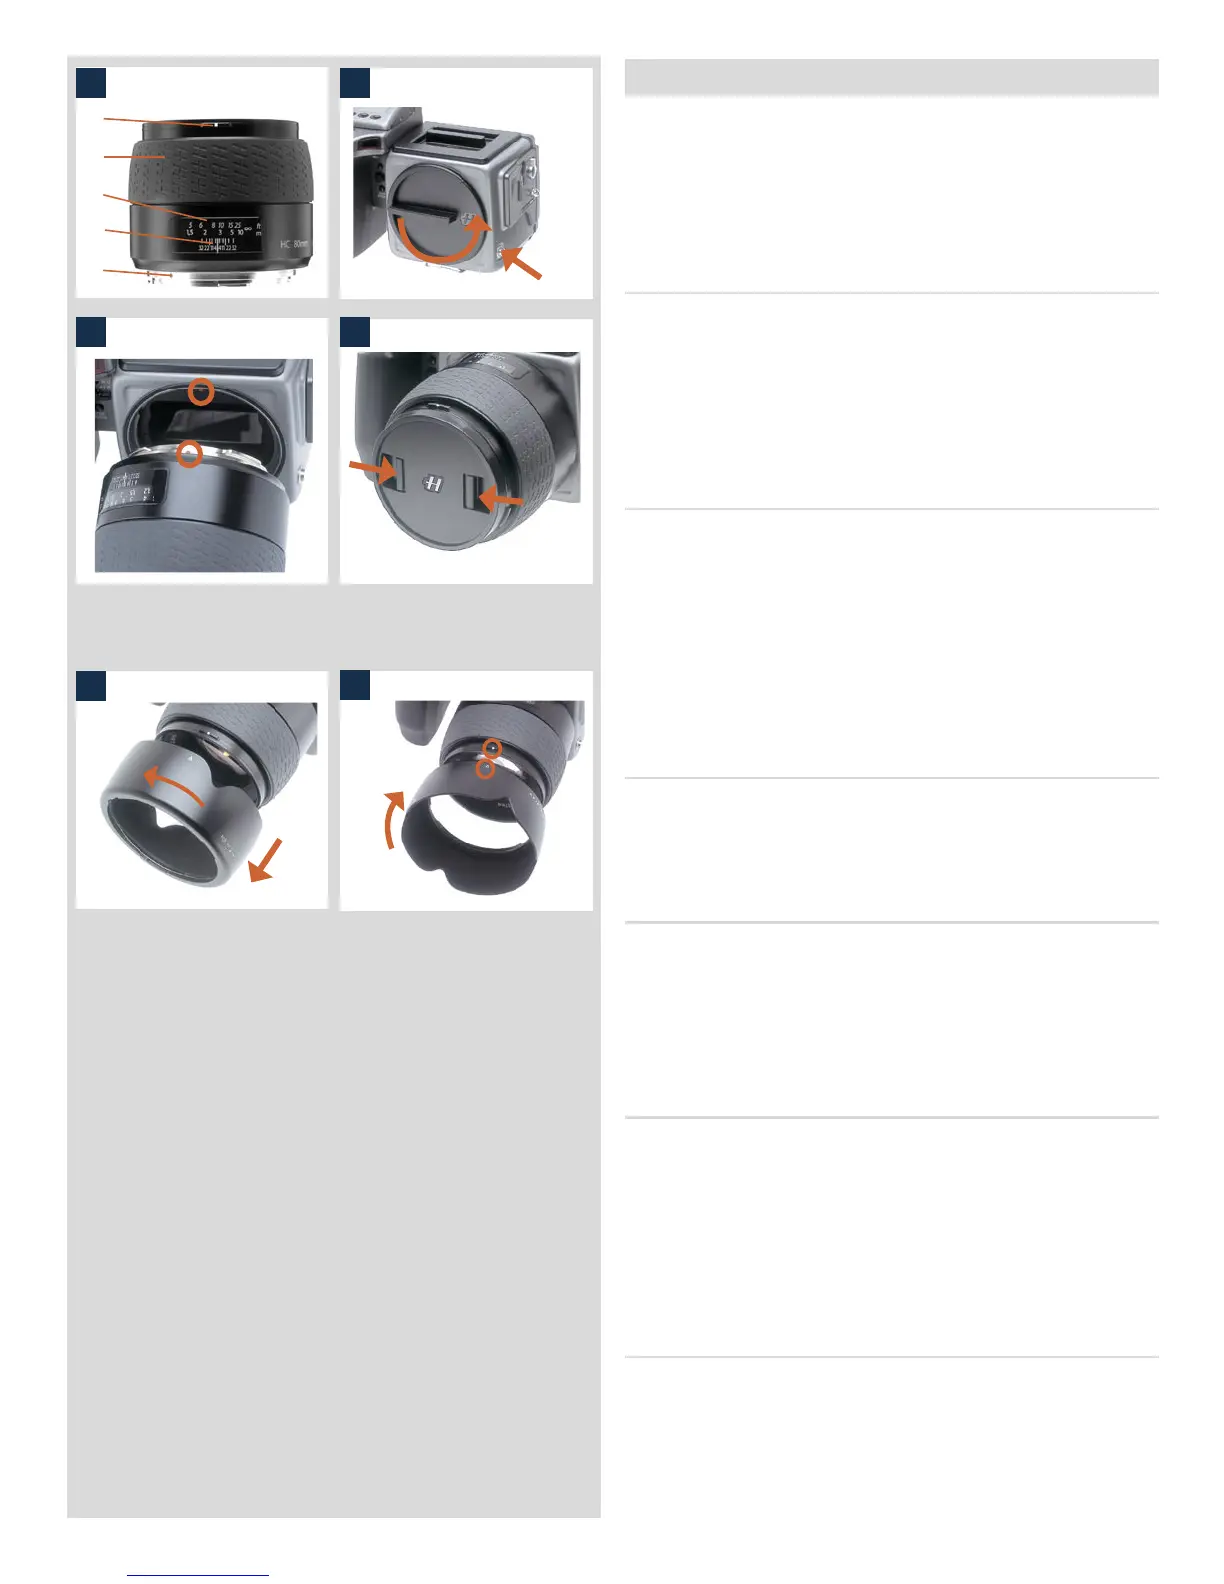
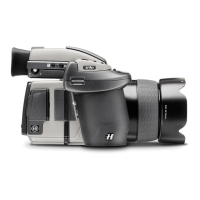
Parts and components 1
A. Lens shade index
B. Manual focus ring
C. Focusing distance scales
D. Depth-of-field scales
E. Lens index
Attaching a lens 2, 3
Remove the front protective cover on the camera body by depressing
the lens release button and keeping it depressed while turning the
cover counter-clockwise. Remove the rear lens cap by unscrewing
it in a counter-clockwise direction. Align the index on the lens
with the index on the camera body and rotate the lens clockwise
(bayonet fitting) until it clicks into place.
Removing a lens
Depress the lens release button and keep it depressed while rotat-
ing the lens counter-clockwise until it stops and li it out. Replace
protective caps on the lens immediately and on the camera body
if necessary.
If you try to rotate the lens before you press the lens release button,
it might lock. In this case, rotate the lens clockwise a little first
and then re-attempt removal with the correct procedure: button
first, then lens.
Front lens cap 4
Front lens caps are released for removal and attachment by insert-
ing a thumb and index finger into the recesses and pinching in the
direction of the arrows.
Filters
Filters have a screw thread fitting (67 / 77 / 95 mm, according to
lens) and are screwed clockwise into place. As there is no rotation
of the front section of the lens when focus is changed, filters do not
rotate either. is is particularly useful when using polarizing or
graduated filters where the orientation is normally critical.
Lens shades 5, 6
All lenses are supplied with lens shades that additionally pro-
vide extra protection for transport and storage when mounted
in reverse. Lens shades have a bayonet fitting and are turned
clockwise into place aer ensuring the index on the lens shade
aligns with the index on the front of the lens. When mounted in
reverse, they are attached by matching the indexes and turning
counter-clockwise.
Shutter and aperture control
Both the shutter and aperture are electronically controlled and are
adjusted by the control wheels on the grip. ere are no separate
manual setting rings on the lenses or camera body.
e chosen settings are displayed both on the grip LCD and in
the viewfinder LCD. See the ‘Exposure Control’ chapter for a
complete explanation.
6
5
4
3
21
A
B
C
D
E
2
1