55
White Bal. Setting Setting description
Daylight For general outdoor use in direct sunlight.
Cloudy For general outdoor use in cloudy weather.
Shade For general outdoor use in shady locations out of direct sunlight.
Flash For general indoor use when using a normal ash/strobe system.
Fluorescent For use when using uorescent lighting (strip lights).
Tungsten For use when shooting indoors under standard tungsten/B lamps.
Manual For a manual setting
There are seven ‘White Balance’ settings to choose from.
2a
3a
1
1
4a
1a
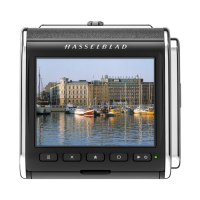
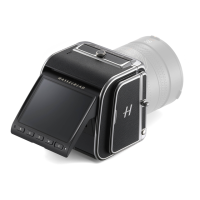
White balance / Grey Balance
ere are several ways to make a white/grey balance adjustment.
When untethered on location you might prefer to make a quick
preset adjustment setting at the same time that you check the
ISO and Media settings. Tethered in the studio you might prefer
to take the rst shot of a grey scale and make the adjustment in
FlexColor for that session. Alternatively, you might want to as-
sign the User Button as a rapid white balance check in a mixed
lighting situation.
Please note that white balance settings are for your viewing
convenience only. They in no way aect the raw le which
remains ‘neutral’ awaiting further processing.
To select a preset white balance:
1a. Press the
MENU button on the digital back.
2a. Use
and to select the White Bal: sub-menu.
3a. Use the
or button to step through the available
choices until the one you want is shown.
4a. Either move on to another setting by using the navigator but
-
ton or press the MENU button to exit the menu system and
keep your setting.
To make a manual white balance setting:
1a. Choose
MAIN MENU > White Bal > Manual.
2a. Use the
button to call up the ‘Manual White Balance’ screen.
3b. Here, you can adjust the color temperature to a specic
numeral setting in degrees K with the or buttons.
Alternatively, you can position the central spot in the view
-
nder over an area that you consider should be rendered as
neutral in color in the image (a ‘grey card’ or even a sheet of
white paper is ideal) and make a test exposure (ensure the
exposure is approximately correct otherwise you will get a
warning message). A small rectangle appears on the OLED
marking that particular area. Calculations then take place
automatically so that the following shots use the area chosen
as the new ‘white balance’ standard. Using this method you
can also read o the screen what the color temperature of the
light source has been judged to be in degrees Kelvin.
4a. Press the
MENU button to exit the menu system and keep
your setting.
New settings are retained even when the camera has been
turned o and re-activated, so don’t forget to make new set-
tings when required.
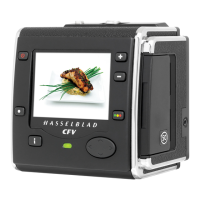
Color temperature can be set
manually or read o after a
test exposure.
3b
 Loading...