35©HBS Bolzenschweiss-Systeme GmbH & Co. KG
All rights reserved – Reprinting, in whole or in part, only with the approval of the manufacturer
12 Welding
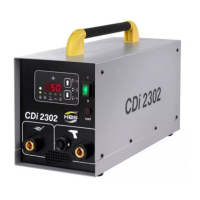
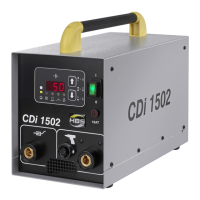
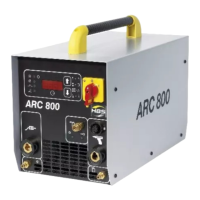
12.1 Switching on the Stud Welding Unit
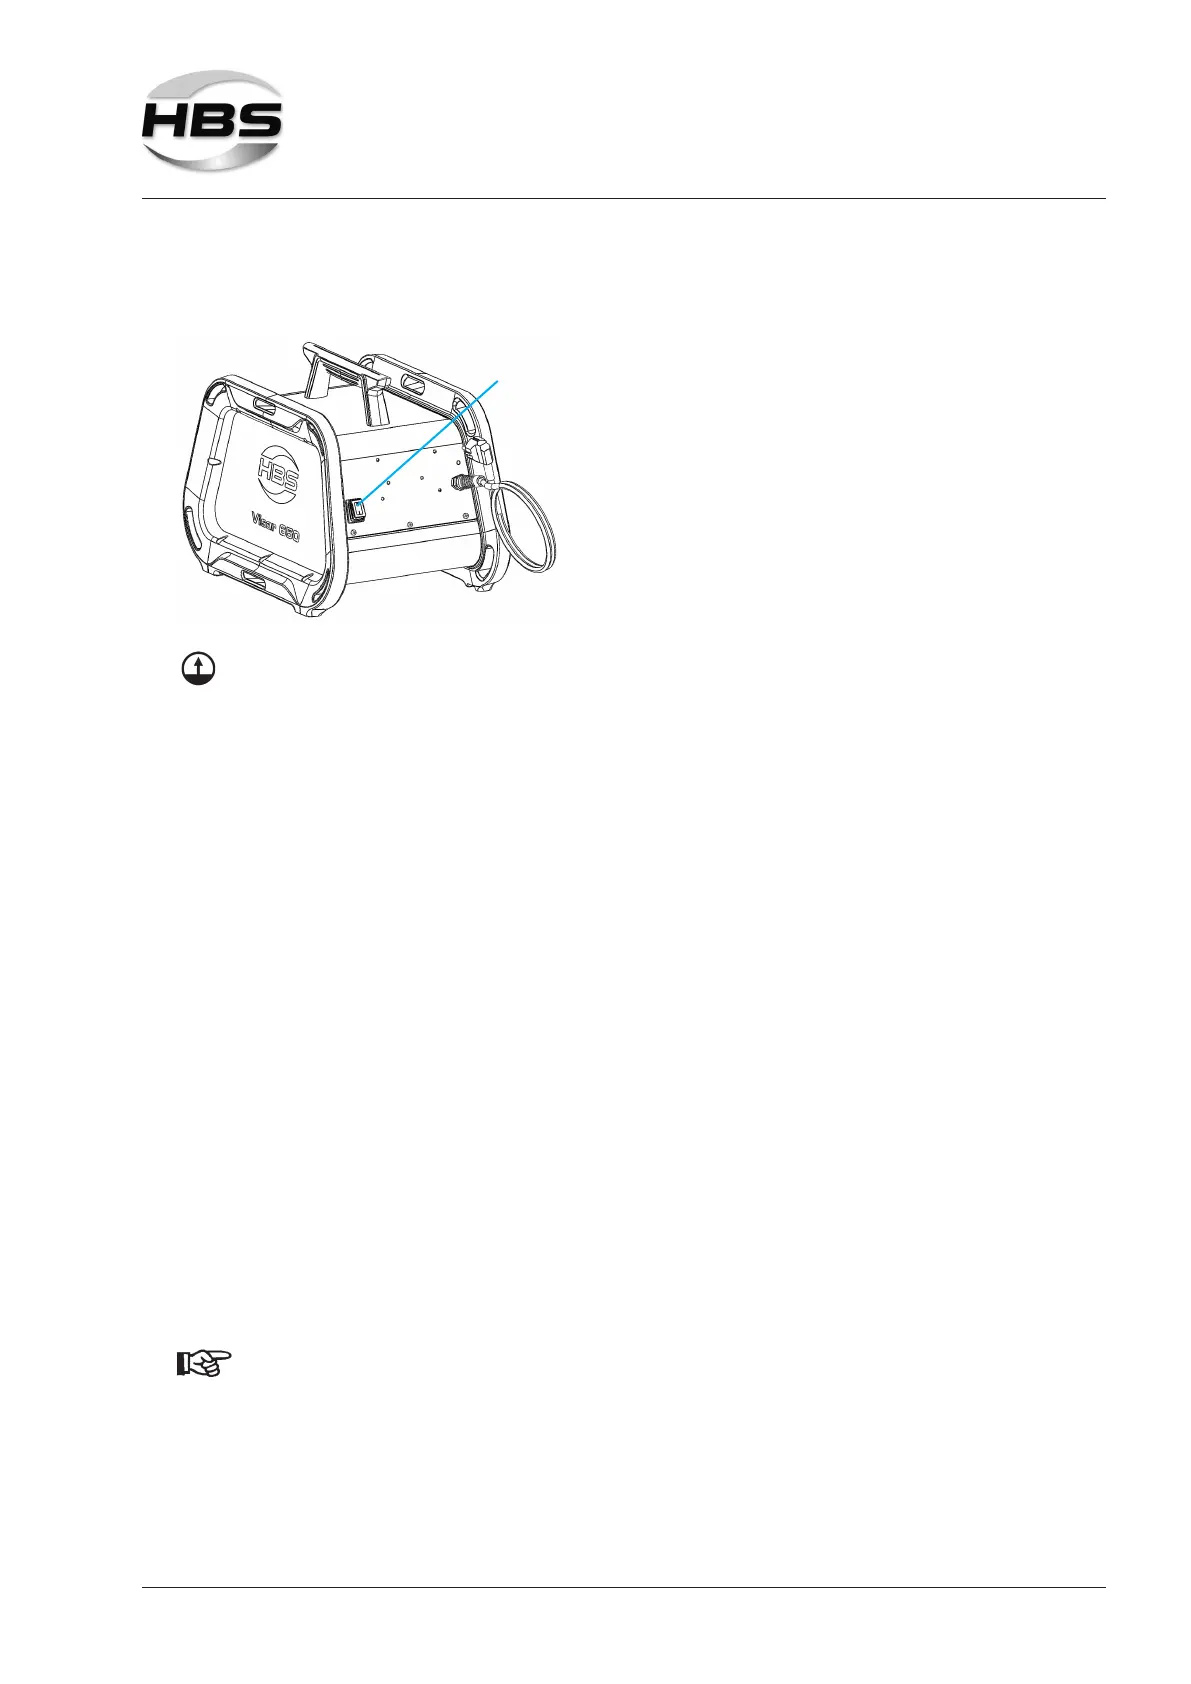
1
1 - Mains switch
Only now switch on the stud welding unit
at the mains switch (1).
Yellow Flashes quickly for approx. 10 s after switching on the stud welding
unit. The welding capacitors are being charged.
Flashes slowly after switching on and system starting up and in the
event of long unuse (sleep mode).
End sleep mode by
– actuating the welding gun start button or
– placing the stud welding gun on the workpiece.
Lights up when the stud welding unit is ready for welding. The welding
capacitors are fully charged.
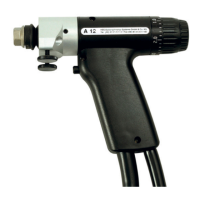
12.2 Determining the Welding Time and the Welding Current
Determination of welding time and welding current at the stud welding unit depends
i.a. on
– the stud welding gun used,
– the material of the welding element,
– the diameter of the welding element,
– the material of the workpiece.
Determine welding time and welding current to be set at the stud welding unit using
the following tables.
The gures in these table are indicative values and must be checked by
means of a test welding on the original material with the same proper-
ties as the original workpiece.