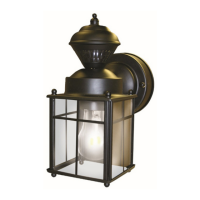
OPTIONAL WIRING
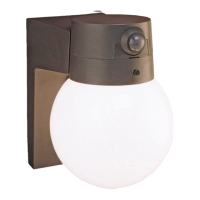
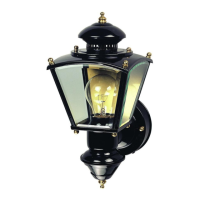
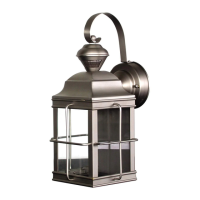
This fixture is provided with a sensor rated for 500 Watts. Since the fixture is only rated 60 Watts, 440 Watts of additional lighting may
be controlled by this sensor.
When determining what a fixture is rated for, do not simply look at the rating on the light bulb in the fixture. Look at the marking which
specifies the maximum bulb wattage for which the fixture is suitable. Once you have selected the fixtures to be connected and
determined their maximum ratings, add these ratings up. For instance, if you have 3 fixtures rated 60 Watts, 150 Watts, and 100 Watts
respectively, you have a total load of 310 Watts.
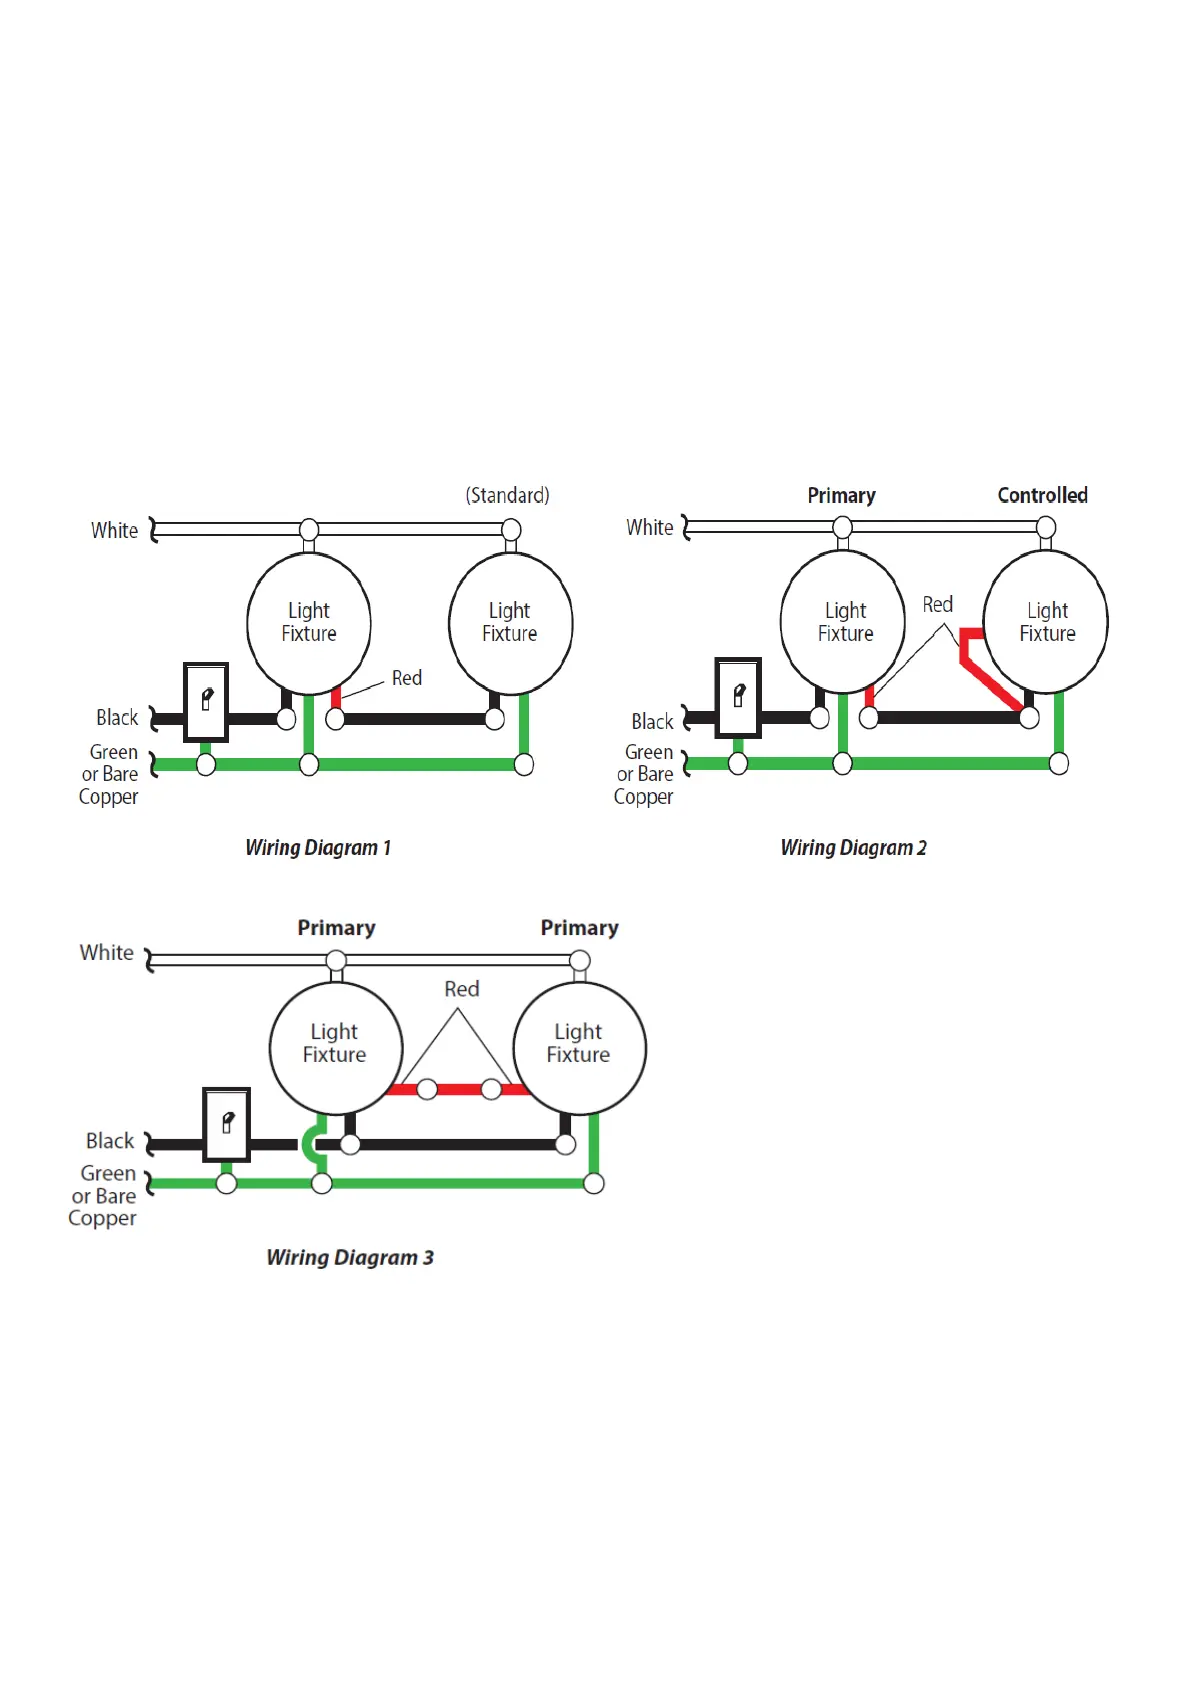
Wiring Diagram 1 – When wiring to control a standard light fixture: Strip the motion sensor’s red wire and connect to the standard
light’s black wire. Connect all white wires together. Total fixture ratings must not exceed 500 Watts (4.1 A).
Wiring Diagram 2 – When wiring to control another motion sensing light fixture (Primary / Controlled): Strip the red wire in both light
fixtures. Connect the red wire of the controlling (Primary) fixture to the red and black wires of the controlled (Controlled) fixture. Connect
all white wires together. Total fixture ratings must not exceed 500 Watts (4.1 A).
Wiring Diagram 3 – When wiring so either motion light turns on the both motion lights (Primary / Primary): Strip the red wire in both
light fixtures. Connect the red wire of one fixture to the red wire of the second fixture. Note: In most installations, an additional wire
(same gauge as existing house wire) will have to be installed in the house to connect the two fixtures as Primary / Primary. Connect all
white wires together and all black wires together. Total fixture ratings must not exceed 500 Watts (4.1 A).
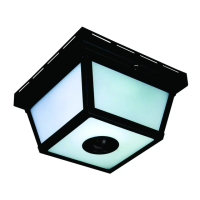
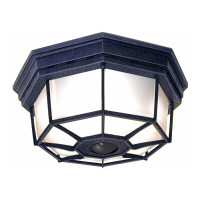
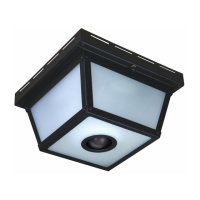
MOUNTING THE LIGHT FIXTURE
1. Make sure wire connectors and wires are inside the junction box.
2. Slide the fixture assembly onto the mounting screws. Tighten decorative nuts removed in step 1 of Light Fixture Installation section
 Loading...