EasyManua.ls Logo

Heath Zenith SL-6153 User Manual

Heath Zenith SL-6153
16 pages
To Next Page IconTo Next Page
Page #1 background imageLoading...
Page #1 background image
Battery
Battery
Battery
© 2003 DESA Specialty Products™ 595-5611-05
Your doorbell includes (Product style of button and chime may vary from
illustrations):
Doorbell chime
Doorbell button/transmitter (model 6162 includes 2) w/battery
Hardware pack
You'll need to buy 3 "D" alkaline batteries for the chime. In typical use,
alkaline batteries will last up to three years.
Chime
Volume
3. Before mounting, test the doorbell range.
Put the chime where you want to mount it
and temporarily place the doorbell button on
the doorjamb. Press the doorbell button.
2.Install the 3
alkaline "D"
batteries.
Make sure
the batteries
are oriented
properly.
Operation
Press the doorbell button to verify that the doorbell and chime work
properly. If the chime does not sound see the Troubleshooting guide on
page 4.
SL-6153/62/71/72
Wireless Doorbell
1.To open the chime case: press
in the catch on the bottom of the
chime and lift the case open.
4. Mount the doorbell button and chime.
Use either screws or double sided tape to
mount the doorbell button.
To mount with screws, remove the back of the
case by pushing in the tab on the bottom with
a small screwdriver.
Question and Answer IconNeed help?

Do you have a question about the Heath Zenith SL-6153 and is the answer not in the manual?

Heath Zenith SL-6153 Specifications

General IconGeneral
Power SourceHardwired
Light SourceLED
Adjustable HeadYes
Mounting TypeWall Mount
Weight2.2 pounds
Weather ResistanceYes

Summary

Installation and Operation

Open Chime Case

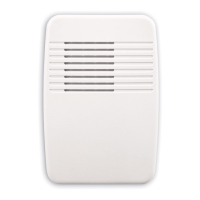
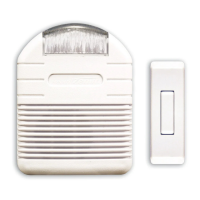
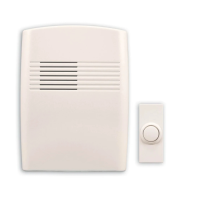
Press the catch on the bottom of the chime and lift the case open to access internal components.

Install Batteries

Install three "D" alkaline batteries, ensuring correct orientation for proper function.

Test Doorbell Range

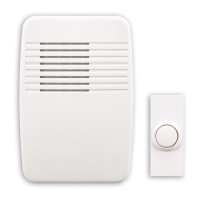
Before mounting, test the doorbell range by placing the chime and pressing the button.

Mount Doorbell Button and Chime

Mount the doorbell button and chime using screws or double-sided tape.

Verify Operation

Press the doorbell button to confirm the chime and button are working correctly.

Code and Tune Settings

Code Settings

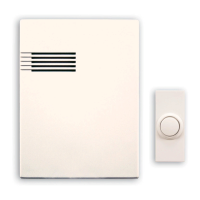
Adjust jumpers on button and chime to set a unique code for interference prevention.

Tune Settings

Select from three available tunes (Ding, Ding-Dong, Westminster) by adjusting jumpers.

Doorbell Button Battery Replacement

Troubleshooting

Chime Does Not Sound

Check codes, battery orientation, and battery condition if the chime fails to sound.

Chime Does Not Work When Installed

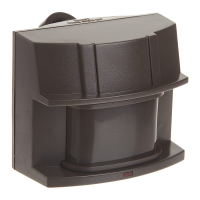
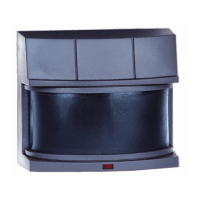
Avoid mounting on metal; use shims or reposition chime/button to improve range.

Technical Service

Contact Information

Details for contacting support via website, phone, or mail for assistance.

No Service Parts Available

Note that no replacement parts are available for this product.
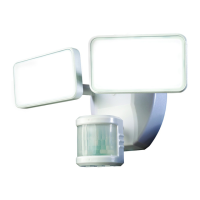
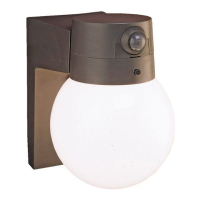
Regulatory Information

Five Year Limited Warranty

Related product manuals