13
Wireless Series
Pairing With the UH8-RF Wiring Centre
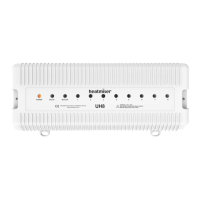
Take note of the numbers set on the rotary switches (UH8-RF ID numbers 01-99).
Each UH8-RF on the system needs to have a different ID number.
Set your first UH8-RF to 01
Example: Rotary Switch showing ID No. 99.
Step 1, On the UH8-RF
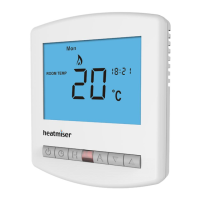
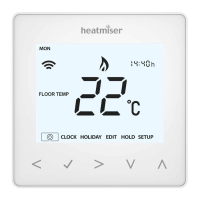
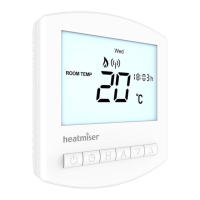
Step 2, On the Slimline-RF V3
•
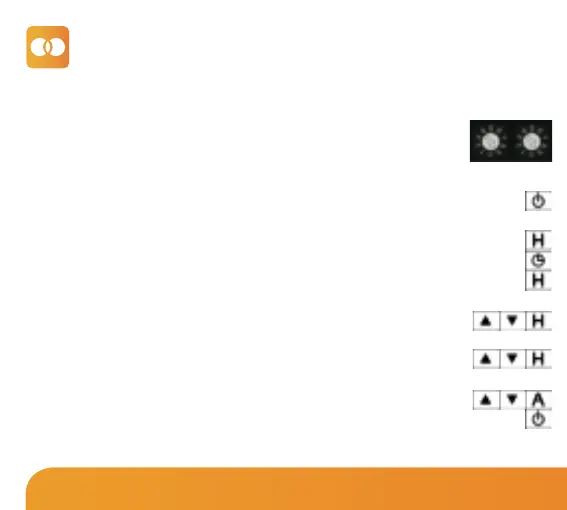
Turn Off the thermostat by, holding down the Power button for 3 seconds.................
• Now hold down the H button for 3 seconds unit you see P1 in the top right hand
corner of the display...........................................................................................................................
• Press the Clock button once to change P1 to P2 on the display........................................
• Press the H button once to enter P2 settings............................................................................
• Use the Up/Down keys to change the large digits to match the Rotary Switch on
the UH8-RF followed by H...............................................................................................
• Use the Up/Down keys to change the small digits (top right) to select a
Zone number on the UH8-RF, followed by H...........................................................
• Use the Up/Down keys to select either “rA” for radiator zone or “UF” for
underfloor heating, followed by A to store configuration..................................
• Press the Power button on the thermostat once to turn the unit back On......................
If in mode 02, the hot water timer will automatically be paired to the HW channel.