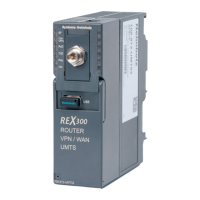
Quick Start Guide REX 3006
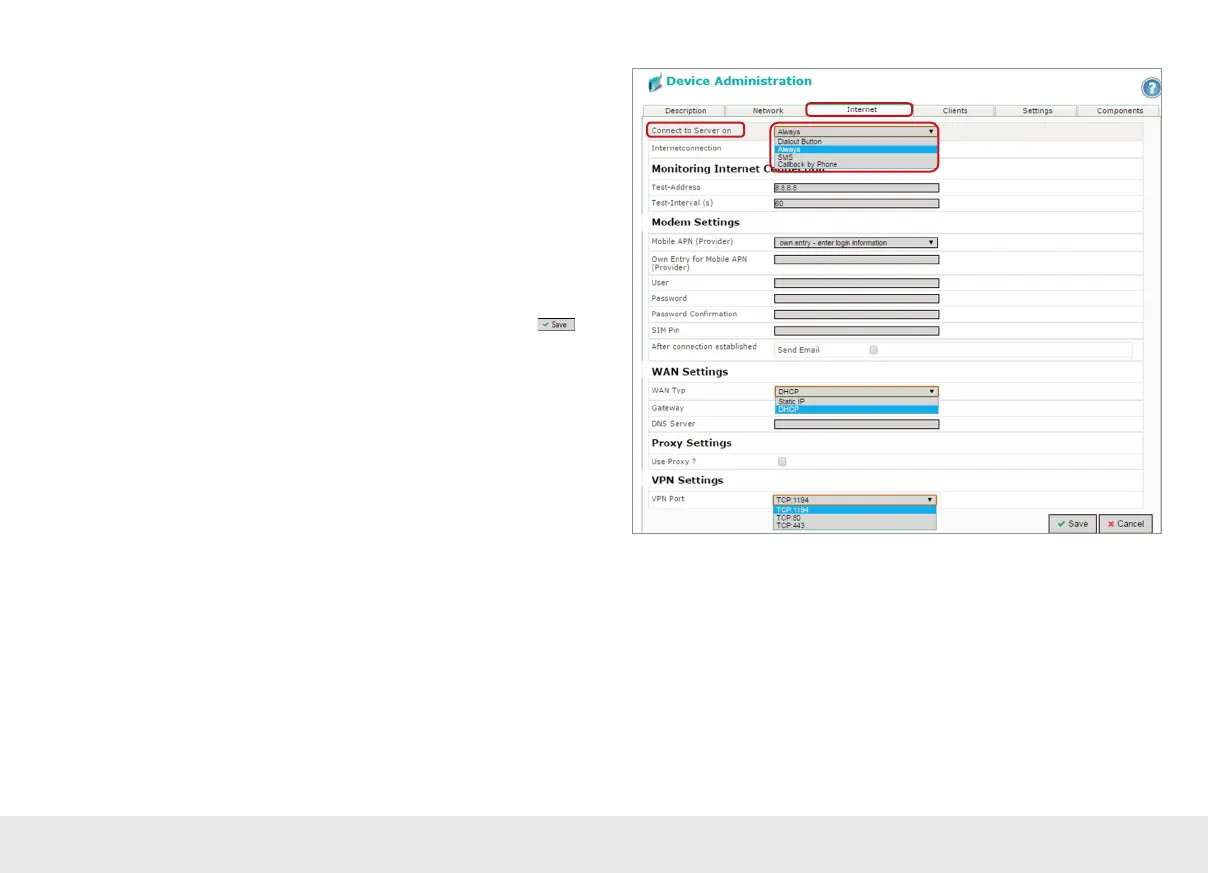
Under „Connect to server on“, select the actions with which this device should con-
nect to your myREX24 account. Depending upon the device version, you must carry
out corresponding adjustments for establishing a connection:
1* In the case of devices with a radio modem, all entries concerning the access point
(Access Point Name) of the card provider must be made and the SIM PIN entered.
2* In the case of tethered devices and when using static IP addresses, the customer
speci cations for gateway, DNS server and VPN port must be used for the subse-
quent router location.
3* Before de ning a preselectable VPN port, check to make sure that this port is also
open on the system side at the customer location (also see the chapter “Tips and
tricks” on page 19).
You have now con gured the basic settings for the router and can click on
to
proceed to transfer the con guration to the REX 300 unit using one of the options
available in the menu (see page 7).
In the event that the dialog for „Submit to Device“ appears automatically, you can
cancel this dialog and call it up later when needed.
Note: The myREX24 portal’s online help provides information on the function of the
advanced settings.
If you enable DHCP, make sure that the DHCP server does not assign the WAN port an IP
address that is already in use on the LAN side.
IP addresses from two different subnets must be assigned to every router‘s LAN and
WAN ports.
1*
2*
3*