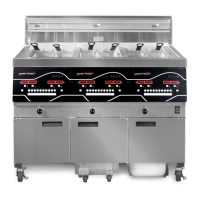
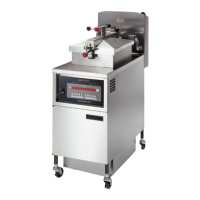
Do you have a question about the Henny Penny COMPUTRON 8000 and is the answer not in the manual?
Provides basic operating procedures for the Henny Penny Computron 8000 Fryer.
Explains safety alert symbols, NOTICE, CAUTION, and WARNING usage for hazard communication.
Indicator light when the control calls for heat; elements or burners come on.
Shows cook cycle, program modes, diagnostic modes, and alarms.
Indicator light when the solenoid closes and pressure builds inside the frypot.
Flashes when shortening temperature is not at the proper temperature for cooking.
Signals when shortening temperature is within the proper cooking range.
Press to display fryer information and status like temperature and filter status.
Used to adjust the value of the currently displayed setting in Program modes.
Accesses program modes, advances settings, and enters Information Mode.
Used to start and stop Cook Cycles, and stop the timer at the end of a Holding Cycle.
Displays the name of the food product associated with each selection button.
Used to select the product for cooking and start Cook Cycles.
A 3-way switch to operate the fryer (COOK) or the filter pump (PUMP).
Used to manually enter an Idle Mode or a Clean-Out Mode.
Sets the current month for the clock using UP/DOWN buttons.
Sets the current date for the clock using UP/DOWN buttons.
Sets the current year for the clock using UP/DOWN buttons.
Sets the current hour and AM/PM setting using UP/DOWN buttons.
Sets the current minute for the clock using UP/DOWN buttons.
Sets the clock to 12-hour (AM/PM) or 24-hour format.
Configures automatic Daylight Saving Time adjustments (OFF, US, EURO).
Sets the time for daily statistics accumulation.
Ensure drain valve is closed and remove fry basket.
Instructions for filling the frypot with shortening and initiating the Melt Cycle.
Procedure to bypass Melt Cycle and important CAUTIONs regarding shortening coverage.
Stir shortening to stabilize, then place baskets and product into shortening.
Lift, shake, and remove basket; close and latch the lid securely.
Press to start the Cook Cycle; display counts down time and shows status.
Fryer depressurizes automatically; alarm sounds; do not open lid under pressure.
Turn spindle counter-clockwise, unlatch, and raise lid to drain condensation.
Inspect product, dump into pan; hold timer starts if programmed.
Notifies operator when filtering is suggested and explains filter lockout procedures.
Steps to initiate Clean-Out Mode for cleaning the frypot with solution.
Use UP/DOWN buttons to adjust temperature and prevent boiling over.
Warning against pressurizing the fryer for cleaning; risk of severe burns.
If solution foams, turn switch to OFF; do not contain by closing lid.
| Brand | Henny Penny |
|---|---|
| Model | COMPUTRON 8000 |
| Category | Fryer |
| Language | English |