EN
14/37
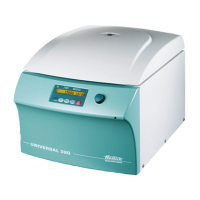
3 Information symbol on the centrifuge
Before the initial operation of your centrifuge you should read and pay attention to the operating
instructions.
4 Delivery checklist
The following items and accessories are delivered with the centrifuge:
1 Connecting cable
2 Fuses
1 Notes on moving the equipment safely
1 Operating instructions
1 Hex. pin driver for transport protection
The rotor(s) and associated accessories are included in the delivery in the quantity.
5 Space requirement
• According to the laboratory instrument standards EN 61010-2-20 an emergency switch to separate power supply
in the event of a failure must be installed in the building electrical system.
This switch has to be placed remote from the centrifuge, preferred outside of the room in which the centrifuge is
installed or near by the exit of this room.
• The necessary space requirement can be found under Dimensions in the Technical data chapter.
• The centrifuge must be set up in a suitable place, so that it is stable. During set up the required safety area of
300 mm around the centrifuge, in accordance with IEC 1010-2-2, must be observed.
Persons and hazardous materials must not be located in the safety area whilst the centrifuge is in
operation.
• Do not place any object in front of the ventiduct.
− Keep a ventilation area of 300 mm around the ventiduct.
6 Connection to the mains
• Check whether the supply voltage, supply frequency and on-site mains fuse agree with the specification on the
nameplate. The nameplate is located on the back of the centrifuge.
• Make sure that the mains switch is in the “0” position.
• The centrifuge must be connected to a standard mains socket using the power supply cable provided.
7 Commissioning
• Check that the centrifuge has been properly set up and that the electrical connections are correct (see
Connection to the Mains and Space Requirement).
• Switch the mains switch “ON”, switch position “I”.
After a short time the control panel will switch on and the last set parameters will appear in the displays.
• When the
symbol has lit up, the lid can be opened.
• Open the lid and remove the transport protection (see Transport Protection information sheet).
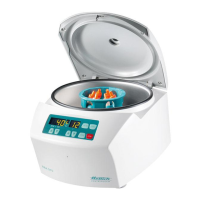
8 Opening and closing the lid
8.1 Opening the lid
• When the
symbol has lit up, the lid can be unlocked and opened.
• Unlock the lid by pressing the
key and swivel the lid upwards.
• The symbol appears.
The lid can only be opened if the centrifuge is switched on and the rotor is stationary.
If this is not possible, see chapter “ Emergency release “.
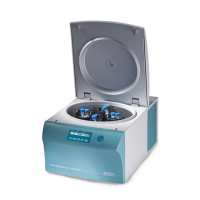
8.2 Closing the lid
• Close the lid by swinging the lid down and pressing lightly. If the symbol lights up in the rotation display the lid
has been correctly locked.
Do not bang the lid shut.
 Loading...