DC2000 – Installation Manual 25
HHO Plus, Alternative Energies, Lta – Travessa das Serras 33, Vieira de Leiria, Portugal – Tel. 00351244697116 – Email: info@hhhoplusgas.com
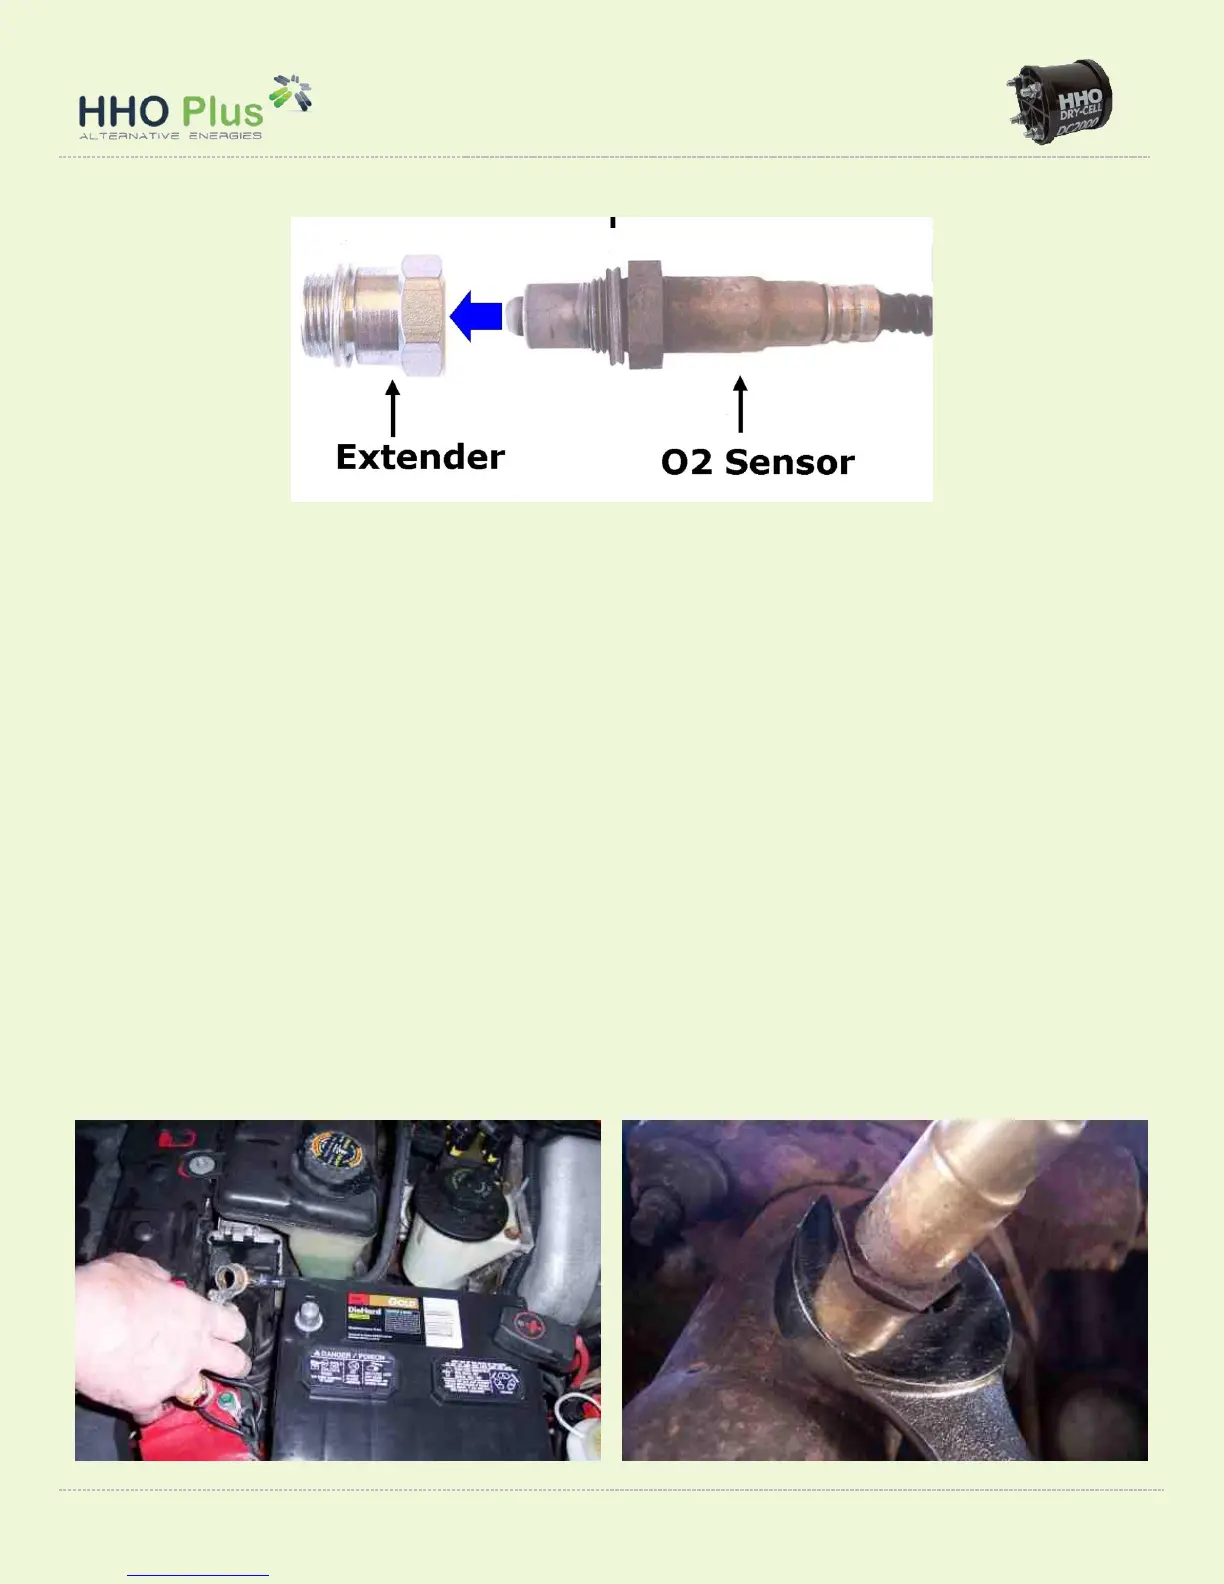
1. Before installation of the extender you should disconnect the battery, making sure any radio and security
codes are available to re-enable affected systems once power is restored. If unavailable, the codes are
obtainable from a dealership. Disconnect the negative (black) cable from the battery like when you reset the
ECU.
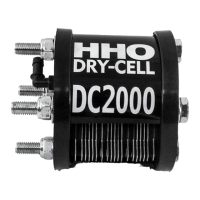
2. Unscrew the pre-cat Lambda sensor from the exhaust using an lambda sensor socket or a 22mm wrench.
Be careful not to lose the compression washer. Apply penetrating oil around the threads to loosen a stubborn
sensor. Inspect the sensor probe. If it is cracked or contaminated, replace it with a new one.
3. Thread the extender into the exhaust, in place of the sensor. Tighten to 50 Nm (37 ft-lbs) maximum. If a
torque wrench is not available, tighten until the compression washer starts to crush.
4. Reconnect the negative battery cable. Re-enter any codes. It may take a few days of driving for the ECU to
relearn the new sensor position. It is okay if the check engine light comes on while the ECU relearns.
Note: It is good practice to apply a small amount of anti-seize compound (available at most auto parts stores)
to the threads of both the extender and sensor before installation. Use great care in handling Lambda sensors
to avoid damage; do not touch, or otherwise contaminate the sensor probe, or element, with compound, oil,
etc. Proper sensor function is crucial to good performance and fuel economy.