For your privacy and to better protect your system against security risks, we strongly recommend
the use of strong passwords for all functions and network devices. The password should be
something of your own choosing (Using a minimum of 8 characters, including at least three of
the following categories: upper case letters, lower case letters, numbers, and special characters.)
in order to increase the security of your product.
Proper configuration of all passwords and other security settings is the responsibility of the
installer and/or end-user.
Steps:
1. Connect the network camera to your PC directly with a network cable.
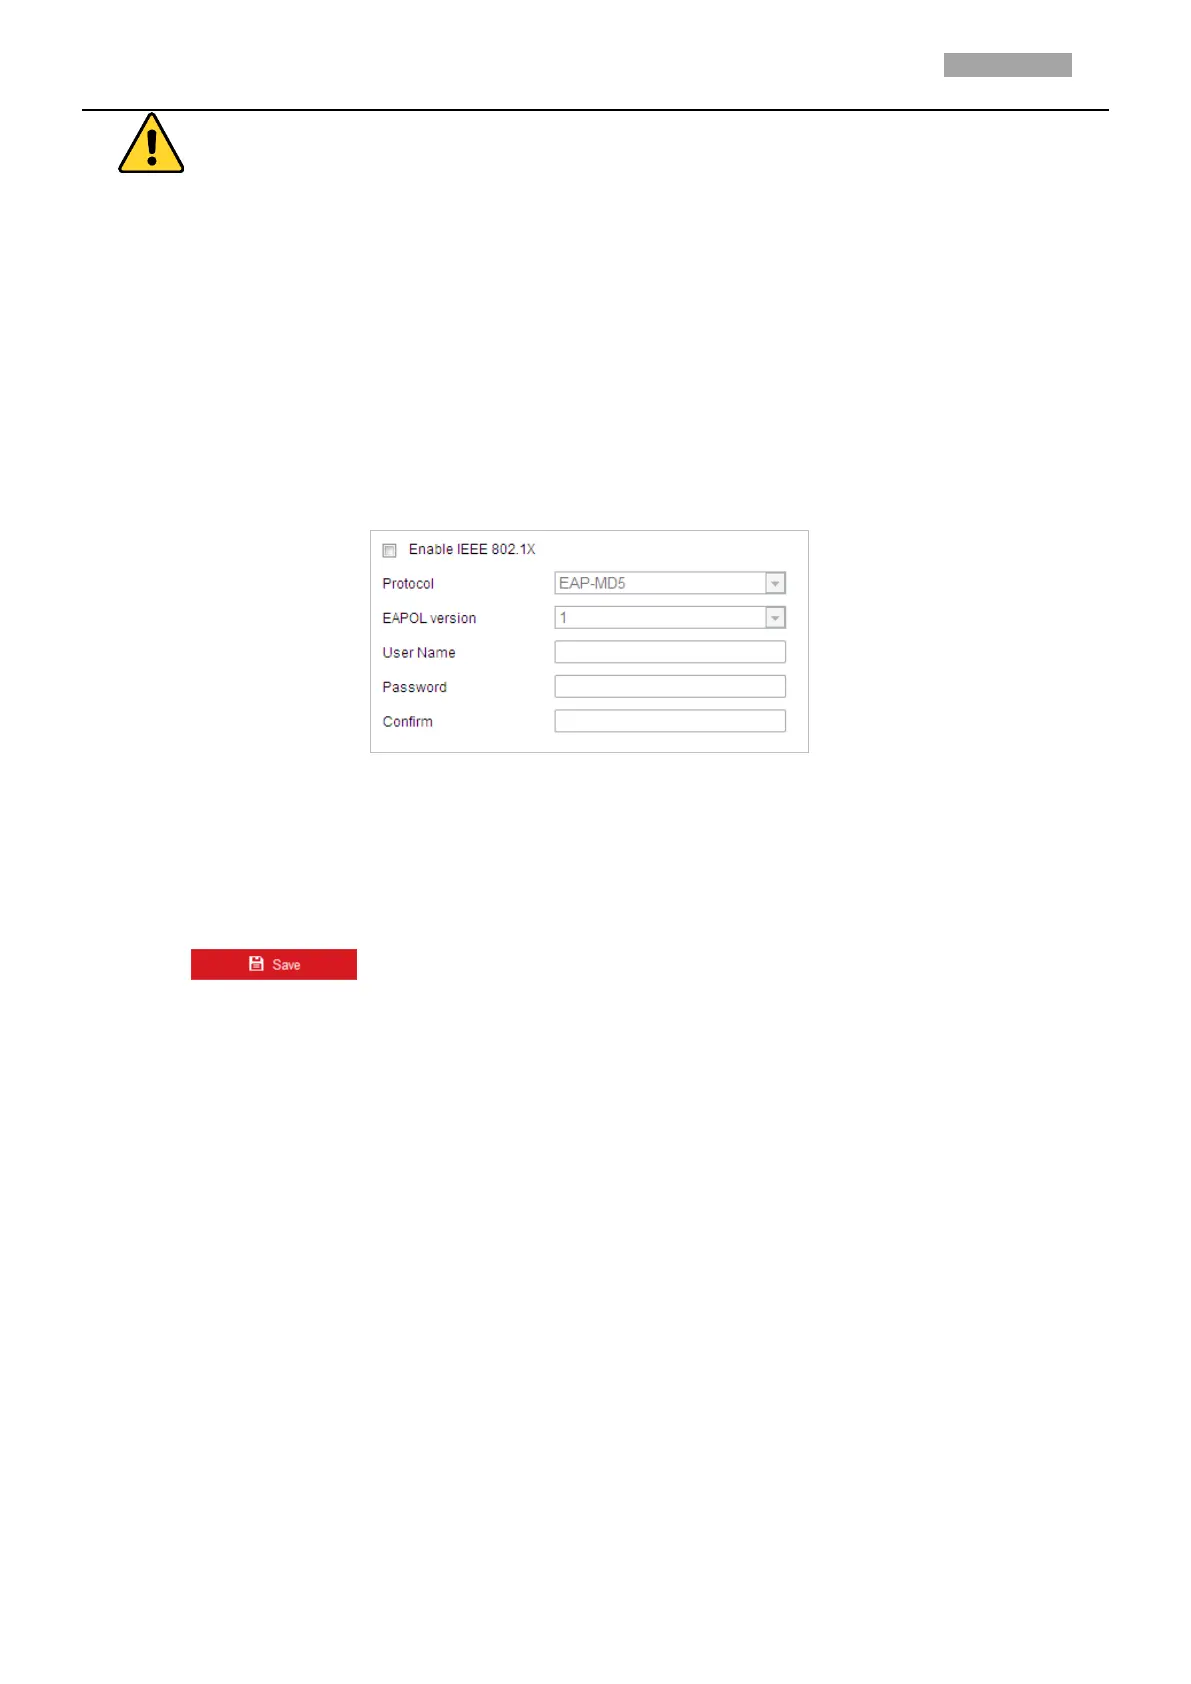
2. Enter the 802.1X settings interface:
Configuration > Network > Advanced Settings > 802.1X
Figure 2-18 802.1X Settings
3. Check the Enable IEEE 802.1X checkbox to enable it.
4. Configure the 802.1X settings, including user name and password.
Note:
The EAP-MD5 version must be identical with that of the router or the switch.
5. Click to finish the settings.
Note:
The camera reboots when you save the settings.
6. After the configuration, connect the camera to the protected network.
Integration Protocol
If you need to access to the camera through the third party platform, you can enable CGI function. And
if you need to access to the device through ONVIF protocol, you can configure ONVIF user in this
interface. Refer to ONVIF standard for detailed configuration rules.
Note:
Supported protocols may be different among camera models.
CGI
Check the Enable ***CGI checkbox and then select the authentication from the drop-down list.
Then you can access to the camera through the third party platform.
ONVIF
Steps:
1. Check the Enable ONVIF checkbox to enable the function.
2. Click Add to add a new ONVIF user. Set the user name and password, and confirm the
password. You can set the user as media user, operator, and administrator.
3. Click Modify to modify the information of the added ONVIF user.

 Loading...