QoS (Quality of Service) can help solve the network delay and network congestion by configuring the
priority of data sending.
Steps:
1. Enter the QoS settings interface:
Configuration > Network >Advanced Settings > QoS
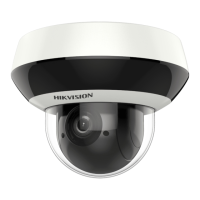
Figure 2-16 QoS Settings
2. Configure the QoS settings, including video/audio DSCP, event/alarm DSCP and Management DSCP.
The valid DSCP value ranges from 0 to 63. The DSCP value is bigger, the priority is higher.
3. Click to save the settings.
Notes:
Make sure that you enable the QoS function of your network device (such as a router).
Reboot the device before the settings take effect.
Configuring 802.1X Settings
Purpose:
The camera supports IEEE 802.1X standard.
IEEE 802.1X is a port-based network access control. It enhances the security level of the LAN. When
devices connect to this network with IEEE 802.1X standard, the authentication is needed. If the
authentication fails, the devices don’t connect to the network.
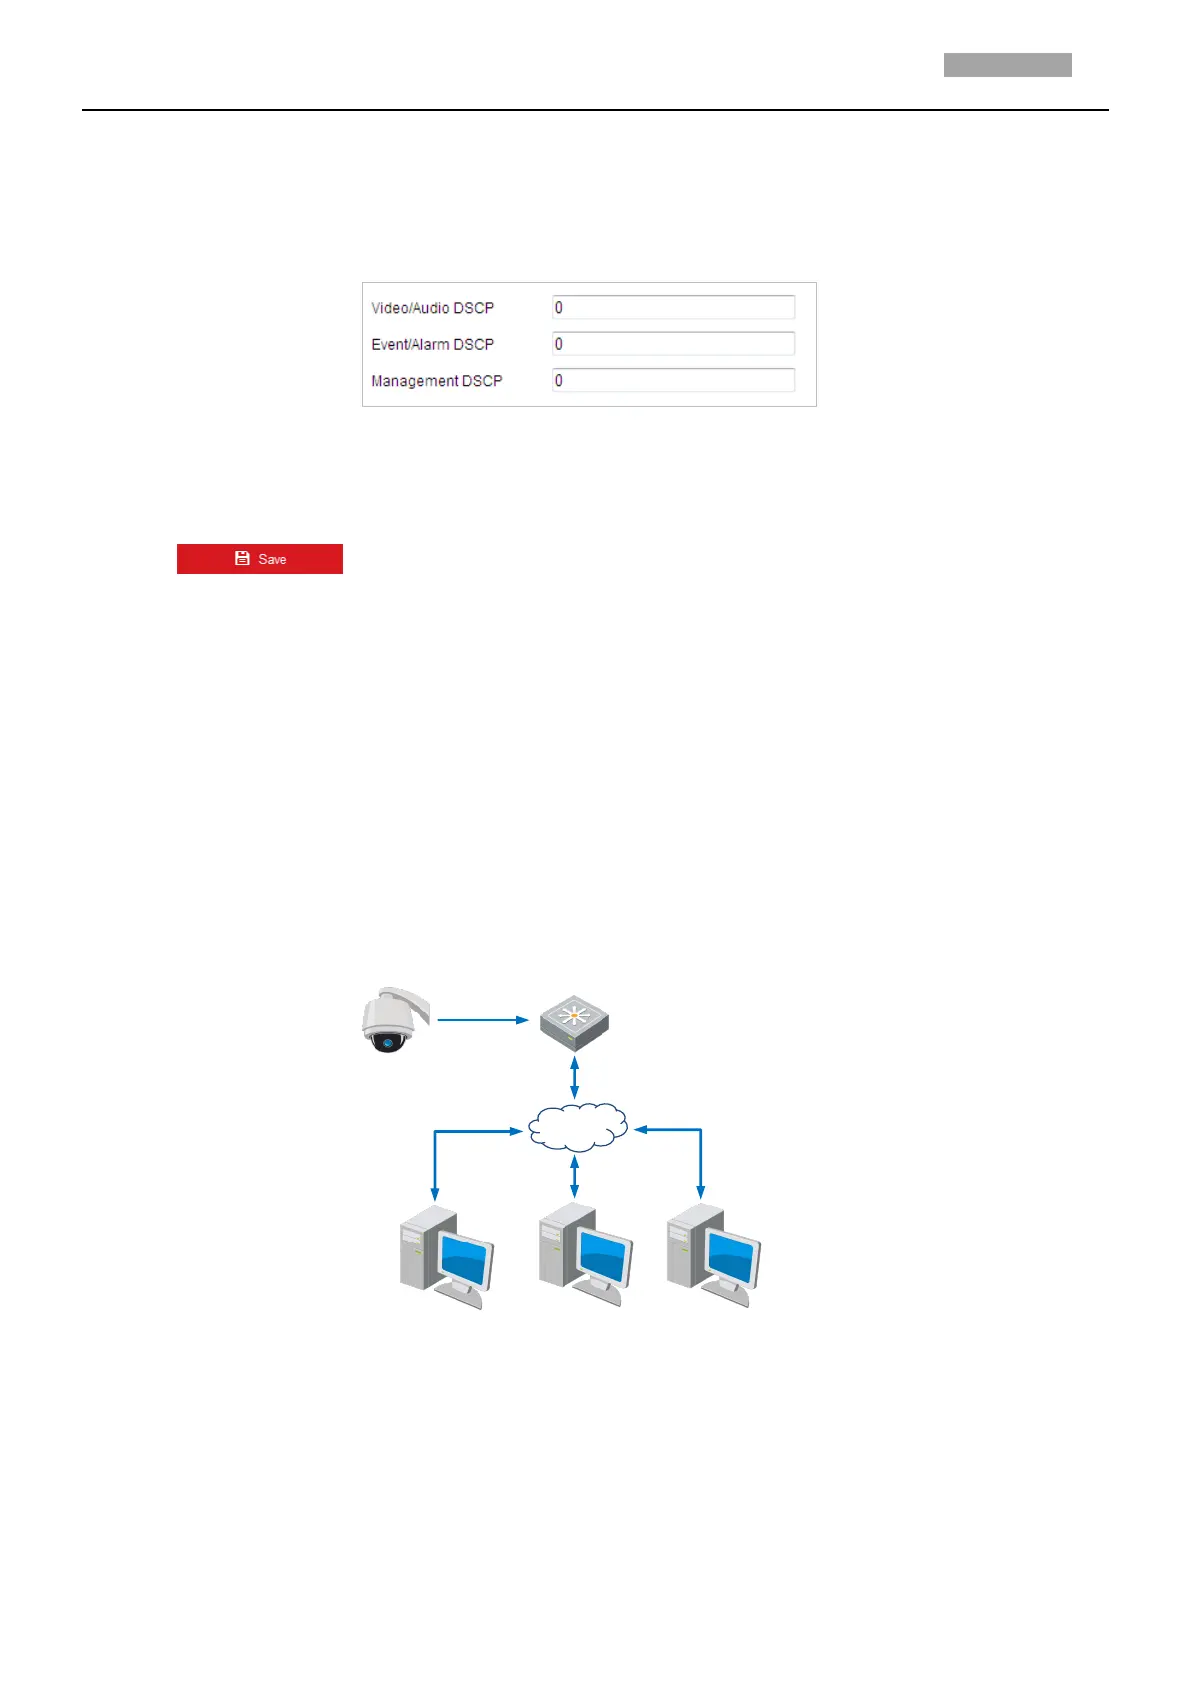
The protected LAN with 802.1X standard is shown as follows:
Figure 2-17 Protected LAN
Before connecting the network camera to the protected LAN, apply a digital certificate from a
Certificate Authority.
The network camera requests access to the protected LAN via the authenticator (a switch).
The switch forwards the identity and password to the authentication server (RADIUS server).
The switch forwards the certificate of authentication server to the network camera.
If all the information is validated, the switch allows the network access to the protected
network.

 Loading...