Digital Video Recorder User Manual
229
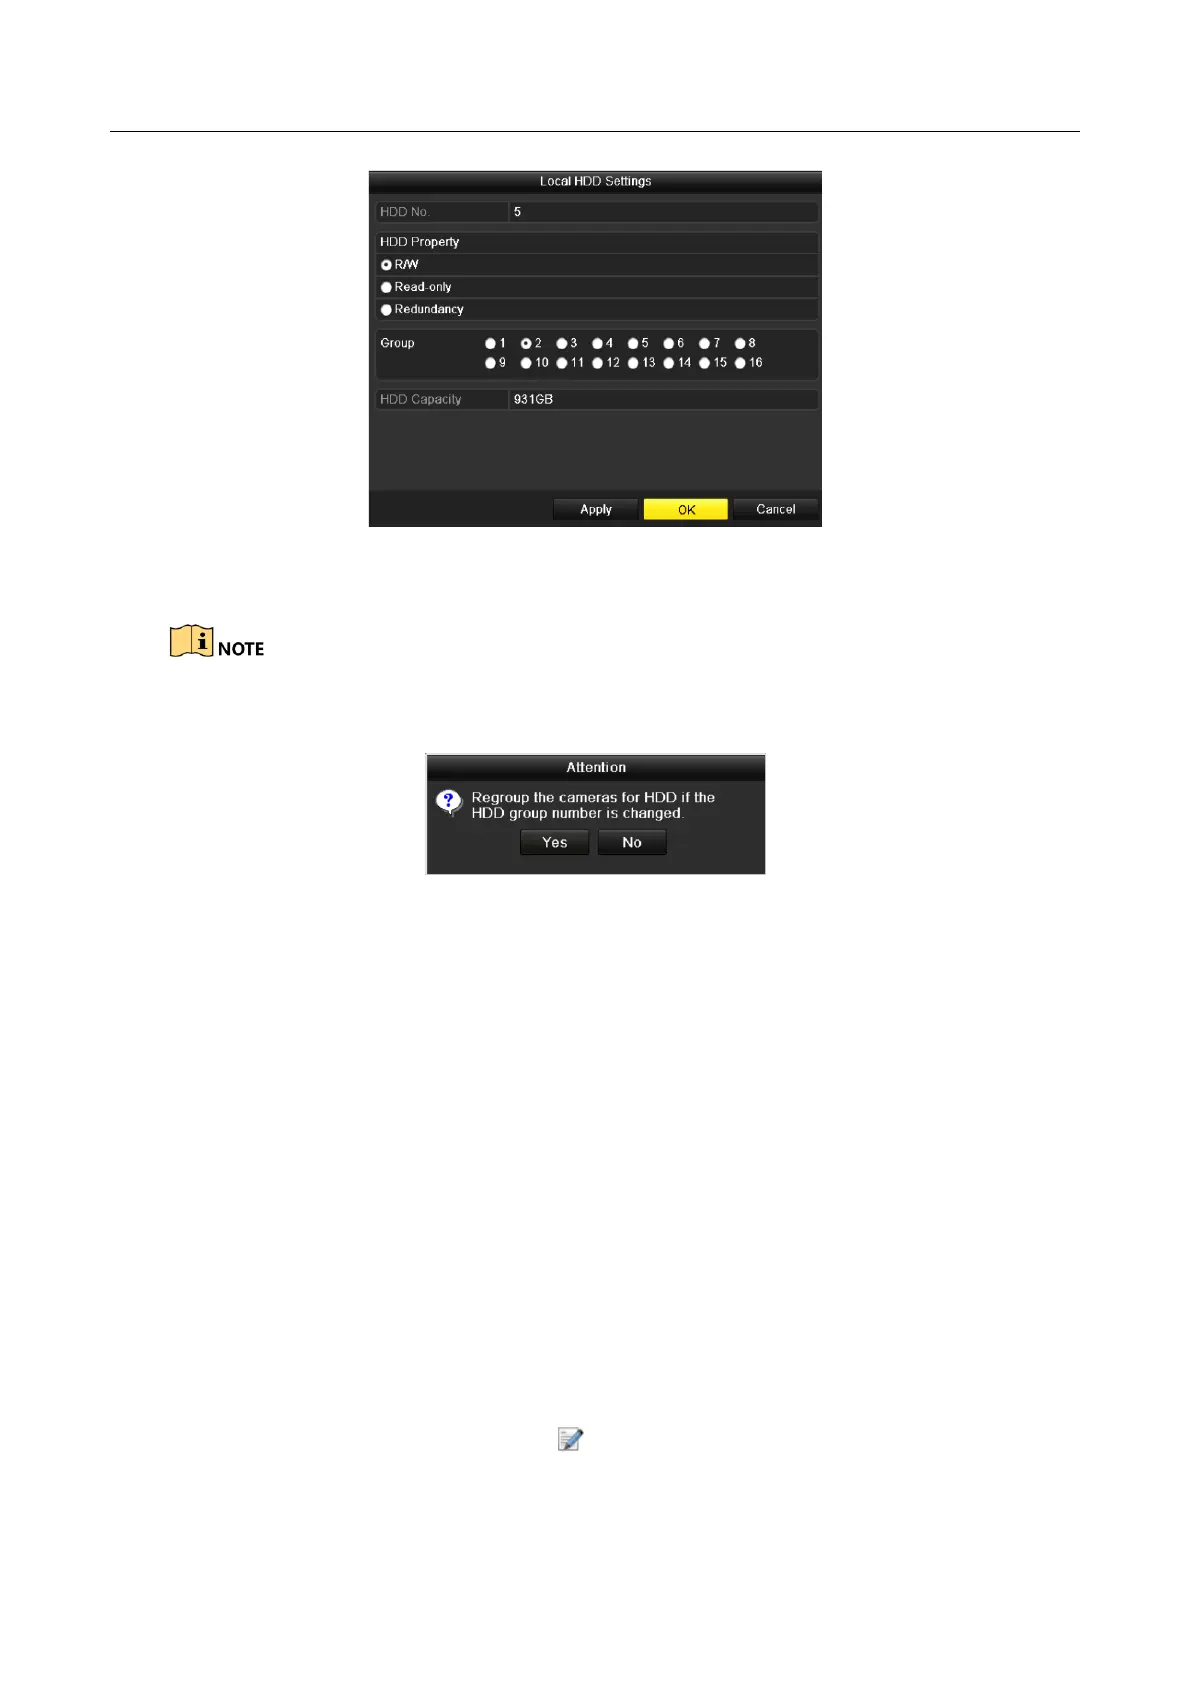
Figure 14-13 Local HDD Settings Interface
Step 7 Select the Group number for the current HDD.
The default group No. for each HDD is 1.
Step 8 Click the OK button to confirm the settings.
Figure 14-14 Confirm HDD Group Settings
Step 9 In the pop-up Attention box, click the Yes button to finish the settings.
14.3.2 Setting HDD Property
Purpose
The HDD property can be set to redundancy, read-only or read/write (R/W). Before setting the
HDD property, please set the storage mode to Group (refer to step1-4 of Chapter 14.3.1 Setting
HDD Groups).
A HDD can be set to read-only to prevent important recorded files from being overwritten when
the HDD becomes full in overwrite recording mode.
When the HDD property is set to redundancy, the video can be recorded both onto the redundancy
HDD and the R/W HDD simultaneously so as to ensure high security and reliability of video data.
Step 1 Enter the HDD Information interface.
Menu > HDD > General
Step 2 Select HDD from the list and click the icon to enter the Local HDD Settings interface,
as shown in Figure 14-15.
 Loading...