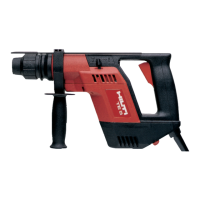
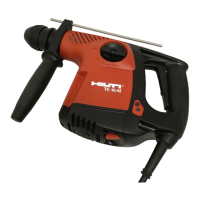
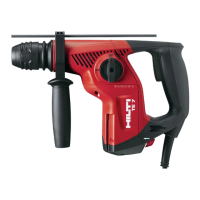
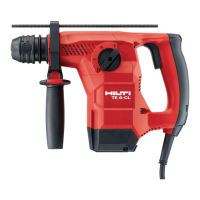
16
en
At low temperatures: The tool requires to reach a mini-
mum operating temperature before the hammering mech-
anism begins to operate. Switch on the tool and position
the tip of the drill bit on the work surface. While the tool
is running, apply light pressure briefly and repeatedly
until the hammering mechanism begins to operate.
Operation
CAUTION: In the event of the drill bit sticking, the tool
will pivot about its own axis.
Always use the tool with the side handle fitted and hold
it securely with both hands applying an opposing torque
so that the clutch releases in the event of the drill bit
sticking.
Use a vice or clamp to secure loose workpieces.
Fitting the insert tool
1. Unplug the supply cord from the mains socket.
2. Check that the connection end of the insert tool is
clean and lightly greased. Clean it and grease it if nec-
essary.
3. Check that the sealing lip of the dust shield is clean
and in good condition. Clean the dust shield if nec-
essary or replace it if the sealing lip is damaged.
4. Push the connection end of the insert tool into the
chuck and, while applying slight pressure, rotate the
insert tool until it engages in the guide grooves.
5. Push the insert tool further into the chuck until it is
heard to engage.
6. Check that the insert tool has engaged correctly (pull
by hand).
Removing the insert tool
-CAUTION-
– The insert tool may become hot during use. There is
a risk of burning the hands. Wear protective gloves
when changing insert tools.
1. Unplug the supply cord from the mains socket.
2. Open the chuck by pulling back the locking sleeve.
3. Pull the insert tool out of the chuck.
Drilling
Hammer drilling (TE 2 / TE 2-E / TE 2-S / TE 2-M) /
precision hammering action (TE 2-S)
1. Insert the drill bit into the chuck.
5b
5a
2. Turn the function selection switch to the hammer
drilling position ( ) until the gearing is engaged
. Rotate the chuck spindle slightly if necessary.
Check that forwards rotation is selected (I.).
3. Use of the precision hammering action ( ) is advan-
tageous when drilling in brittle materials (e.g. tiles,
marble, perforated brick). This will improve the qual-
ity of the holes drilled .
4. Connect the supply cord to the power supply.
5. Pivot the side handle, with or without the depth gauge,
to the desired angle and tighten the handle to lock it
in this position. Check that the side handle is seated
and attached securely .
6. Bring the tip of the drill bit into contact with the work
surface at the position where the hole is to be drilled
and press the control switch slowly. Drill at low speed
until the drill bit centres itself in the hole.
7. Press the control switch fully and continue drilling at
full power.
Rotary-only drilling (without hammering action)
(TE 2 / TE 2-E / TE 2-S)
Turn the function selection switch to the drilling posi-
tion ( ) . When the switch is in this position, only the
rotary movement is transmitted to the TE-C insert tool
or chuck adaptor for insert tools with cylindrical shanks.
Rotary-only drilling (without hammering action)
(TE 2-M)
Turn the function selection switch to the 1st gear or 2nd
gear drilling position . When the switch is in these
positions, only the rotary movement is transmitted to
the TE-C insert tool or quick-release chuck.
Use of a high spindle speed can be advantageous when
drilling in metal or wood. For higher drilling speed, the
function selection switch must be engaged in the 2nd
gear position ( 2) .
Changing the chuck (TE 2-M)
Pull the chuck release ring towards the front and remove
the chuck completely. When fitting the chuck, pull the
release ring towards the front and hold it in this posi-
tion. Push the chuck onto the guide tube as far as it will
go and release the ring. Rotage the chuck until it engages
and the ring snaps back into its original position . The
TE-C interchangeable chuck or quick-release inter-
changeable chuck may be fitted to the TE 2-M with chuck
interface .
Drilling using the depth gauge
We recommend the use of the depth gauge for drilling
holes accurately to the desired depth. The depth gauge
is integrated in the side handle, which can be pivoted
and locked in position. Release the side handle (turn
counter-clockwise), set the depth gauge to the desired
drilling depth and tighten the side handle (turn clock-
wise) .
7d
7d7b
7b
7c
7a
02_BA_TE2_S_M_P1_en.qxd 31.08.2007 10:39 Uhr Seite 16
 Loading...