Monitor abnormal occurrences
10
The following explains the recording method in the case of a drop in voltage
brought about by a black out, etc.
Keep monitoring and save the measurement data automatically.
In this section, a voltage dip trigger is used to measure. The following explains
how to activate the trigger when an input signal from a 50 Hz commercial power
falls from approximately 100 Vrms (141.4 Vpeak) to below 90 Vrms (127.2
Vpeak).
Monitor abnormal occurrences
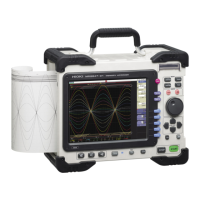
1 Prepare for measurement
Required items:
8847
8966 Analog Unit
L9198 Connection Cord
CF Card
"Measurement Prepara-
tions"( p.4)
Insert the CF card.
Connect to CH1.
Connect to the
measuring point.
Connect to the socket.
2 Set the measurement conditions and trigger conditions
Pre-Trigger
Set the %.
Frequency
Set the frequency.
Carry out the following setting on the Waveform screen.
Set the measurement conditions. (Channel settings window)
Setting for trigger conditions (Trigger settings window)
Select setting
items
Set the pre-trigger to
record waveforms that
exist before any abnor-
mal occurrence, such as
a spontaneous black out.
The pre-trigger sets
where the trigger location
(trigger point) is located
on the record length.
E.g. To record 10 DIV worth of waveform
that exist before a spontaneous black out
and which corresponds to a record length
of 25 DIV, set the pre-trigger to 40%.
Calculation method: 10 [DIV]/25[DIV] x 100%
See: "What is a pre-trigger?"( p.20)
40%
T
Recording
length 25 div
60%
Timebase
Set time for 1 div of horizontal axis.
Vertical axis (Voltage axis) range
Set the value for 1 div of vertical axis
Trigger Type
Set to [Drop].
Level
Set to [127 V].
Trigger
Set to [Repeat].
Displays the Waveform
screen.
Displays the Trigger
settings window
([Analog Trig] sheet)
Displays the Channel
settings window
([Analog] sheet)
3
1
2
 Loading...