M
Michael ProctorAug 20, 2025
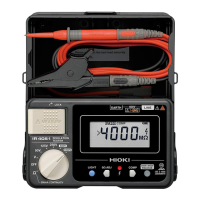
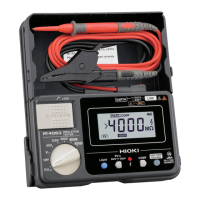
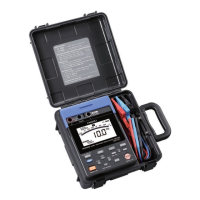
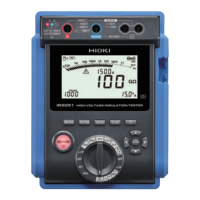
Why won't my Hioki Test Equipment turn on?
- KKristina ChavezAug 20, 2025
If your Hioki Test Equipment won’t turn on, first, replace the batteries. If that doesn't work, ensure the batteries are installed with the correct orientation.