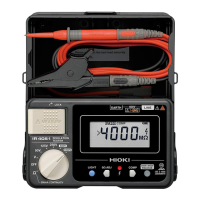
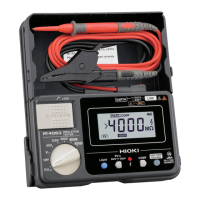
2.7 Low Resistance Measurement
Before measurement, always perform zero adjustment to cancel
the test leads’ wiring resistance and other potentially
problematic quantities. Accurate measurement will not be
possible if zero adjustment is not performed.
2.7 Low Resistance Measurement
Do not measure under a live circuit condition.
1.
Set the rotary selector to the function.
2.
Short circuit the tip of the test lead.
3.
Pull up the MEASURE key.
4.
Turn off the MEASURE key to hold the measured value.
5.
Press .
6.
Connect the test lead to the ground side of the object
being measured.
7.
Press the MEASURE key and read the indicated value.
8.
Turn off the MEASURE key after using.
Zero adjustment can be performed with readings of up
to a maximum of 3 . When the reading exceeds 3 ,
"Err 1" will be displayed, and zero adjustment will not
be possible. Wire the instrument so that the wiring
resistance is 3 or less.
In the following circumstances, repeat the zero
adjustment procedure:
• After changing test leads
• When the ambient temperature changes by 1°C or
more
• After replacing the fuse
 Loading...