Replacing parts 4-7
Hitachi Compute Rack 220H CRU Replacement Guide
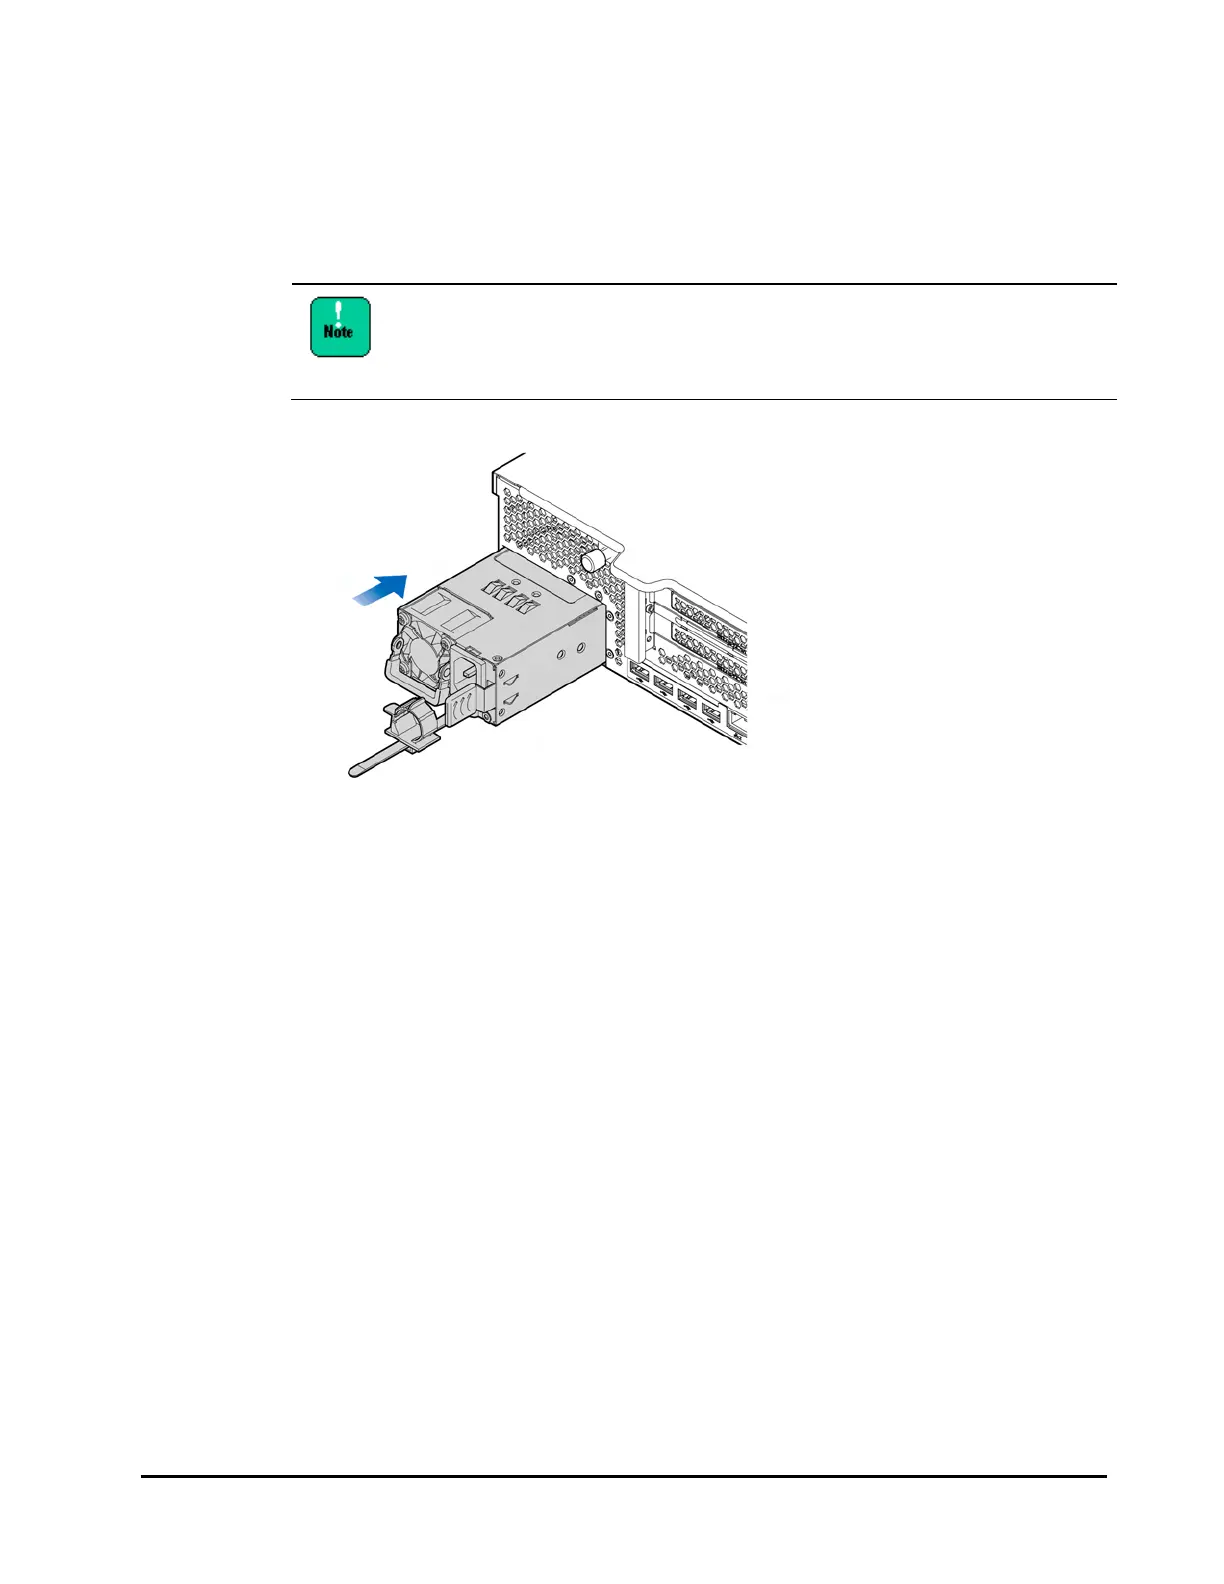
Installing a power supply
1. Fold the handle of the replacing power supply.
2. Insert the replacing power supply into the power supply slot and push until
the position where the power supply is locked.
Make sure that there is no gap between the power supply and the
system unit chassis. Any gap means that the power supply is not
inserted in place. If you find any gap, remove the power supply and
install it correctly.
Figure 4-7: Install a power supply
3. Connect the AC cable to the installed power supply and insert the plug into an
electrical outlet.
4. Fix the AC cable using a cable clamp attached to the power supply in order to
avoid unintended disconnection. After the AC cable is fixed, push the cable
clamp all the way toward the power plug.

 Loading...


