Chapter 1. Delivered Items and Accessories
1-3
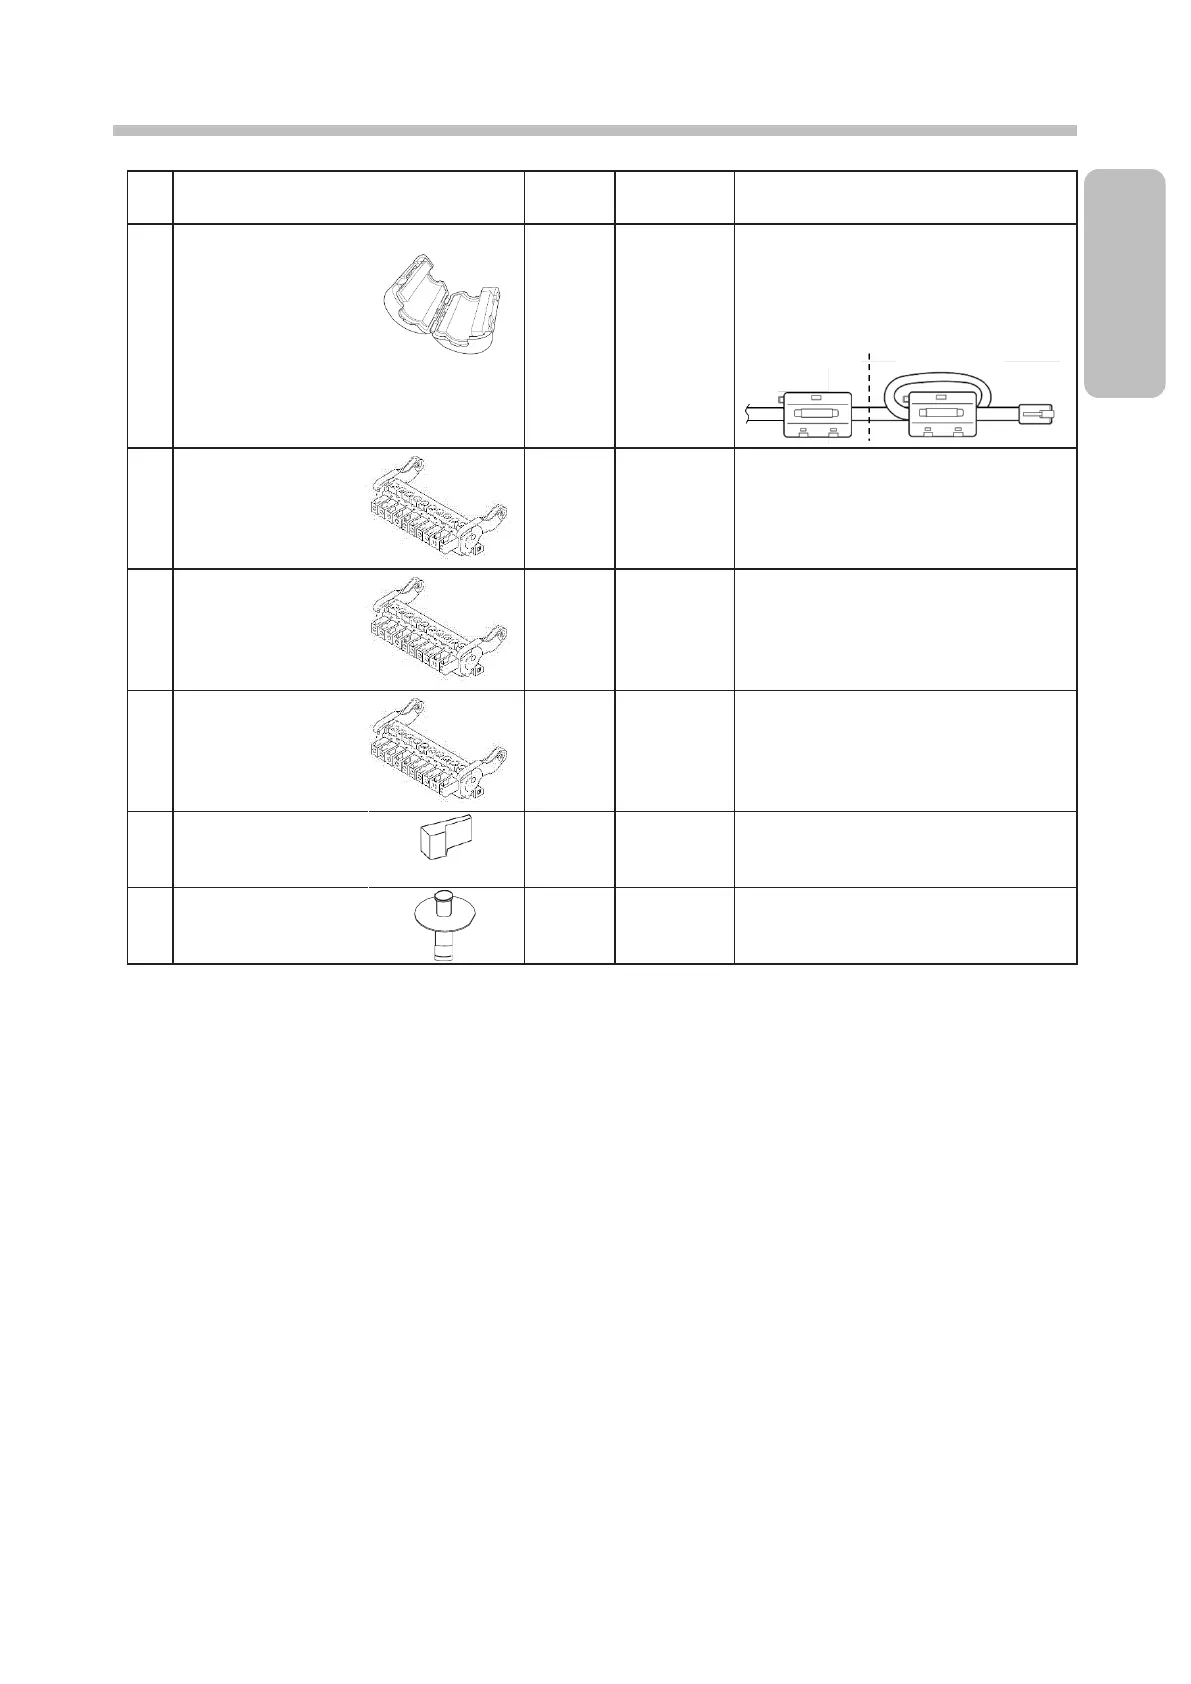
When connecting the LAN cable to the
IJ Printer, put one core around the cable
outside the printer and the other through
one loop of the cable inside the printer as
shown below.
Used to connect the input/output (I/O)
signals. See the Technical Manual "4.
ELECTRIC SIGNAL CONNECTION"
for details on how to use the plug.
Used to connect the input/output (I/O)
signals. See the Technical Manual "4.
ELECTRIC SIGNAL CONNECTION"
for details on how to use the plug.
Used to connect the input/output (I/O)
signals. See the Technical Manual "4.
ELECTRIC SIGNAL CONNECTION"
for details on how to use the plug.
Used when the IJ Printer will not be used
for several days. It is explained in "3.2.3.
Turning Off Main Power Switch".
It is attached to the ink/makeup reservoir
when shipped. Used when the IJ Printer
will not be used for several days.
(*1) Store these items in a plastic bag, etc., to protect them from dirt and dust.
 Loading...


