12 FKS 315-2000 E | Version 1.11
Setting up and connection
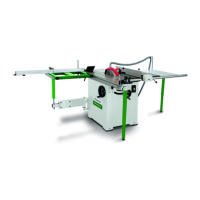
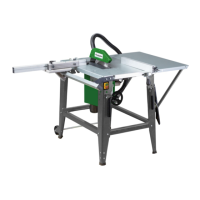
Fig. 20: Mount the sliding table
Step 2: Using two M6x30 hex bolts, screw the sliding ta-
ble to bracket B (Fig. 20), align with 4 M12 nuts
on the sliding carriage (C, Fig. 20), and tighten
the nuts.
Step 3: Insert the stop into the front or rear guide
opening, align and lock with the clamping screw.
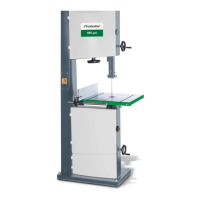
Fig. 21: Mount stop and quick release
Step 4: Using two M6x30 hex bolts, screw the sliding ta-
ble to bracket B (Fig. 20), align with 4 M12 nuts
on the sliding carriage (C, Fig. 20), and tighten
the nuts.
Step 5: Insert a T-nut into the groove of the stop guide
and install the quick release E.
Fig. 22: Mount angle stop
Step 6: Place the angle stop with the quick release on
the sliding carriage, push as far forward as pos-
sible and lock with the clamping screw.
Mount suction connection and protective devices
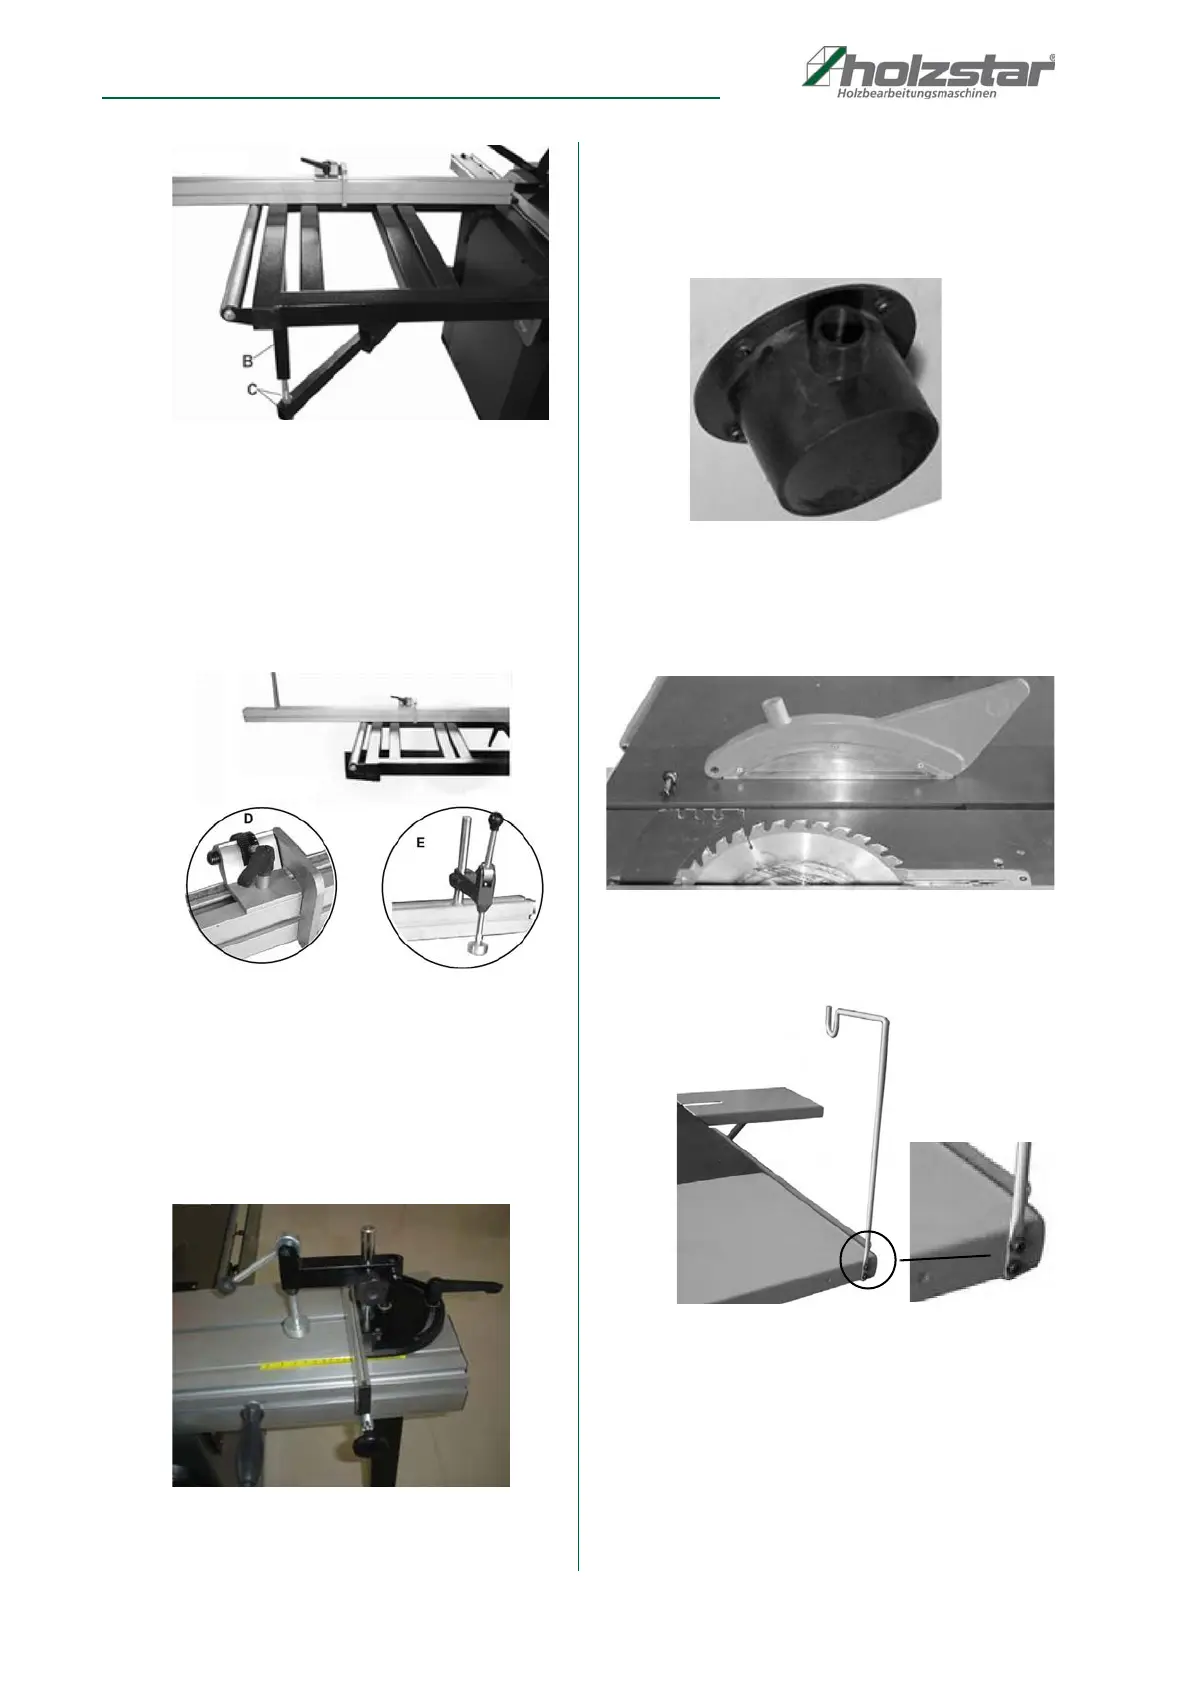
Fig. 23: Mount suction connection
Step 7: Screw the exhaust port at the bottom of the back
of the machine with 4 M6x12 Phillips screws,
washers and nuts (nuts on the inside).
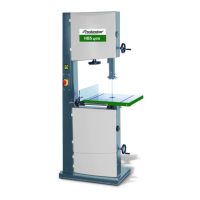
Fig. 24: Mount saw blade guard
Step 8: Screw on the saw blade guard.
Fig. 25: Mount hose guide
Step 9: Screw the hose guide to the back of the steel ta-
ble with 2 M6x20 hexagon bolts, washers and
nuts (nuts on the inside of the steel table).