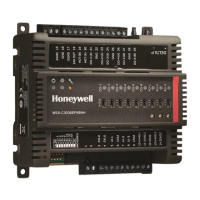
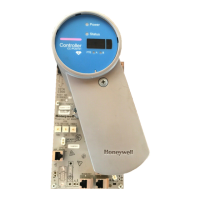
Replacing a secondary CN100 controller
To replace a CN100 controller
1. Loosen screws at each side of the module that secures the CN100
to the IOTA
2. Carefully remove the CN100 from the IOTA.
The system will proceed without the secondary controller.
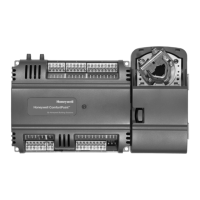
3. Insert the new CN100 onto IOTA making sure that the CN100
matches properly with the IOTA connector.
4. Optional-for IPsec enable system, setup certificates and IPsec
policy in the CN100. For more details on setting up the certificates
and IPsec policies, refer to the Experion Network and Security
Guide for more information.
5. Use the Firmware Manager to load firmware to the new CN100 to
match the version that is running in the primary controller CN100.
6. Check the redundancy synchronization state by monitoring the
status LED of the secondary controller CN100.
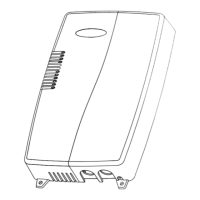
Replacing a NAM
To replace a NAM
1. If the IOTA is installed on a carrier in a cabinet, rotate the rotary
button to unlock the NAMholding the NAM to the IOTA and
remove the module from the IOTA so power is removed from the
connector on the IOTA. (It is not necessary to completely remove
the long gray plastic screw located on the module's face.)
2. Carefully align the pins in the bottom of the NAM with the sockets
in the connector on the IOTA and gently push down on the module
until it is fully seated.
3. Rotate the rotary button clockwise in the base of the module to
secure it to the IOTA .
4. Connect appropriate fiber optic cable to the plug provided with
the fiber optic module.
5. Plug the cable plug into the fiber optic module port.
6. If applicable, install the NAM on the IOTA.
This completes the procedure.
38
Chapter 5 - Maintenance
 Loading...