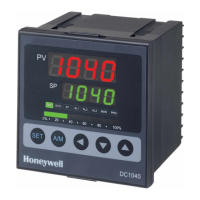
Operation
20 DC1010/1020/1030/1040 Product Manual 8/05
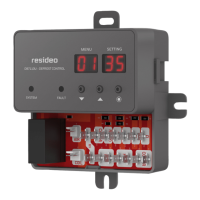
3.4 Operation Mode
3.4.1 Key Functions
3.4.1.1 Changing Parameter Value
Press the SHIFT KEY to change the parameters. If the SHIFT KEY is pressed, the first
digit begins blinking. Press the
UP KEY or DOWN KEY to increase or decrease the
value of this digit, and then press the
SHIFT KEY again to go to the next digit. As all
the digits are written, press
SET KEY to enter the value.
3.4.1.2 Changing Modes
SET KEY also has the function of changing MODEs. If the SET KEY is pressed, the
display shows the next
MODE.
If any key were not pressed for 1 minute, the display will return to Operation Mode.
Press the
A/M KEY twice to go to Operation Mode, no matter what mode it’s in.
If
OUTL is set to "0", it means the controller has no output.
3.4.2 Operation Mode Prompts
Table 3-3 Operation Mode Prompts
Displays Parameter Description
SETSET
PV Display
SP Display
To change the setpoint value, see changing
parameter values (paragraph 3.4.1.1).
Press the “SET” key to save the value.
SETSET
Output Limit *
Percentage (%)
For limiting the maximum value of Control
Output
Range: 0 to 100%
SETSET
Auto Tuning
Status
Default “NO”
”“YES” = Auto Tune Starts
SETSET
Alarm 1
Value of Alarm Setpoint
Depending on the Alarm Function selected,
enter deviation value or absolute value.
See Section 4.3.1 Alarm Function Selections
SETSET
Alarm 2 **
Value of Alarm Setpoint
Same as Alarm 1
Alarm 3 **
Value of Alarm Setpoint
Same as Alarm 1
Note: for programmer models, the prompts to configure the programs will
appear after the operation mode prompts. See Section 5
*The ‘OUTL’ is not shown in default mode
**AL2’ & ‘AL3’ are shown only in models with the relevant options.

 Loading...