Enhanced Micro TDC 3000
User’s Manual 3-6 9/95
3.1.4
3.1.4.2 Printer User Diagnostic Test
1. Hold the button while turning the printer ON. Several tests are run and their results
displayed. The steps which follow tell what the various displays will look like. Since
their are no pauses between tests, you may need to run this test more than once.
2. The display will show a sequence of 4 boxes, then 3, 2, and so on until none are
displayed. Each box is replaced with an asterisk.
3. The letters T&DX are then displayed, where X is a sequence of numbers and letters as
various Tests and Diagnostics (T&Ds) are performed. After T&DG is displayed, the
printer flashes A 41, indicating it is an ASPI-41 printer. It then completes the T&D
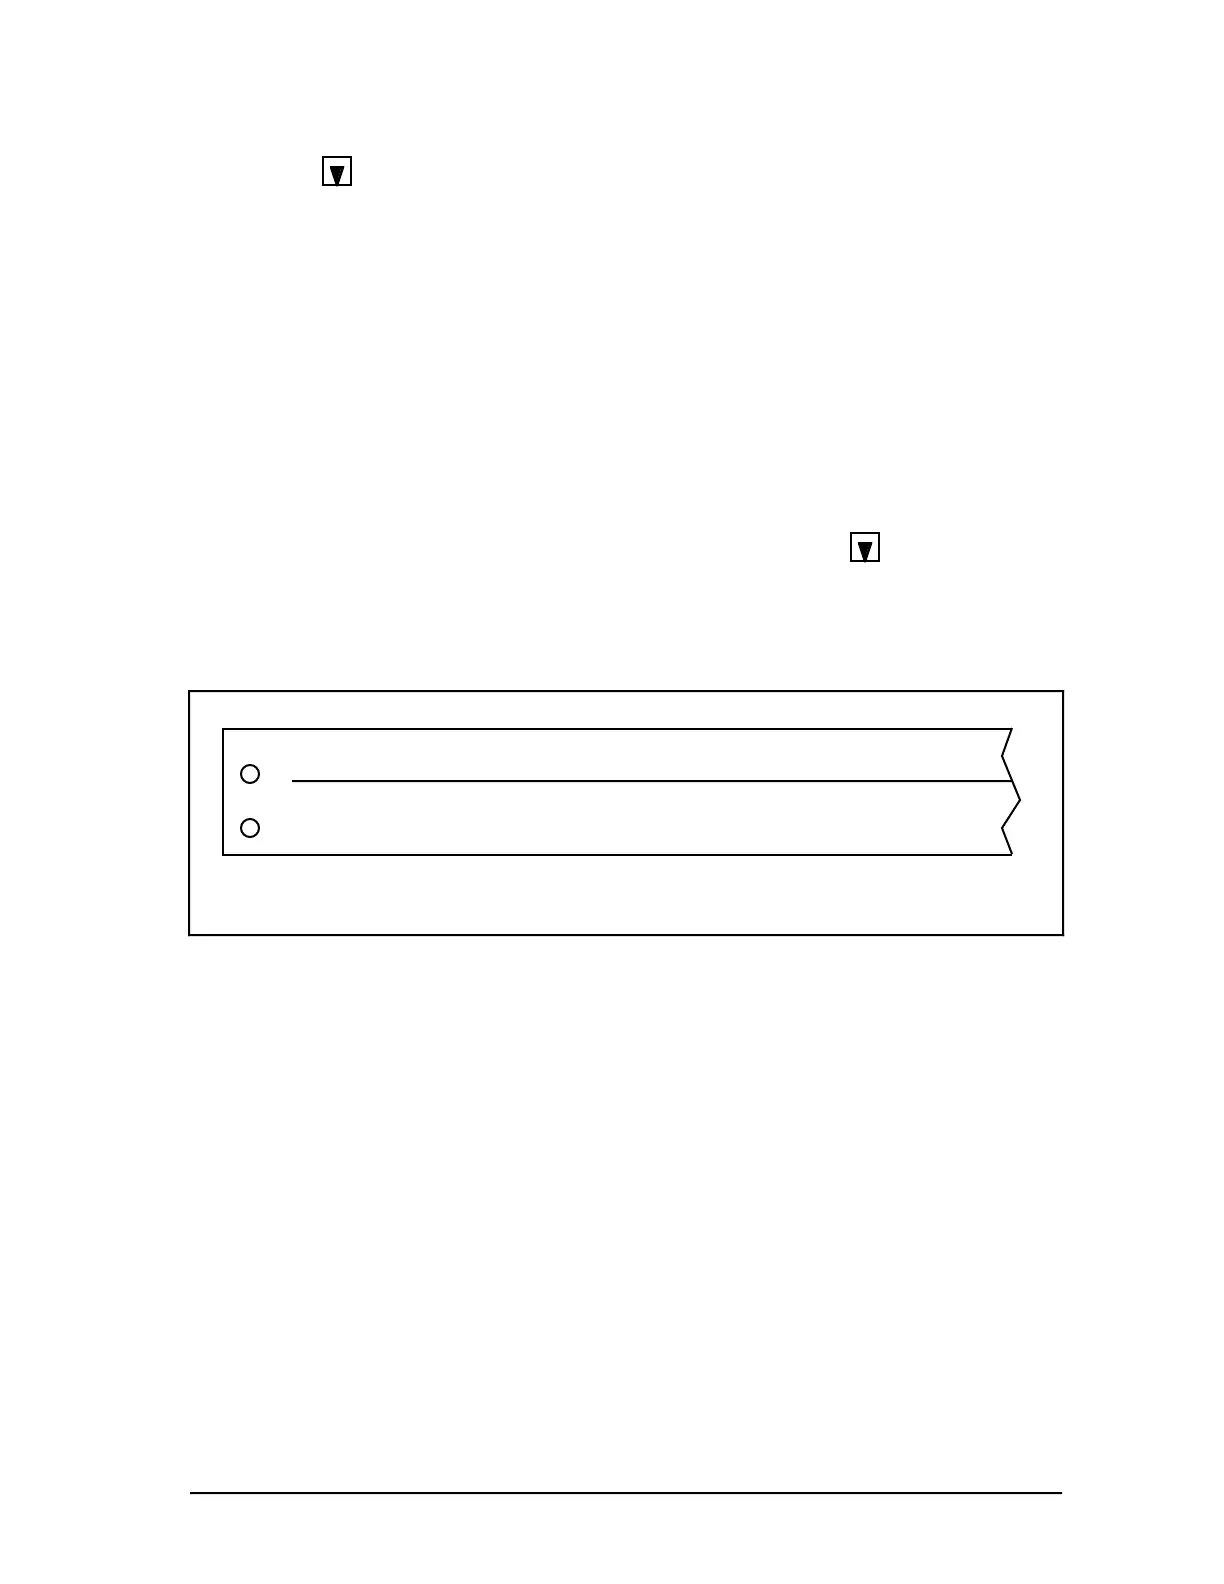
tests with T&DH, goes on LINE, and prints its User Test configuration which looks
something like Figure 3-2.
4. The test finishes with test
T&DI, then displays ?END for about 5 seconds. The display
then cycles to ASPI, then LINE, and is ready to print.
5. If you wish to continually run through the diagnostic tests, press
during the time
?END is being displayed. Most likely, if one of the diagnostic tests fails, it will stop
while displaying a T&DX figure. Record the number or letter represented by X before
proceeding to service it.
Configuration: epr=W1302 sio=Y0126 ocg= free asf= no
ASPI 40/41 Printer USER TEST
Figure 3-2 — Printer User Diagnostic Test Message 3011
 Loading...