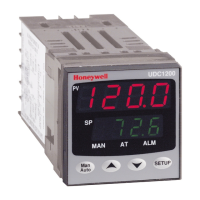
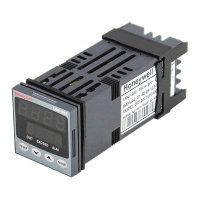
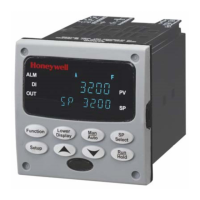
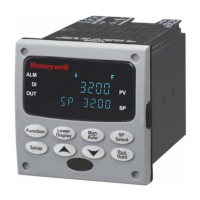
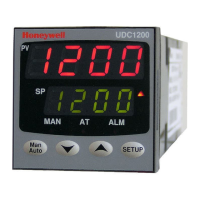
UDC 1200 Start-Up Guide Rev 1
Panel-Mounting
The mounting panel must be rigid and may be up to 6.0mm (0.25 inches) thick. The cut-out required for the instrument is
shown on the right. Instruments may be mounted side-by-side in a multiple installation for which the cut-out width (for n
instruments) is (48n-4)mm or (1.89n-0.16)inches.
Rear Terminal Wiring
USE COPPER CONDUCTORS
(EXCEPT FOR T/C INPUT)
Single Strand wire gauge:
Max 1.2mm (18SWG)
CAUTION: Do not remove the panel gasket; it is a seal against dust and
moisture.
CAUTION: Installation and configuration should be performed only by personnel who are technically competent
to do so. Local Regulations regarding electrical installation & safety must be observed.
Hold instrument firmly in
position (apply pressure to
Panel
Instrument
Ratchets
Gasket
Slide mounting clamp over the
instrument housing towards rear
face of mounting panel until the
tongues engage in ratchets and
instrument is clamped in position.
CAUTION: Check information label on
housing for correct operating voltage before
connecting supply to Power Input
Fuse: 100 – 240V ac – 1amp anti-surge
24/48V ac/dc – 315mA anti-surge
 Loading...
