– 15 –
iii. At the VAM:
a) To verify activation, Click the Back button and wait 30
seconds. Click the Refresh button; the new device is displayed.
The screen displays a series of messages:
“Please press function key on device”
“Adding Controller Unit”
“Adding Slave Unit”
“Device added successfully”
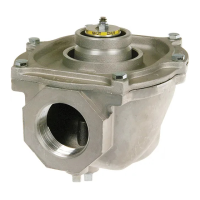
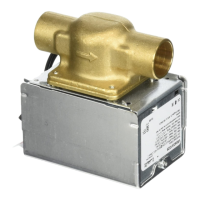
D. Z-Wave Water Valves
Have a professional plum ber install the Z-Wave water valve The
device should be mounted in the final location and tested before
adding it to the system.
NOTES:
• Honeywell is not responsible for property damages due to
improper installation of the water valve.
i. Perform steps 1 & 2 above.
ii.. At the Z-Wave water valve press the function key to enroll
iii. At the VAM:
a) To verify activation, Click the Back button and wait 30
seconds. Click the Refresh button; the new device is displayed.
The screen displays a series of messages:
“Please press function key on device”
“Adding Slave Unit”
“Device added successfully”
Editing Z-Wave Device Names
You can change the name of a device by using the Edit Name button:
1. Go to the Z-Wave Management screen (Automation > Z-Wave Setup).
2. Highlight the device name and click the Edit Name button.
3. Enter a new name.
4. Click OK.
5. To display a different icon select the icon from the list below (NOTE: this
only applies to binary and multilevel switches):
Light Bulb
Light Switch
Garage Door
Sprinkler
Pool

 Loading...