97-6331 • HOTSY 558-559 • REV. 4/06
5
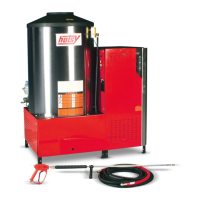
PRESSURE WASHER
OPERATOR’S MANUAL
Unpacking
Unpack carefully. Wear safety glasses or goggles while
unpacking, assembling or operating pressure washer.
If there are missing components or hidden damage
immediately contact distributor or carrier concerning
discrepancies.
1. Cut strapping band from pressure washer and pal-
let.
2. Remove pressure washer from pallet.
Parts Included
• Pressure Washer
• Pressure Hose
• Hose Hanger
• Wand
• Parts Bag Containing:
■ Adjustable Pressure Nozzle
■ Garden Hose Connector
■ Quick Disconnect
■ Trigger Gun
■ Garden Hose Connector Spring
■ Quick Disconnect Plug
• Operating Instructions and Parts Manual
Tools Required
• 10" Adjustable Crescent Wrench (2 ea.)
• 1/2" Allen Wrench
• Small Flat Head Screwdriver
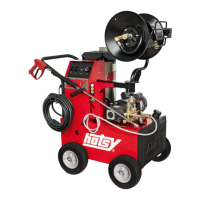
Hose Hanger
1. Install the hose hanger as shown in Figure 2.
ASSEMBLY
Figure 2 - Hose Hanger Installation
Hose Hanger
Pocket On
Coil Tank
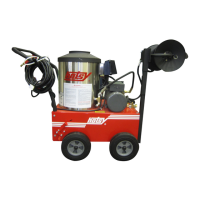
3. Assemble wand components as shown in Figure 4.
Connect pressure hose to trigger gun.
NOTE: The pressure nozzle is not to be installed at
this time.
4. Make sure that all plumbing connections are tight.
Garden Hose Connector
1. When assembling, use teflon tape on all plumbing
connections to prevent leakage.
2. Locate the garden hose connector and garden hose
connector spring from the parts bag.
3. Assemble the spring and connector to the detergent
injector as shown in Figure 11.
4. Make sure that all plumbing connections are tight.
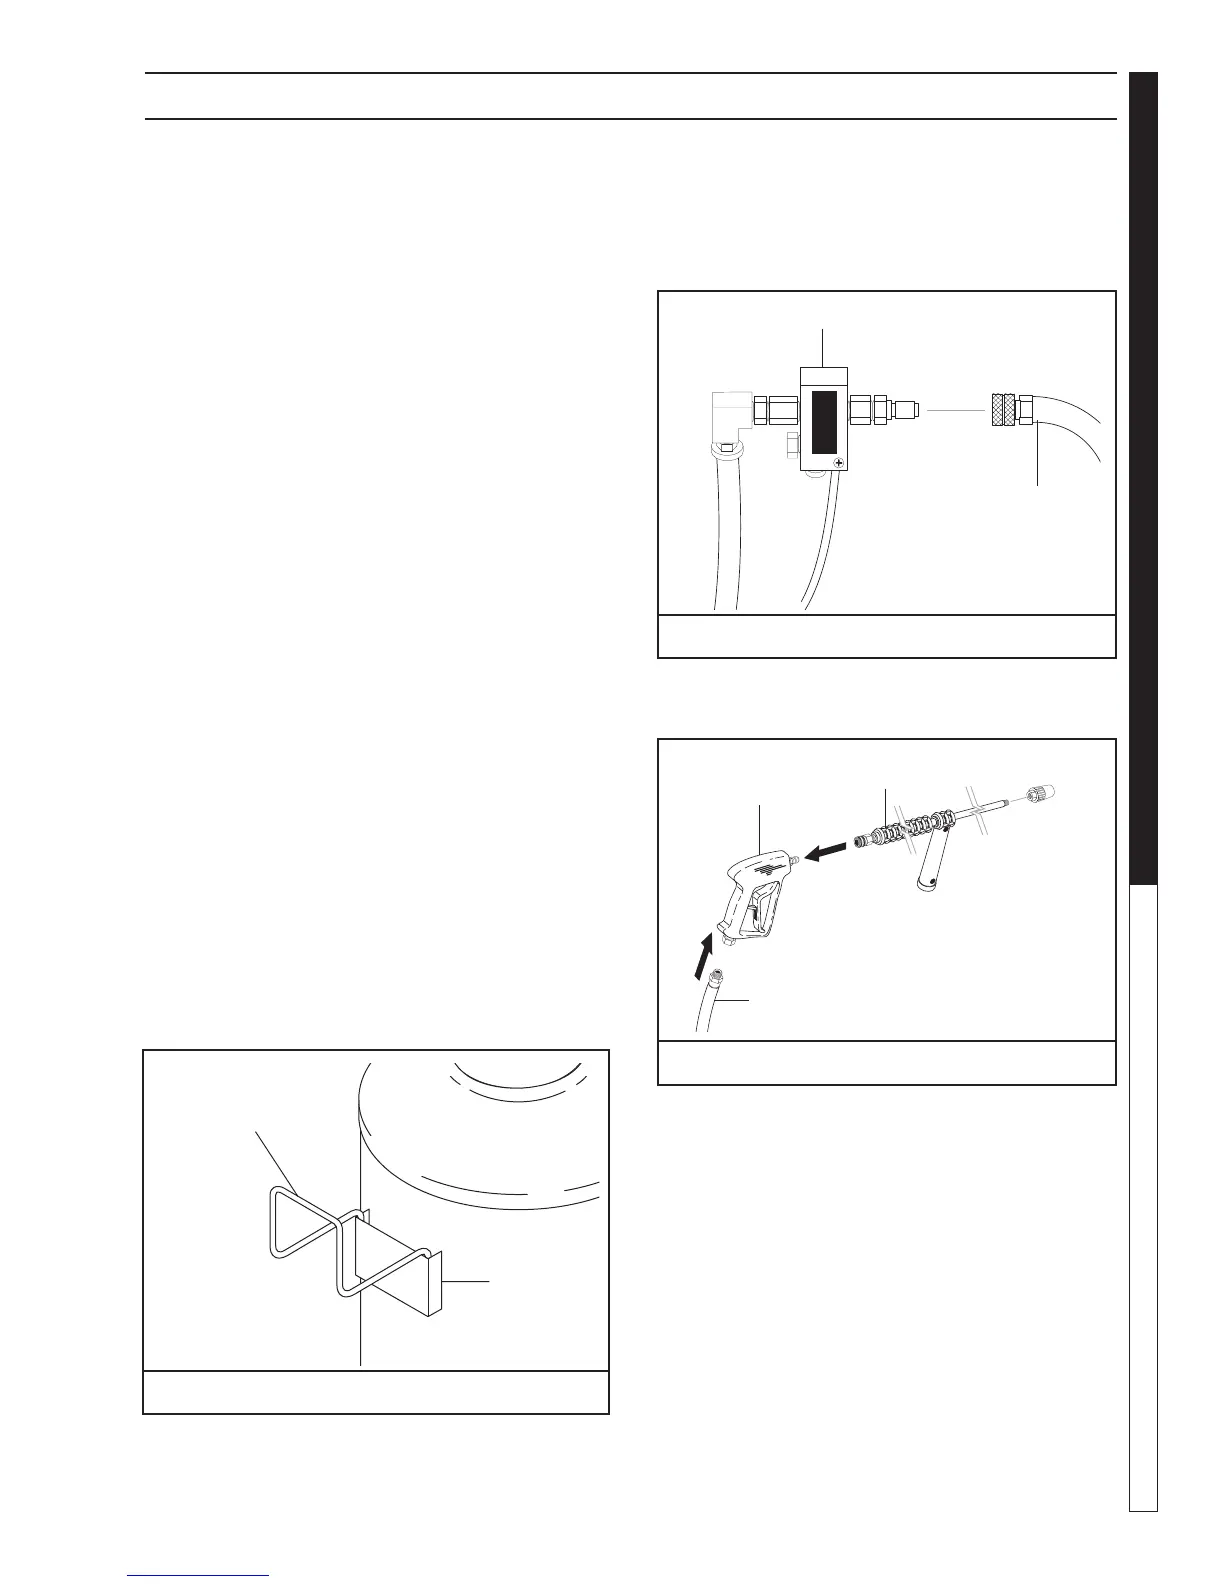
Pressure Hose, Trigger Gun and Wand
1. When assembling, use teflon tape on all plumbing
connections to prevent leakage.
2. Install the pressure hose on the pressure washer
as shown in Figure 3.
Figure 4 - Trigger Gun/Wand Assembly
Wand
Trigger Gun
Pressure Hose
Figure 3 - Installing Pressure Hose
Relief Valve
Pressure Hose
HOT WATER OUTLET
SALIDA DEL AGUA CALIENTE
SORTIE D'EAU CHAUDE