EasyManuals Logo

HP 17 Series User Manual

HP 17 Series
104 pages
To Next Page IconTo Next Page
To Previous Page IconTo Previous Page
Page #79 background imageLoading...
Page #79 background image
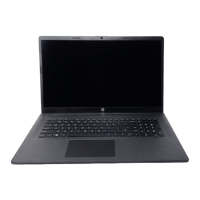
c. Remove the four Phillips M2.0 × 3.0 screws that secure the panel to the display enclosure (2).
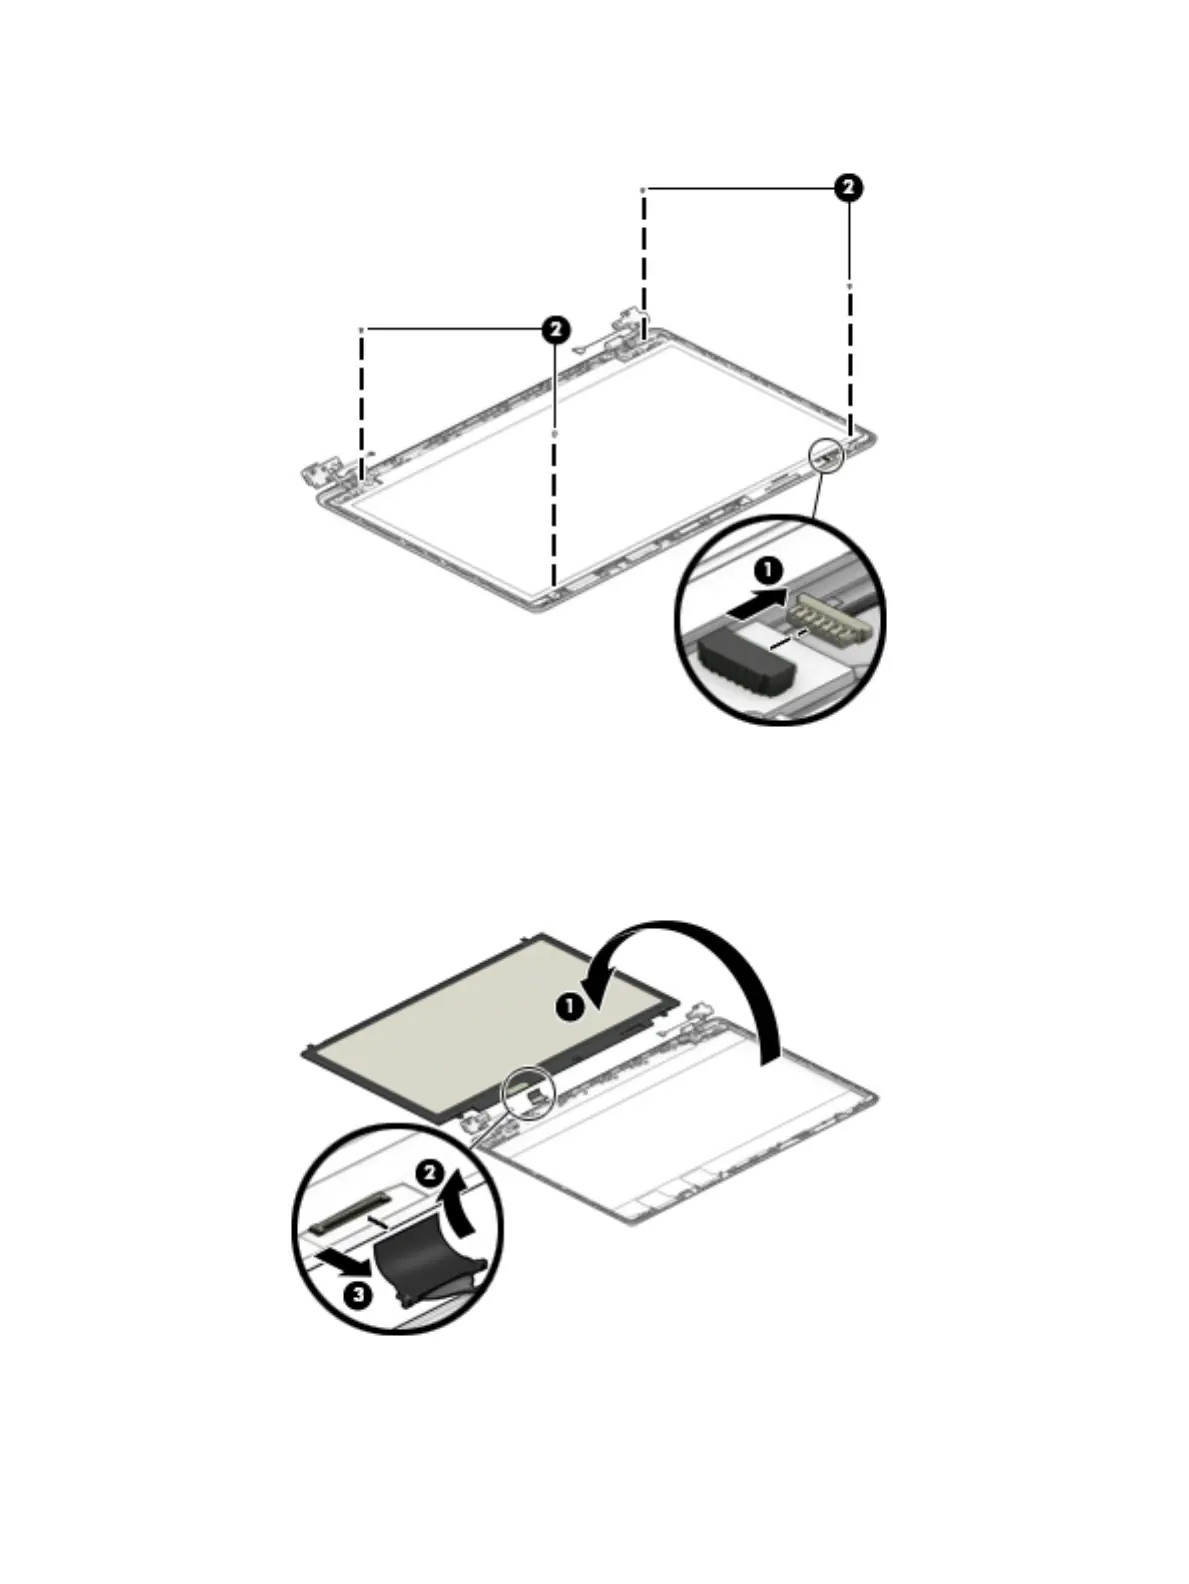
d. Swing the top edge of the display panel forward and position the panel upside down next to the
display enclosure (1).
e. Release the adhesive support strip (2) that secures the display panel cable connector to the
display panel.
f. Disconnect the display panel cable (3) from the display panel.
g. Remove the display panel.
Raw display panels are available using the following spare part numbers:
Component replacement procedures 69

Table of Contents

Questions and Answers:

Question and Answer IconNeed help?

Do you have a question about the HP 17 Series and is the answer not in the manual?

HP 17 Series Specifications

General IconGeneral
Display Size17.3 inches
Operating SystemWindows 10 or Windows 11
Battery LifeVaries by model and usage
Battery3-cell or 4-cell Li-ion
PortsUSB Type-A, USB Type-C, HDMI, SD card reader, headphone/microphone combo (varies by model)
WirelessWi-Fi 802.11ac or 802.11ax, Bluetooth

Related product manuals