EasyManuals Logo

HP Apollo a6000 Chassis User Manual

HP Apollo a6000 Chassis
62 pages
To Next Page IconTo Next Page
To Previous Page IconTo Previous Page
Page #26 background imageLoading...
Page #26 background image
Removal and replacement procedures 26
Installing a server
CAUTION: To prevent improper cooling and thermal damage, operate servers only when the
open side of the server is enclosed by either another server, a divider, or the chassis wall.
When installing servers in the chassis, observe the following guidelines to ensure proper air flow:
Always populate the enclosure from right to left, beginning with bay 10.
Operate servers only when the open side of the server is enclosed by either another server, a
divider, or the chassis wall.
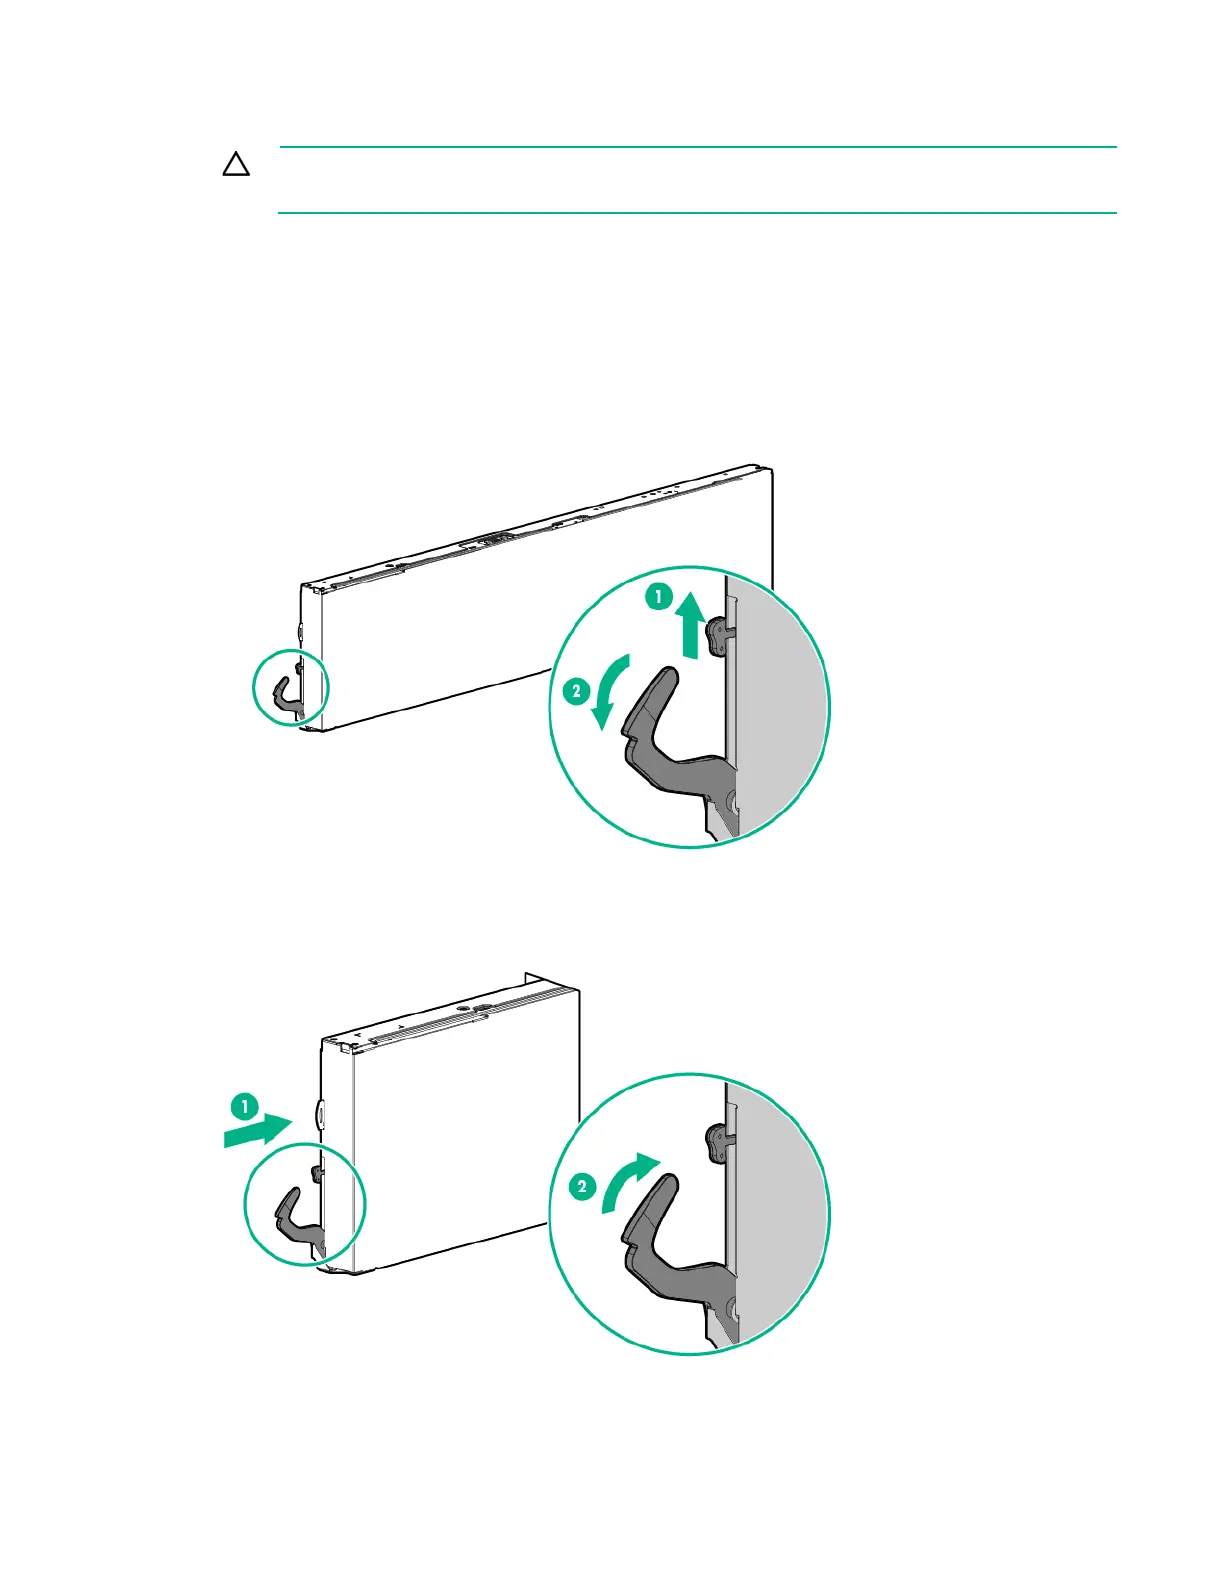
To install the component:
1. Prepare the server for installation.
2. Install the server. When seated properly, the server will be flush with the front of the chassis and the
release lever will close completely without resistance.

Table of Contents

Questions and Answers:

Question and Answer IconNeed help?

Do you have a question about the HP Apollo a6000 Chassis and is the answer not in the manual?

HP Apollo a6000 Chassis Specifications

General IconGeneral
Form FactorRack
Number of Nodes Supported4
Processor SupportIntel Xeon Scalable processors
ManagementIntegrated Lights-Out (iLO)
Memory SupportVaries by node. Supports DDR4 memory.
Drive BaysVaries by node. Supports SAS/SATA/SSD drives.
Expansion SlotsVaries by node. Supports PCIe slots.
NetworkingVaries by node. Supports Ethernet and InfiniBand.

Related product manuals