Service Reference Guide, dc5000 360201-002 7–17
Removal and Replacement Procedures— Small Form Factor (SFF) Chassis
✎
When replacing the drive, transfer the four screws from the old drive to the new one. The screws
take the place of drive rails.
✎
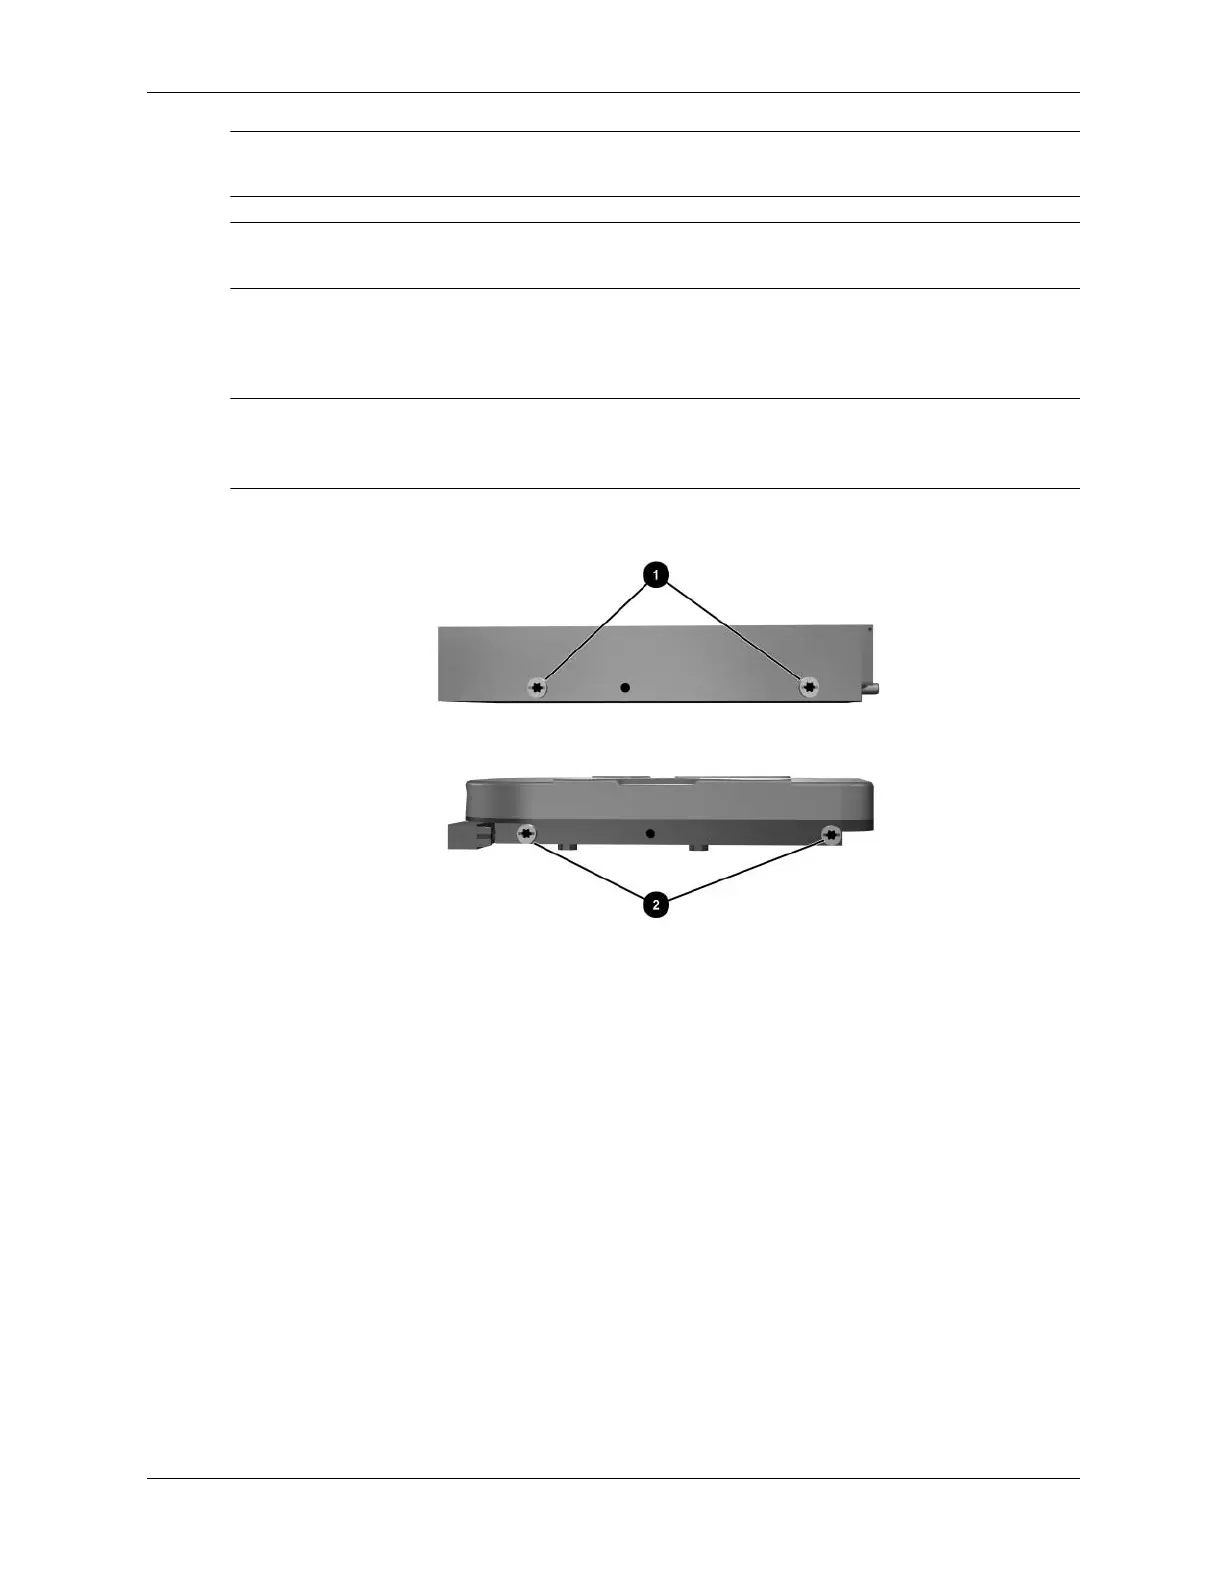
The guide screws on a 3.5-inch diskette drive 1 are placed closer together than on the hard
drive 2.
9. Insert the rear screws of the hard drive 1 into the rear J-slots. Slide the drive 2 toward the
back of the drive cage until the front screws are aligned with the front J-slots. Then lower the
front of the drive. Continue to slide the drive all the way back until it locks into place.
✎
If replacing a diskette drive, all guide screws (front and rear) will line up on the J-slots. Insert the
guide screws into the J-slots, then slide the drive toward the back of the drive cage until it locks
into place.
10. Connect the power and data cables.
11. Make sure the drive cables are routed properly (Section 7.8.2, “Cable Routing”).
12. Rotate the drive cage to its original position.
13. Replace the front bezel and computer access panel.