3. Disconnect the power from the computer by first unplugging the power cord from the AC outlet and
then unplugging the AC adapter from the computer.
4. Remove the battery (see
Battery on page 45).
5. Remove the following components:
a. Hard drive (see
Hard drive on page 49)
b. Optical drive (see
Optical drive on page 52)
c. Keyboard (see
Keyboard on page 56)
d. Switch cover (see
Switch cover on page 69)
e. TouchPad (see
TouchPad on page 66)
f. Display assembly (see
Display assembly on page 73)
g. Top cover (see
Top cover on page 79)
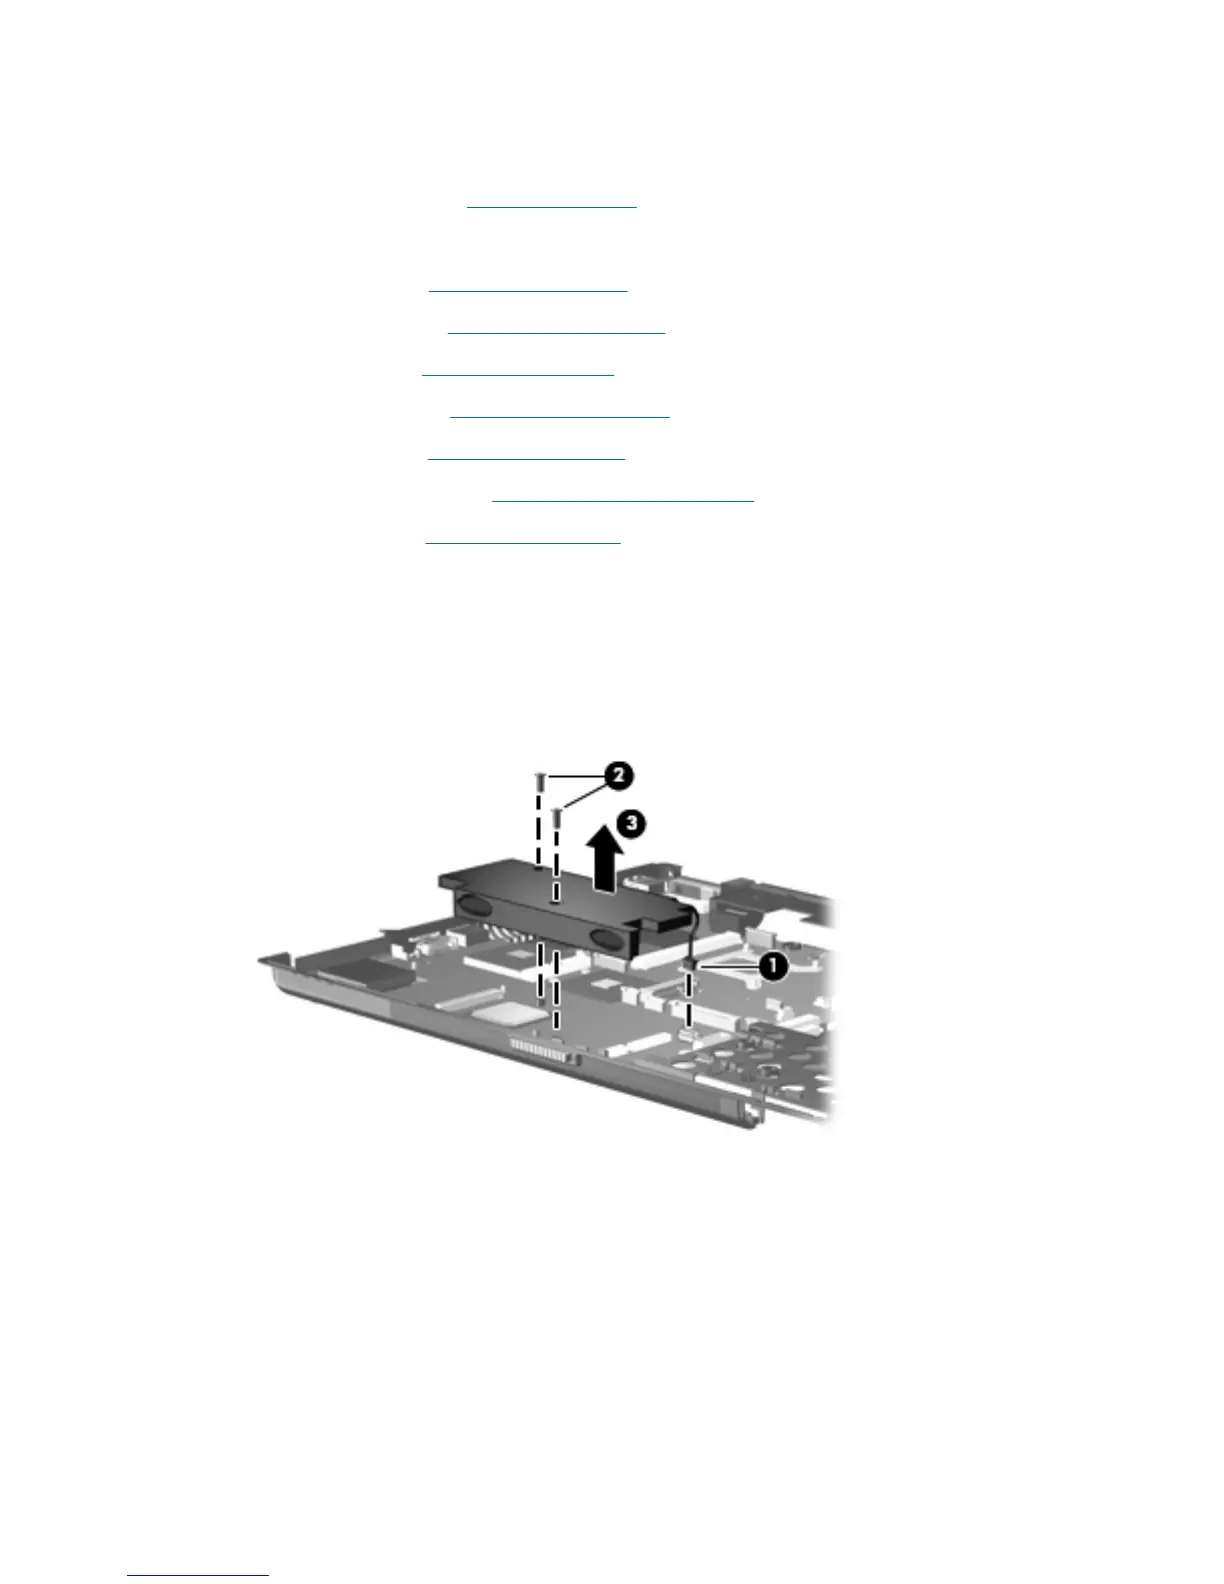
Remove the speaker assembly:
1. Disconnect the speaker cable (1) from the system board.
2. Remove the two Torx PM2.5×8.0 screws (2) that secure the speaker assembly to the base
enclosure.
3. Remove the speaker assembly (3) from the base enclosure.
Reverse this procedure to install the speaker assembly.
82 Chapter 4 Removal and replacement procedures
 Loading...