4. Route the cables through the bottom piece of the mounting bracket (1). Press the mounting bracket
against the bottom of the mounting surface and over the top mounting bracket (2), and then tighten the
bracket (3).
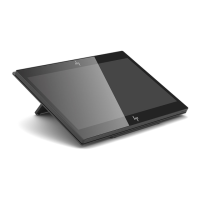
Installing a slim VESA mount
To install a slim VESA mount, use this procedure and illustration.
NOTE: This VESA product uses standard M4 × 10 mm screws. Conrm that the product you are mounting to
can use this size screw.
1. Turn o the computer properly through the operating system, and turn o any external devices.
2. Disconnect the power cord.
NOTE: Regardless of the power state, voltage is always present on the system board as long as the
system is plugged into an active AC outlet. You must disconnect the power cord and wait approximately
30 seconds for the power to drain to avoid damage to the internal components of the computer.
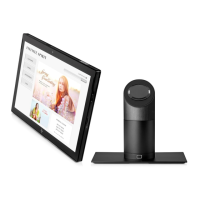
3. Remove the cable cover (1).
4. Disconnect the network cable (2) and the USB power cord (3) from the head unit.
Installing a slim VESA mount 15