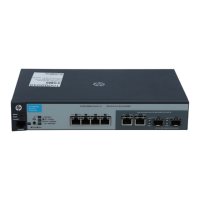
2. Attach the controller to the wall or wood surface with two 15.9 mm (5/8 inch) number 12
wood screws (not included).
Figure 7 Wall mounting the controller
Using on a table
For table top use, attach the provided rubber feet to the four underside corners of the controller.
To reduce risk of someone tripping on the cables, consider anchoring the cables to a table leg.
CAUTION: Ensure the air flow is not restricted around the sides and back of the controller.
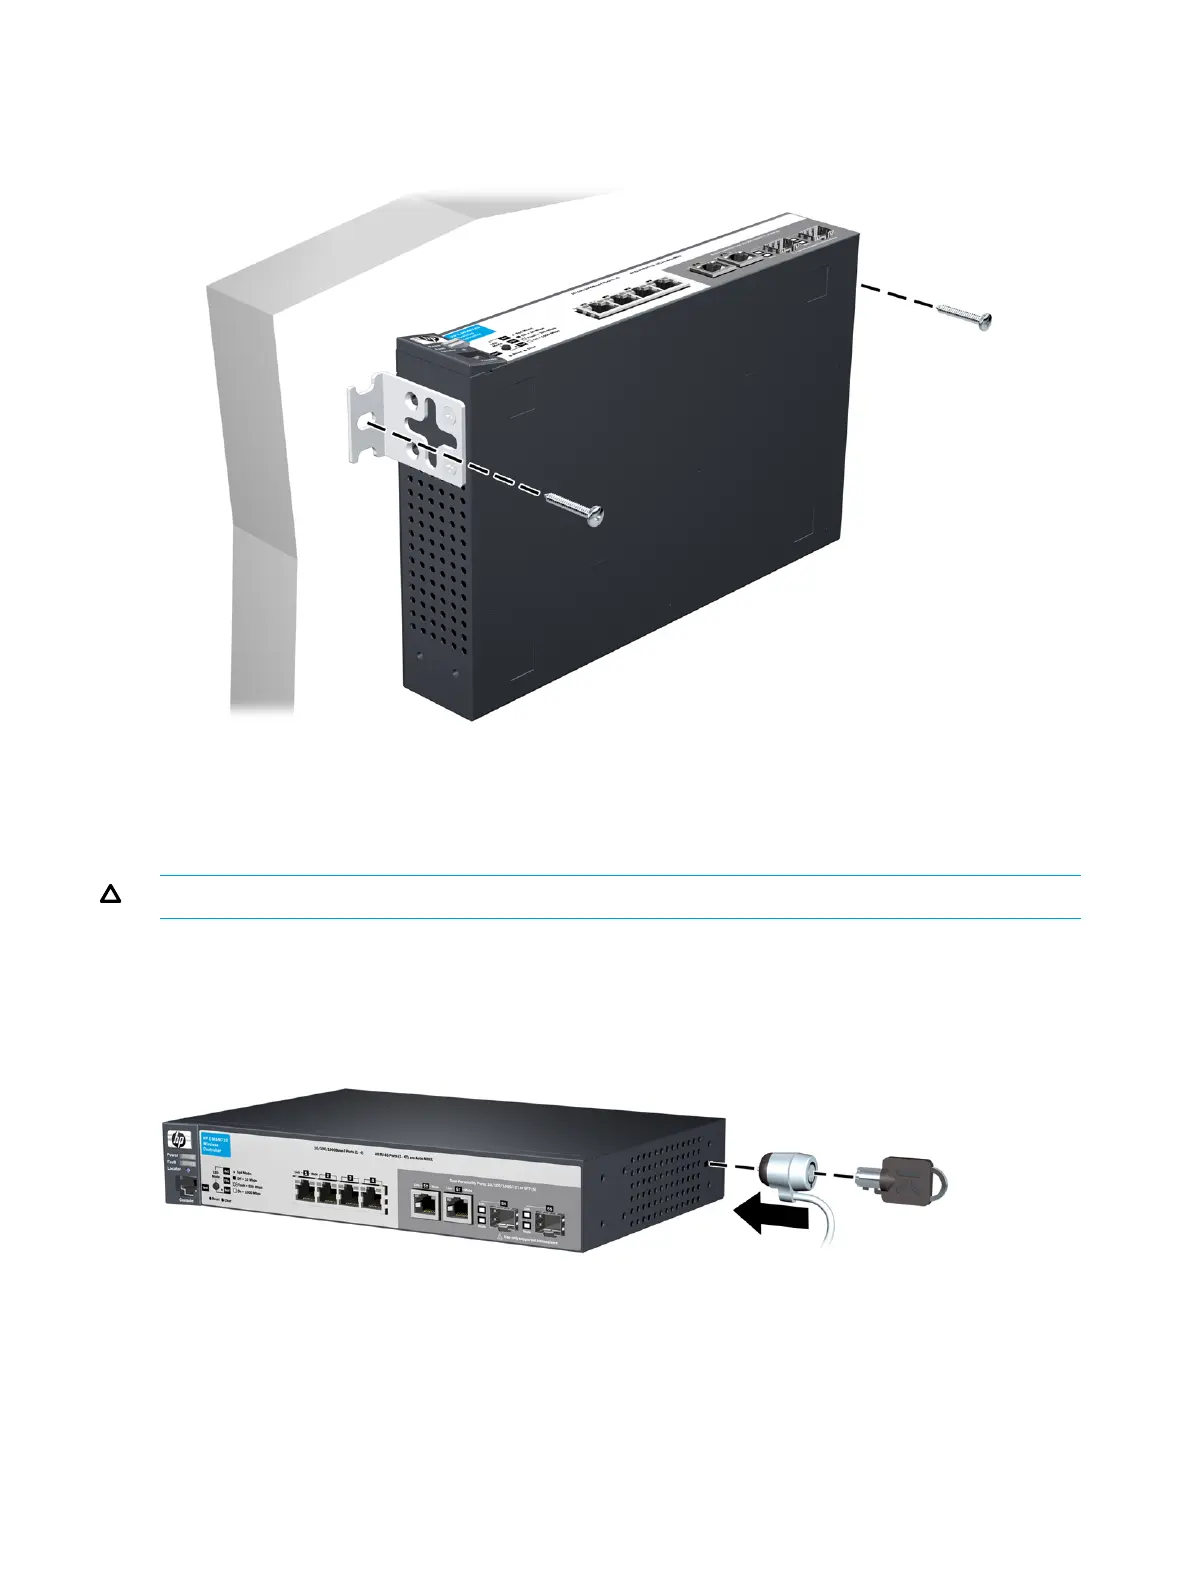
Using a Kensington security cable
To prevent unauthorized removal of the controller, you can use a Kensington Slim MicroSaver
security cable (not included) to attach the controller to an immovable object.
Figure 8 Using a security cable
Connect the controller to a power source
1. Plug the AC/DC adapter’s power cord into the controller and then plug the AC/DC power
adapter into a nearby AC power source.
2. Re-check the LEDs during self test. See “LED behavior” (page 10).
12 Installing the controller
 Loading...