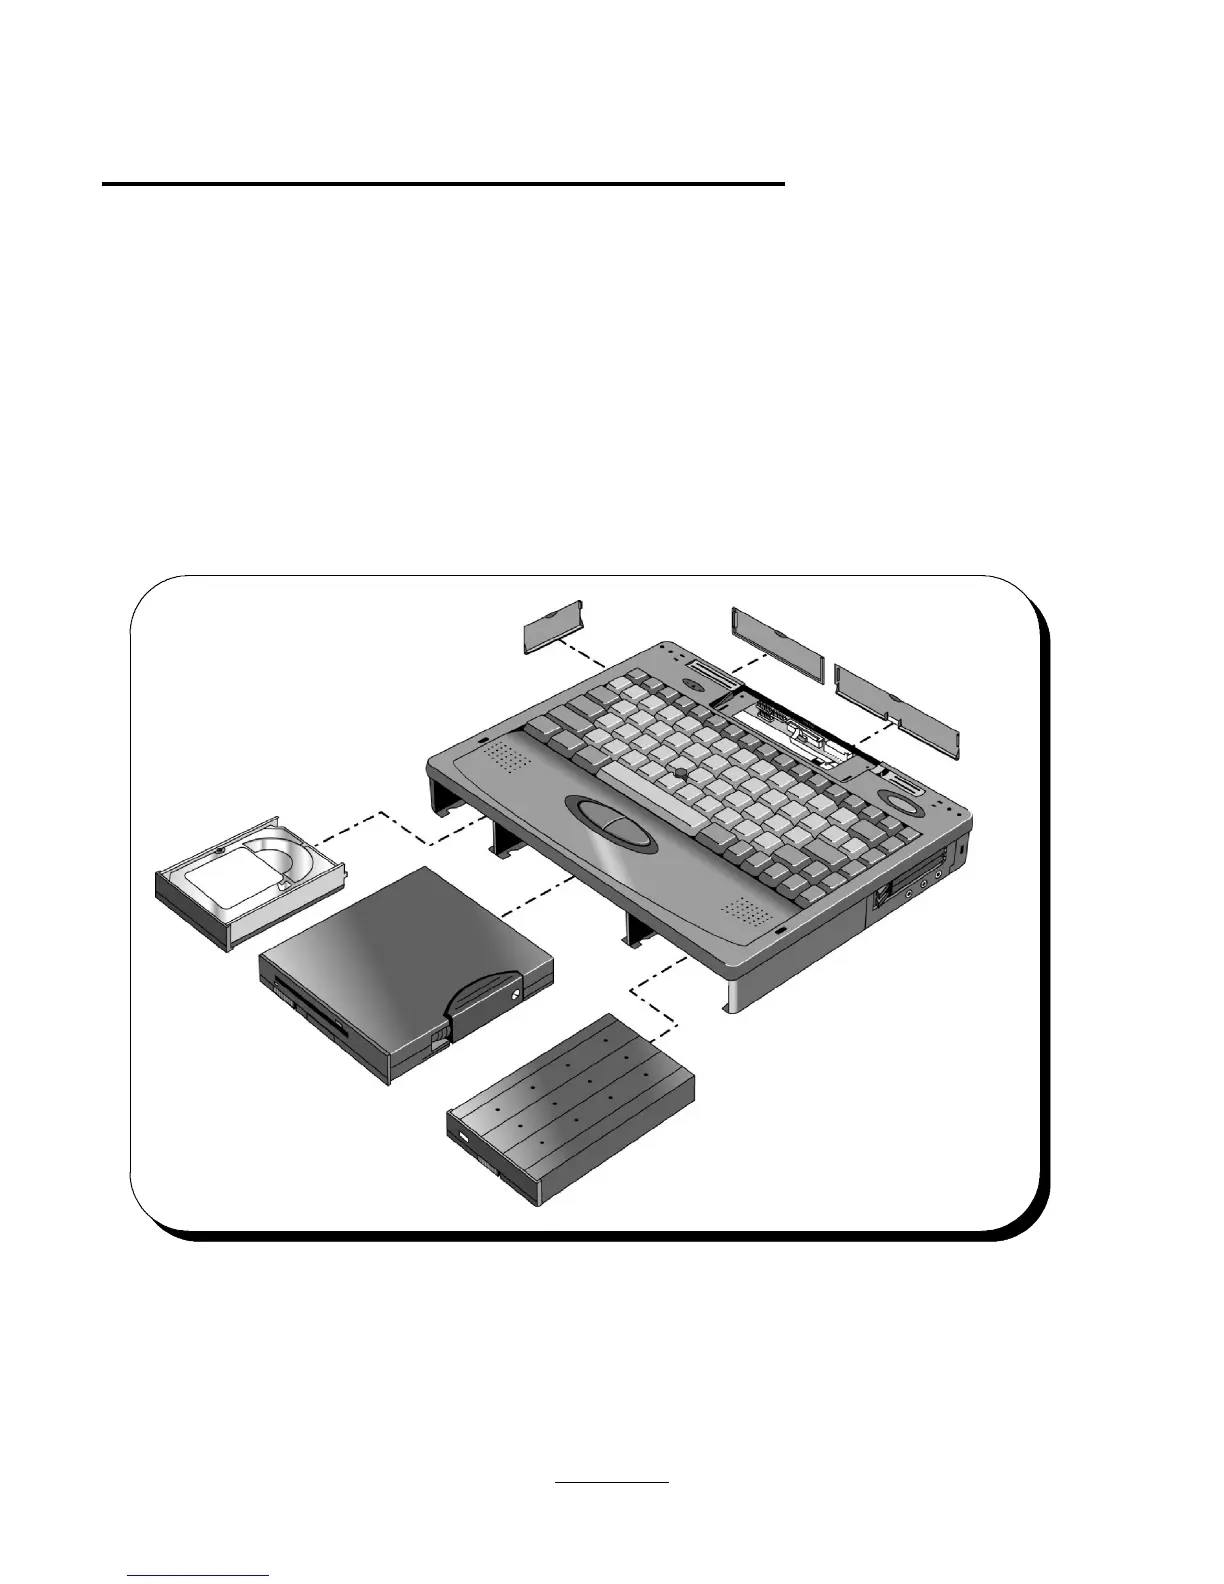
Removal of Keyboard and Power Supply Board (PCA PT-DC)
To remove the Keyboard and PCA PT-DC, first follow the instructions above to remove the HDD Drive, Center Bay Module (FDD Module,
CD-ROM Assy, or Enhanced Li-Ion Battery), Standard Li-Ion Battery, and the Palmrest Assy. Remove the four screws (Screw - Keyboard) from
the front edge of the keyboard. The keyboard then lifts up and rotates backward around the two ribbon cables that connect it to the PCA
PT-DC. Remove the PCA PT-DC by pulling up on the tabs on either side of the PCA PT-DC. Separate the Keyboard and the PCA PT-DC by
sliding the sleeves forward on the two ribbon cable connectors on the PCA PT-DC and withdrawing the cables.
Reverse the procedure reassemble.
26
 Loading...


