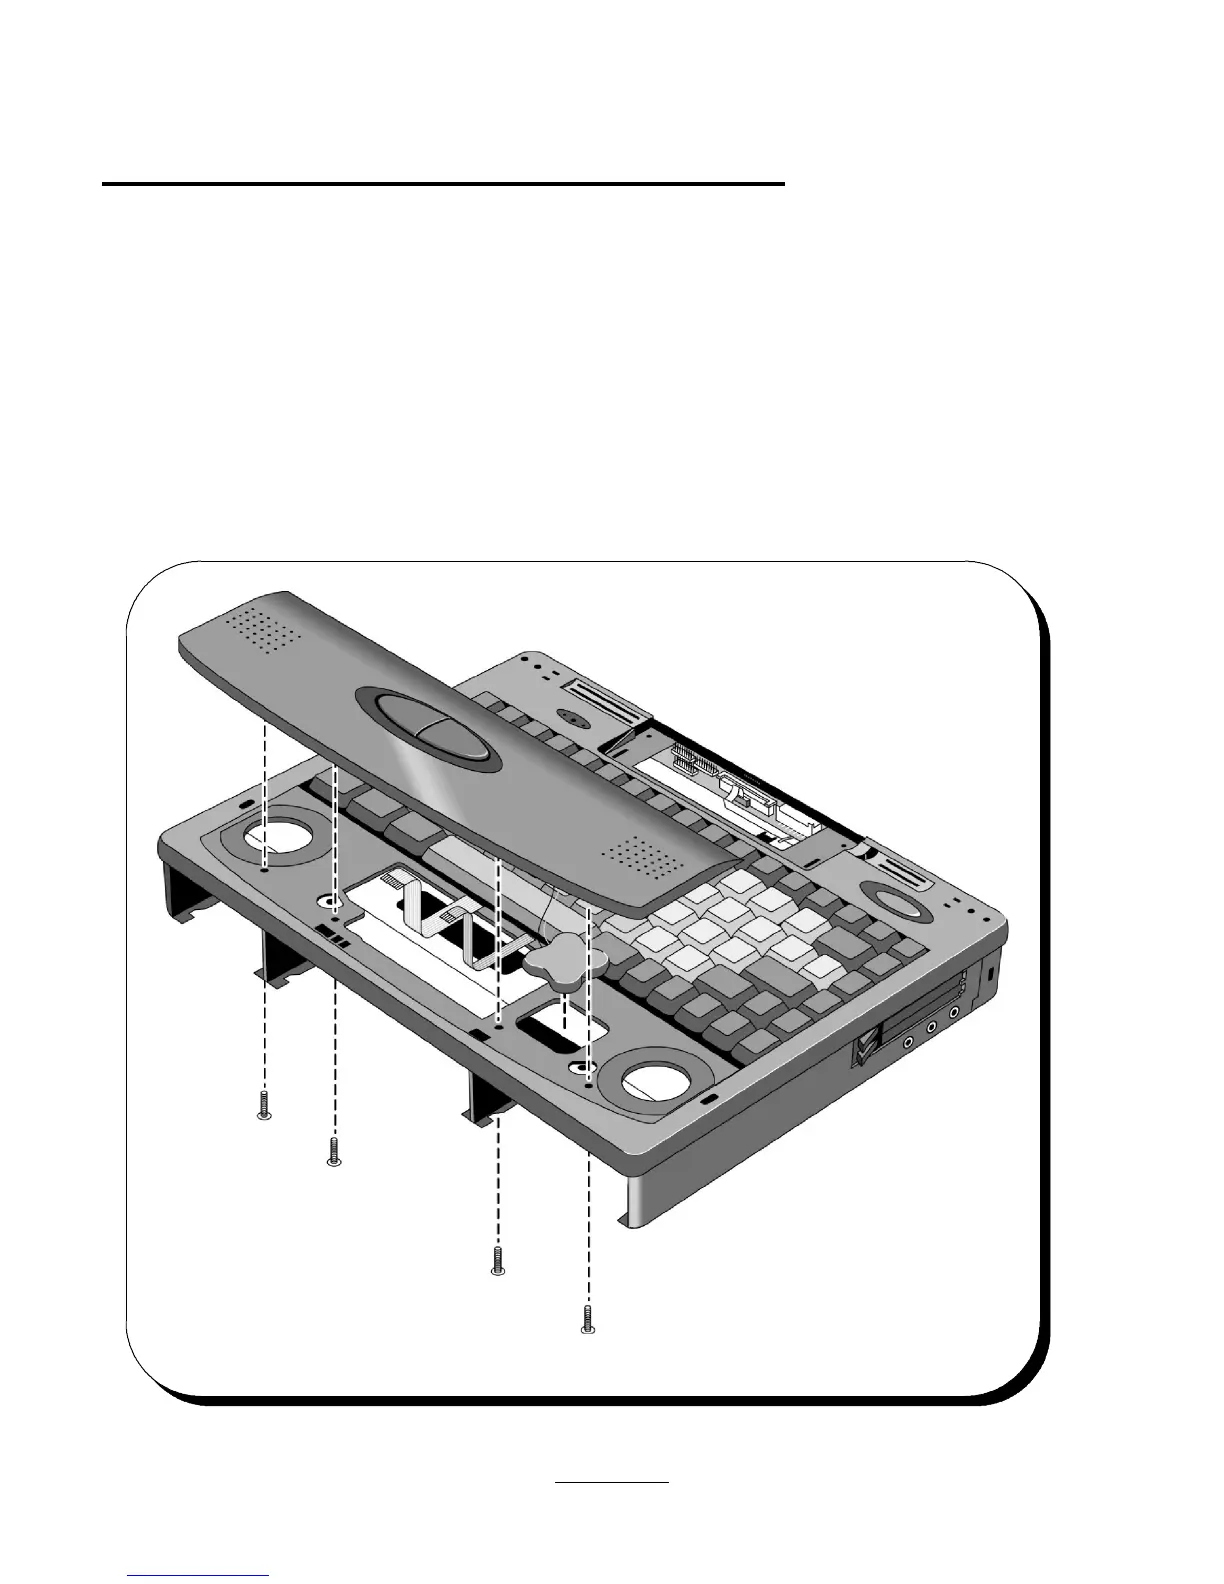
Removal of Upper Chassis Case and Icon PCA (PCA PT-ICON)
To remove the Upper Chassis Case and PCA PT-ICON, first follow the instructions above to remove the HDD Drive, Center Bay Module (FDD
Module, CD-ROM Assy, or Enhanced Li-Ion Battery), Standard Li-Ion Battery, Palmrest Assy, Keyboard and PCA PT-DC. Remove the one
screw (Screw - CPU M2 X 4L) on the left side of the Upper Chassis Case. Upper Chassis Case can then be snapped off. If necessary the
suspend/resume button assembly (PA PT-TRP), which comes with the Upper Chassis Case repair part, can be removed by removing the two
screws.
Remove the one screw (Screw - CPU M2 X 4L) holding the PCA PT-ICON down. Pull straight up on the PCA PT-ICON to remove it.
Reverse the procedure to reassemble. Make sure microphone fits in the recess in the Upper Chassis Case on reassembly.
27
 Loading...


