NOTE: Repeat similar steps as indicated for the other hard disc drives
installation.
Installing the power supply unit
The system supports Server Standard & Compliant supplies, along with
any other compatible supplies that may be developed.
Power supply unit installation
guidelines
Installation instructions for the MicroServer standard multi-outputs
power supply. To simplify the standard power supply unit installation,
the user must de-install and re-install the ODD.
1. Use the HP ProLiant MicroServer’s key to unlock the panel door.
2. Open the panel door of the server and remove any components
or cables that prevent access to the slot.
3. Loosen the back thumb screw which locks the top panel on the
chassis.
4. Slide the top panel forward and then lift to remove it from the
chassis.
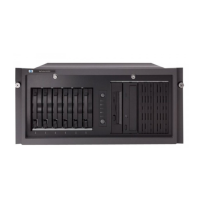
5. Disconnect the power cables:
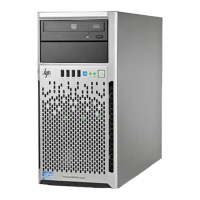
5a. Disconnect the SATA ODD power cable and ODD cable.
IMPORTANT: Slide the ODD out of chassis before
disconnecting the 4 hard drive power cables.
5b. Disconnect the 4 hard drive power cables.
5c. Disconnect the power cable from the system tray.
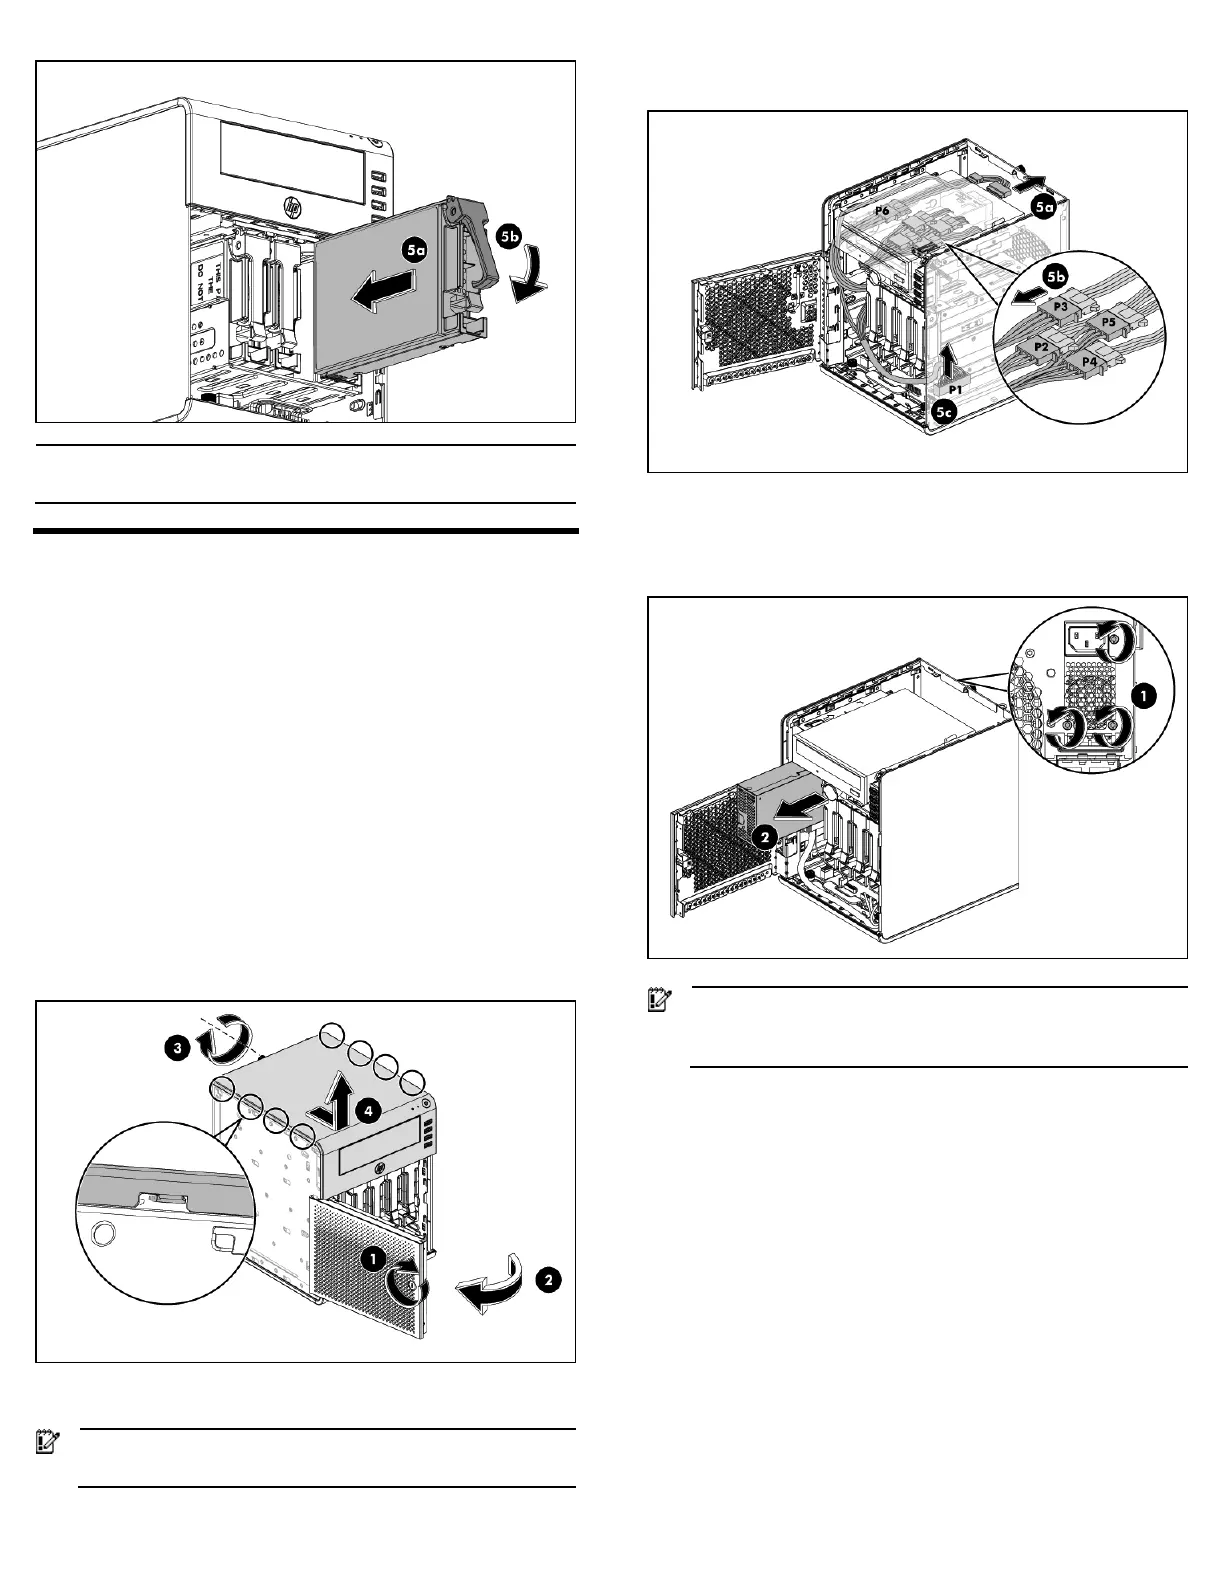
6. Remove the standard power supply unit out of the chassis:
6a. Unfasten the three screws on the back of chassis to release
the power supply unit.
6b. Pull the standard power supply unit out of the chassis.
IMPORTANT: Reinstall the ODD by following the procedure
steps described in the “Installing the Optical Disc Drive”
section.