7. Install the replacement power supply unit in the chassis.
8. Connect the power cables:
8a. Connect the power cable P1 to the 24-pin power connector
on the system board (J12).
8b. Connect the power cable P2, P3, P4, P5 to Hard drive 1,
Hard drive 2, Hard drive 3, Hard drive 4.
8c. Connect the power cable P6 to the ODD and connect the
ODD cable.
8d. Fasten the three screws on the back of chassis to secure the
power supply unit (see the above picture).
9. After installing the power supply and connecting the power
cables, slide the top panel to reinstall it into the chassis.
10. Fasten the back thumb screw to secure the top panel on the
chassis.
11. Close the front panel door of the server.
12. Use the HP ProLiant MicroServer’s key to lock the panel door.
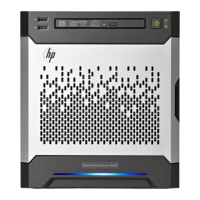
Installing the Optical Disc Drive
1. Use the HP ProLiant MicroServer’s key to unlock the panel door.
2. Open the panel door of the server. If necessary, remove any
components or cables that prevent access to the slot.
3. Loosen the back thumb screw which locks the panel on the
chassis.
4. Slide the top panel forward and then lift to remove it from the
chassis.
5. Remove the plastic faceplate from the top cover.
6. Use the screw driver to shake the metal faceplate holes up and
down to uninstall the metal faceplate from the top cover.
NOTE: The removal of metal faceplate is required for ODD module
installation; it may not need after removing.