Installation and configuration 19
Configuring a USB to serial converter
NOTE: This procedure was tested on the Windows
®
XP Professional, Windows Server
®
2003,
and Windows
®
Vista Enterprise operating systems using the HP USB to serial converter (part
number 304098-001). Depending on your system configuration, a driver download might be
required to successfully install the converter. The driver can be downloaded from the USB-Drivers
website (http://www.usb-drivers.com/drivers/123/123294.htm).
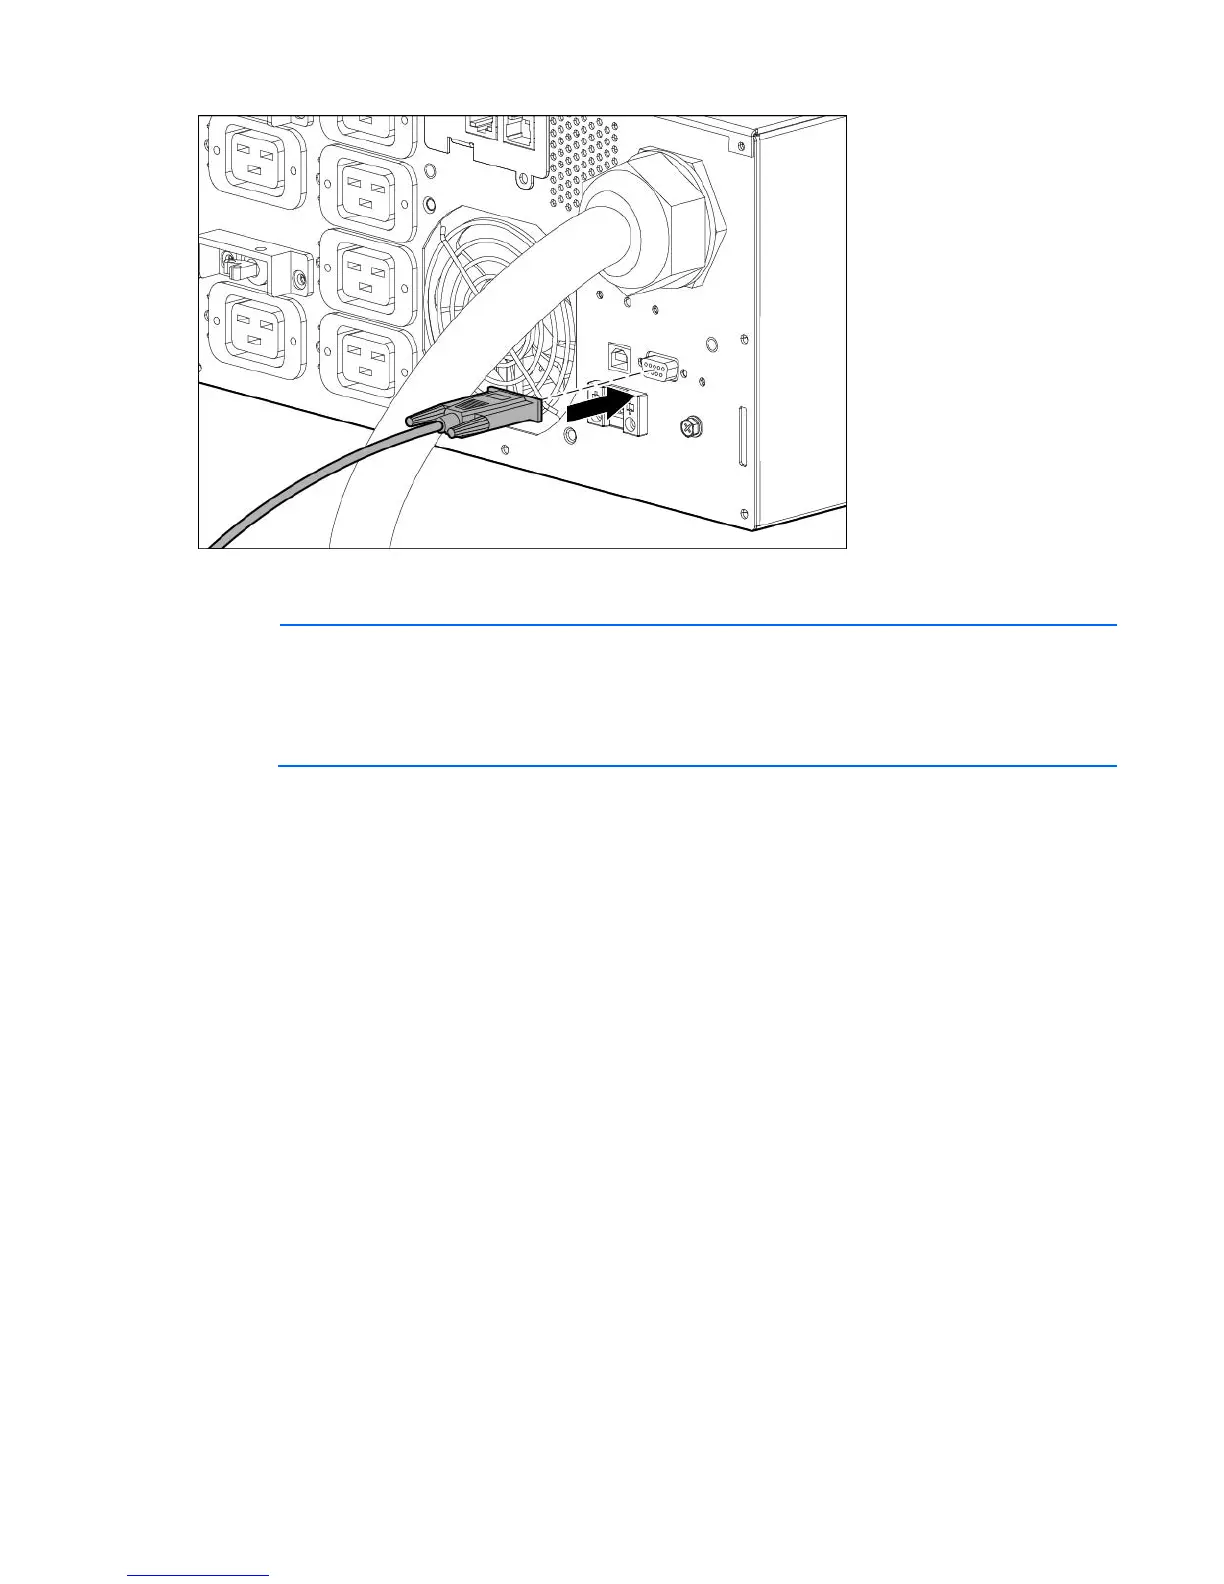
To configure a USB port to the COM 1 port on systems that do not have available serial ports:
1. Connect the USB to serial converter to the USB port on your system.
2. For Windows Vista, click Start, select Control Panel, double-click System and Maintenance, and then
skip to step 4.
-or-
For Windows XP, click Start, select Control Panel, click Performance and Maintenance, and then click
System.
-or-
For Windows Server, click Start, select Control Panel, and then double-click System.
3. Click the Hardware tab.
4. Click Device Manager. The Device Manager screen appears.
5. In the tree displayed in the left panel, click the Ports (COM & LPT) branch to expand.
6. Double-click the port that is assigned to your USB to serial converter device. This port is usually named
with the device manufacturer's name followed by one of the following:
o USB to Serial Bridge (COM 4)
o USB Serial port
o Communications Port (COM1)
The Port Properties screen appears.
7. Click the Port Settings tab. The Port Settings screen appears.
8. Click Restore Defaults. The following default settings appear:
 Loading...