Chapter 4 Procedures
36
Reversing Rear Door
Tools needed: Torx 25 Driver
NOTE: Extend the rack’s four stabilizer
feet before installing the door.
NOTE: Problems with cable guides, tie-
together kits, and PDUs which interfere
with reversing the door must be solved on a
case-by-case basis. Generally, reversing
everything on the rear columns is a
workable solution.
67(3
Secure power and prepare the rack.
Turn off all equipment in the rack, if necessary,
taking necessary precautions to prevent data
loss. Secure main power to the rack.
67(3
Remove ground cable.
Disconnect both ends.
67(3
Remove door.
Open the door to 45 degrees, and lift it off its
hinges.
67(3
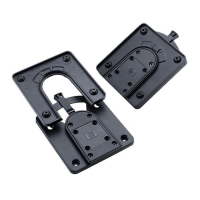
Remove and replace hinges and latch.
Remove hinges and latch catch. Replace them
in the some positions on the opposite column.
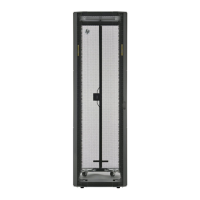
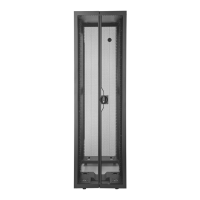
The rear columns have identical placements of
threaded inserts. Both rear columns have
threaded inserts positioned to accept hinge
bolts at the 9
th
and 14
th
holes from the top and
the bottom
The columns have pre-installed threaded
inserts for latch catch. Both rear columns have
threaded inserts positioned to accept latch bolts
at the listed hole numbers, counting down from
the top.
1.25m rack: Holes 22 and 26
1.6m rack: Holes 30 and 34
1.96m rack: Holes 38 and 42