Chapter 4 Procedures
31
Installing Front Door
This instruction is for all front door sizes.
Contents
1 Front Door
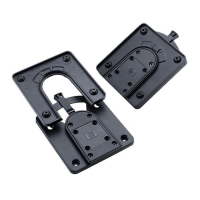
1 Latch, Slam Assy
1 Latch -Catch
1 Cable, Door Ground Assy
6 Machine Screws
1 Contact, single, male
2Hinge, Front
2Ext Lock Washers
4 Ext Lock Washers w/ nut
3 Bumper Feet
Tools Needed: Torx 25 Driver
67(3
Secure Power.
Turn off all equipment in the rack, if necessary,
taking necessary precautions to prevent data
loss. Secure main power to the rack.
67(3
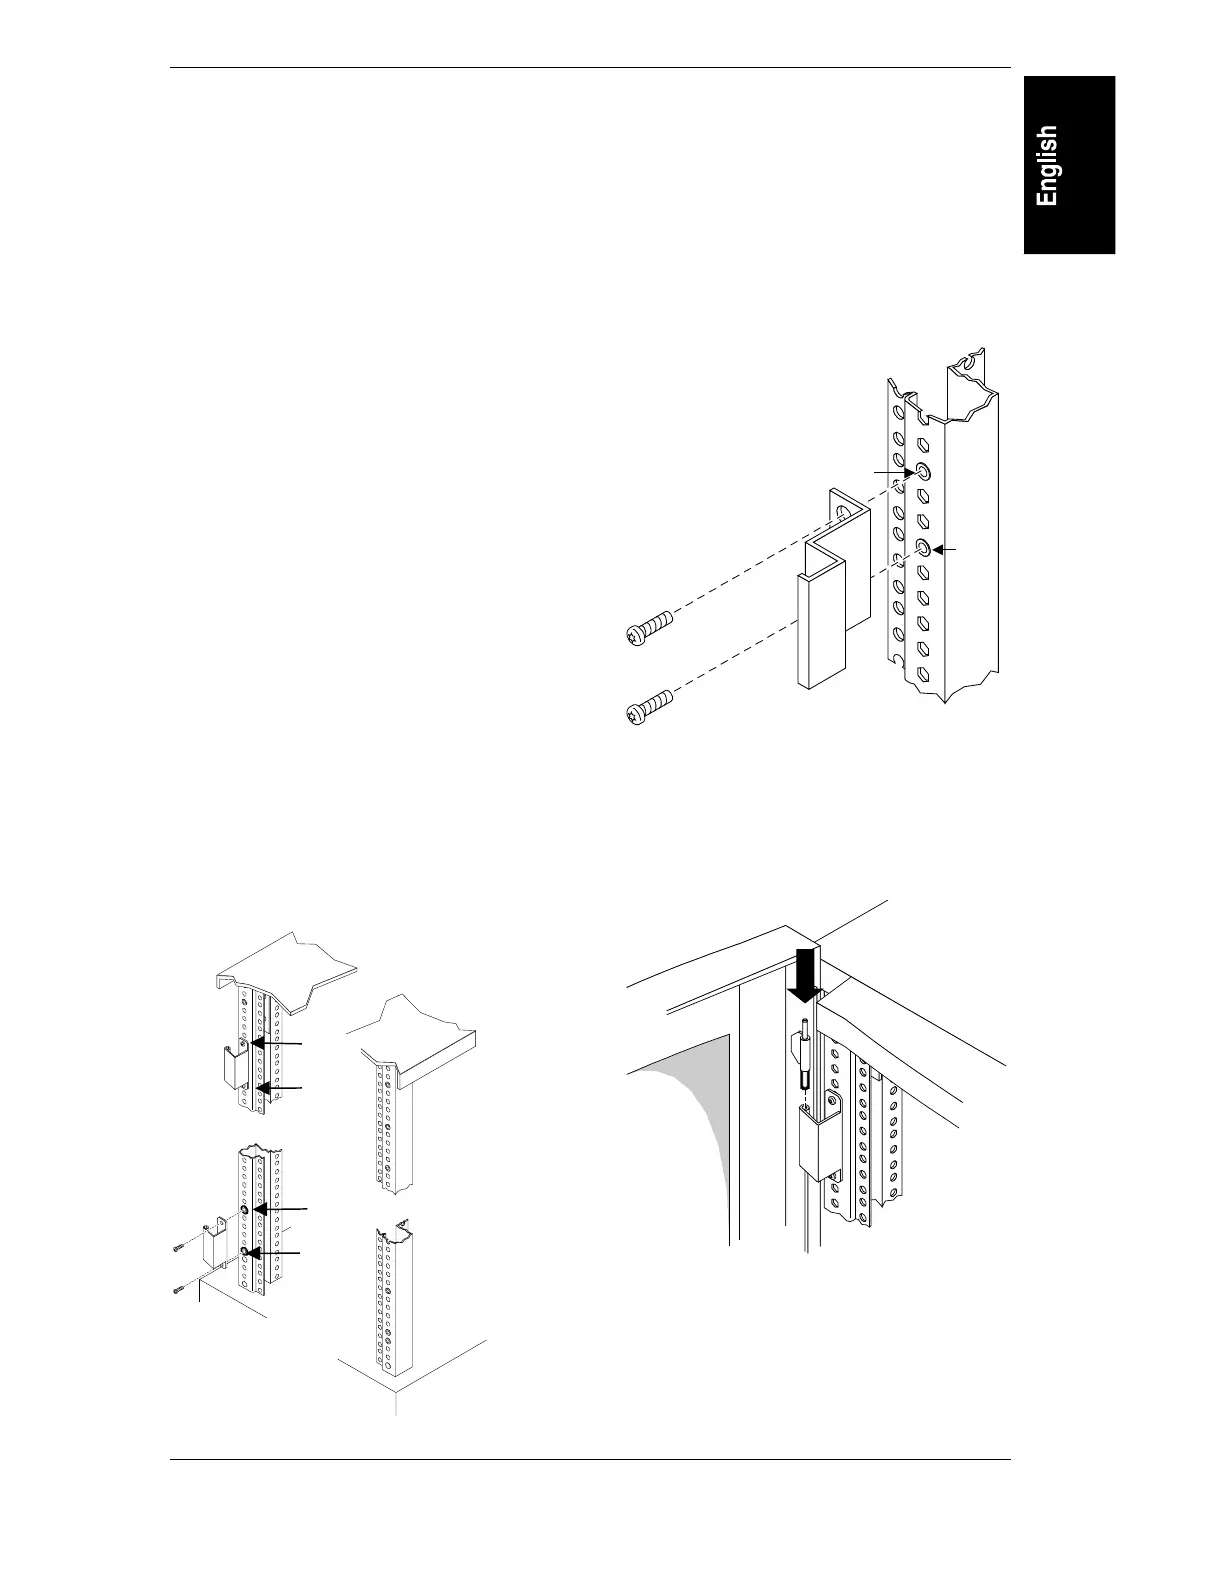
Install hinges.
The front left column has pre-installed
threaded inserts for the hinges. The /E series
front right column is also equipped with
threaded inserts, allowing for a right-hinged
door. The left front column has threaded inserts
positioned to accept machine screws at the 11
th
and 15
th
holes down from the top, and the 6
th
and 10
th
holes up from the bottom. Position the
hinges on the left column and and secure with
machine screws.
11 th
15 th
10 th
6 th
67(3
Install the latch catch.
The right front column has pre-installed
threaded inserts positioned to accept latch bolts
at the 23
rd
and 27
th
holes from the top. Position
the latch on the right column and secure with
machine screws. Secure the latch catch to the
left column if installing a right-hinged door.
23 rd
27 th
67(3
Install the door.
The door has pins attached to it that fit onto the
holes in the hinges. Open the door to
approximately 90 degrees and lower the door
pins onto the two hinges.
4
1