8.
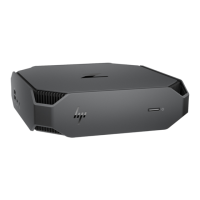
If you are replacing the DX115 unit, remove and retain the four M3 x 5mm screws (black) from
the lower four mounting holes of the DX115 case, and then transfer the screws to the new unit.
(You can also store the screws in the chassis. See
Locating extra guide screws on page 81 for
screw locations.)
Figure 5-29 Removing the guide screws
9.
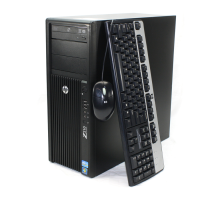
If it is necessary to remove the a hard disk drive from the carrier:
a.
Remove the locking screws from the sides of the carrier.
Figure 5-30 Removing the locking screws
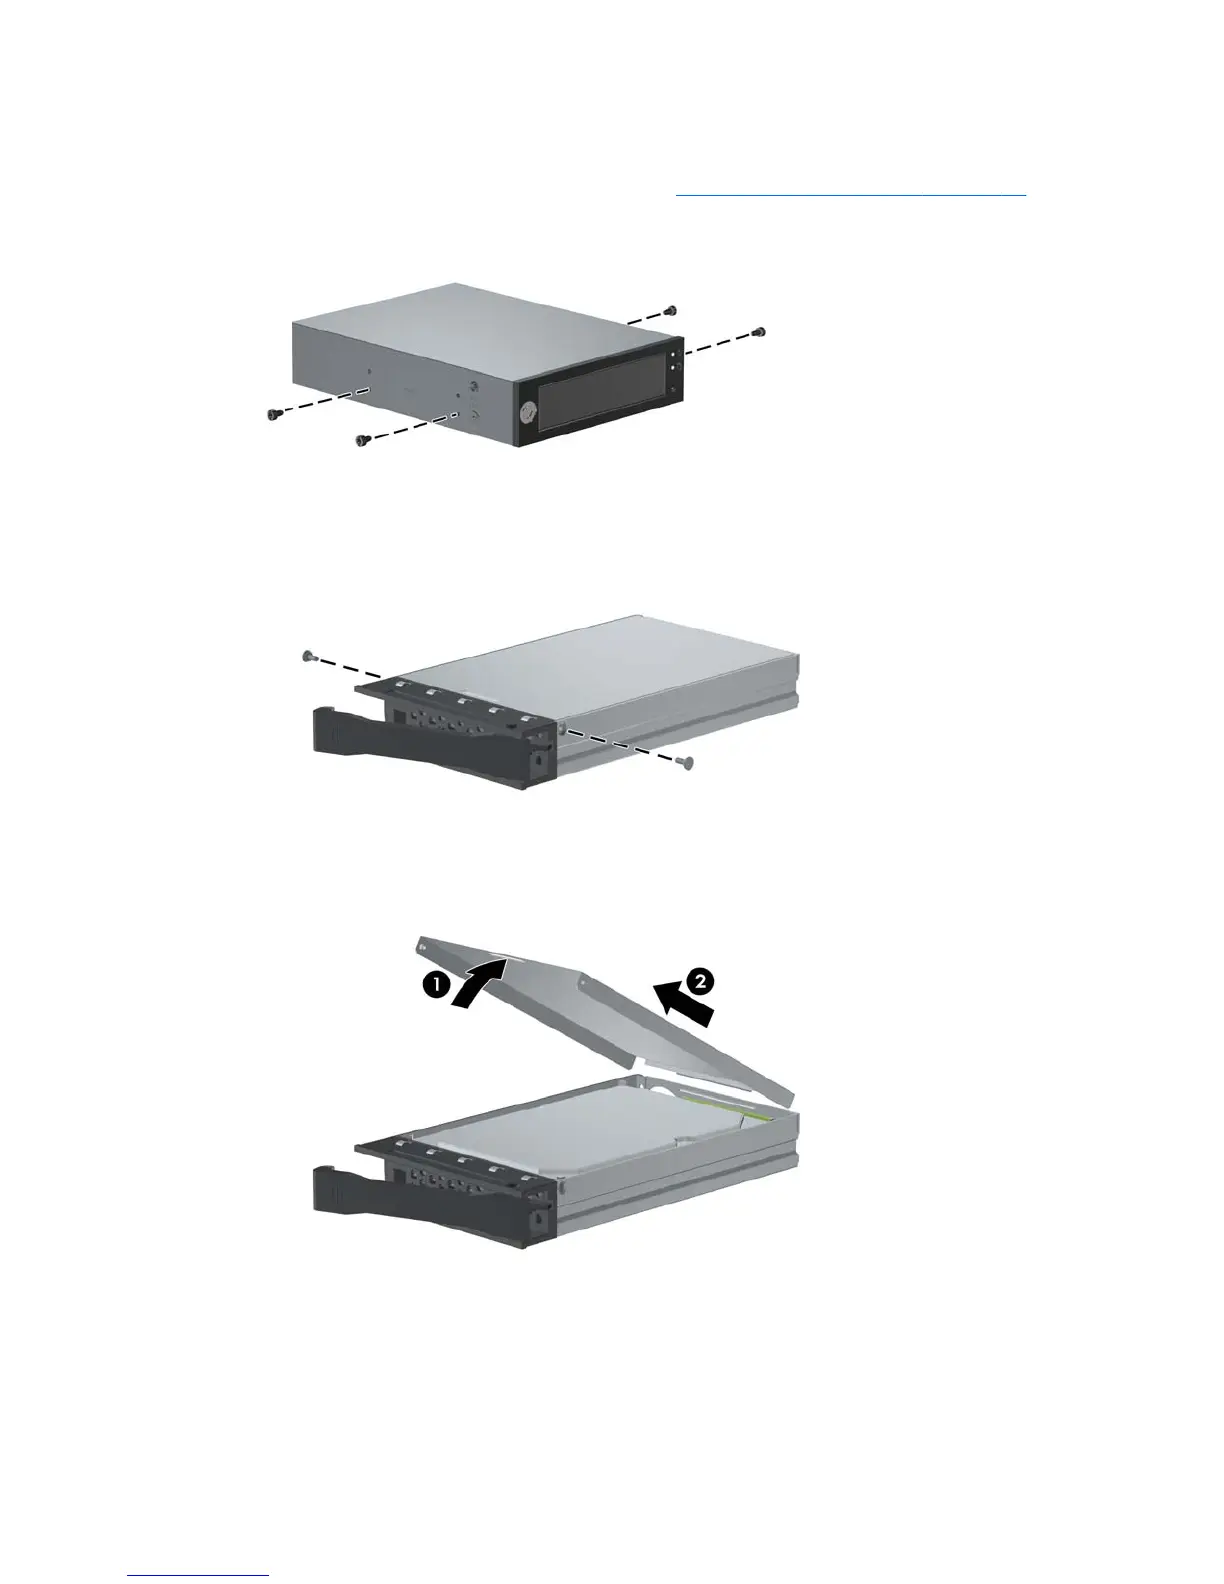
b.
Remove the carrier cover by raising the front end of the cover (1) and pulling it away from
the slot in the rear of the carrier (2).
Figure 5-31 Removing the cover
94 Chapter 5 Replacing components ENWW
 Loading...