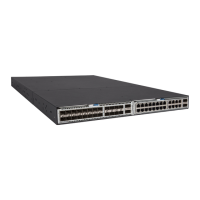
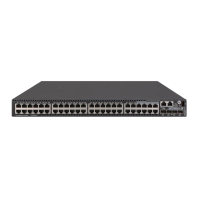
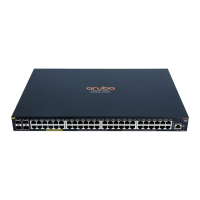
Prepare for installation
1. Unpack and check included parts:
• Switch
• Console cable (5188–3836)
• Accessory kits (installation hardware)
Included itemsCountPart number
Rack mount brackets (long)
nl
2
nl
5189–6934
Large screws; bracket-to-rack
nl
4
nl
Small screws; bracket-to-switch8
Wall/under-table brackets
nl
2
nl
5300–0140
Small screws; bracket-to-switch
nl
8
nl
Cable tie
nl
1
nl
Rubber foot pads4
• AC power adapter (5066–5559)
• Power cord (See “Power cords” (page 15).
• Documentation kit (5200–1998)
NOTE: Screws for mounting the switch on a wall or under a table are not included. If you
plan to mount the switch on a wall or under a table, you will need to provide four 5/8–inch
number 12 wood screws.
2. Prepare for installation.
CAUTION: To avoid personal injury or product damage, review the “Installation precautions”
(page 4) before beginning the installation.
3. Power-on and verify that the self-test completes normally. An Aruba 2930F 8G switch does
not contain a power on/off switch. It is turned on by connecting the power cord to the AC
power adapter and to a properly-grounded AC power source, then connecting the AC adapter
to the switch.
6 Aruba 2930F 8G Switch Quick Setup Guide and Safety/Regulatory Information
 Loading...
