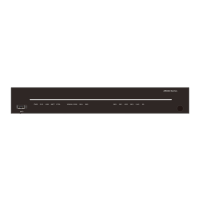
Figure 7-2 Installing mounting brackets on an AR3260
Step 2 Mark the positions of L-shaped guide rails and floating nuts.
l An AR2240 router is 2 U high, which is the distance between six mounting holes. Mark
the mounting holes for L-shaped guide rails and floating nuts with a marker.
l An AR3260 router is 3 U high, which is the distance between nine mounting holes. Mark
the mounting holes for L-shaped guide rails and floating nuts with a marker.
Floating nut mounting hole (four)
Guide rail bottom Guide rail bottom
MARK
≥ nU (n≥1)
Floating nuts for AR2240
Floating nuts for AR3260
Step 3 Install the floating nuts and L-shaped guide rails.
NOTE
The methods for installing floating nuts and L-shaped guide rails for the AR2240 and AR3260 routers
are the same, except that the installation positions of the floating nuts and L-shaped guide rails differ. An
AR2240 router is used as an example here to describe the installation procedure.
1. Use a flat-head screwdriver to install four floating nuts in the marked positions on the
front mounting rails, two on left and two on right. Ensure that the floating nuts on the left
and right are on the same horizontal plane.
Huawei
AR100&AR120&AR150&AR160&AR200&AR1200&AR
1600&AR2200&AR3200&AR3600 series Enterprise
Routers
Hardware Installation and Maintenance Guide
7 Installing AR2240/AR2240C/AR3260/AR3670 Routers
Issue 05 (2018-07-30) Huawei Proprietary and Confidential
Copyright © Huawei Technologies Co., Ltd.
100
 Loading...