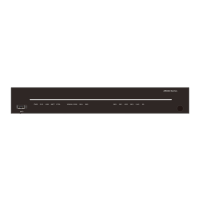
RST
CON/AUX
EN
EN
ACT
ACT
LINK
PWR
SYS
POE
micro SD
GE2
GE1
GE0
OFF
~100-240V;50/60Hz;2A
ON
AR2200 Series
+12
V; 1
1.5A
1
2
Step 5 Install a voice daughter card.
1. Remove the four screws around the voice daughter card slot with the Phillips
screwdriver.
2. Take out the four studs delivered with the voice daughter card from the package. Align
the studs with the tapped holes around the daughter card slot and use a hex socket
wrench to tighten the studs.
3. Insert the voice daughter card into the slot until it is completely seated in the slot.
4. Insert the four screws into the tapped holes and tighten the screws in the studs to secure
the voice daughter card in the slot.
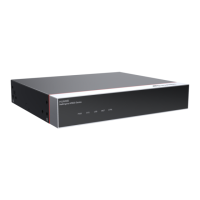
RST
CON/AUX
EN
EN
ACT
ACT
LINK
PWR
SYS
POE
micro SD
GE2
GE1
GE0
OFF
~100-240V;50/60Hz;2A
ON
AR2200 Series
+12
V
;
11.5 A
b da c
Step 6 Install the chassis cover and tighten the screws on the chassis.
----End
Follow-up Procedure
Verify whether the voice daughter card is installed correctly.
1. After completing the installation, start the router.
2. After the router starts, run the following commands:
<Huawei>:system-view
Enter system view, return user view with Ctrl+Z.
[Huawei]:diag
Now you enter a diagnostic command view for developer's testing, some
Huawei
AR100&AR120&AR150&AR160&AR200&AR1200&AR
1600&AR2200&AR3200&AR3600 series Enterprise
Routers
Hardware Installation and Maintenance Guide
6 Installing the AR1200 Series/AR2204/AR2220E/
AR2220/AR2204E Series Routers
Issue 05 (2018-07-30) Huawei Proprietary and Confidential
Copyright © Huawei Technologies Co., Ltd.
79
 Loading...