SR05-D1A3-PV manual v1801 14/83
1.3 Quick instrument check
A quick test of the instrument can be done by connecting it to a PC and installing the
Sensor Manager software. See the chapters on installation and PC communication for
directions.
1. At power–up the signal may have a temporary output level different from zero; an
offset. Let this offset settle down.
2. Check if the sensor reacts to light: expose the sensor to a strong light source, for
instance a 100 W light bulb at 0.1 m distance. The signal should read > 100 W/m
2
now.
Darken the sensor either by putting something over it or switching off the light. The
instrument irradiance output should go down and within one minute approach 0 W/m
2
.
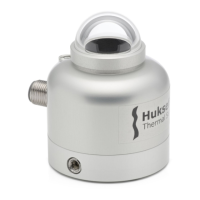
3. Inspect the bubble level.
4. Inspect the instrument for any damage.
5. Check the instrument serial number as indicated by the software against the label on
the instrument and against the certificates provided with the instrument.
 Loading...