EasyManuals Logo

Hunter Douglas PowerView User Manual

Hunter Douglas PowerView
36 pages
To Next Page IconTo Next Page
To Previous Page IconTo Previous Page
Page #14 background imageLoading...
Page #14 background image
INSTALLATION
12
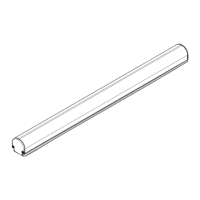
Adding Projection for the Valance
The magnetic valance clips have a projection adjustment
feature. By pulling the clips outward, the clips can provide
an additional
1
4
" projection.
Remove the clips from the valance.
Insert a small flat blade screwdriver into the slot on one
side of the magnet making sure the screwdriver is all
the way down in the slot.
Push the screwdriver in toward the magnet and then
pull out to extend the clip.
Repeat on the other side until the magnet is level.
When the clips are in the correct position, place them
back into the valance groove.
NOTE: The clips offer two projection positions.
When the clips are fully compressed, the
narrowest projection is
5
8
". The widest
projection is
7
8
"
.
Proceed to “Mount the Headrail” on page 13.
5
8
"
Narrow Projection
7
8
"
Wide Projection

Other manuals for Hunter Douglas PowerView

Questions and Answers:

Question and Answer IconNeed help?

Do you have a question about the Hunter Douglas PowerView and is the answer not in the manual?

Hunter Douglas PowerView Specifications

General IconGeneral
Control MethodRemote control, smartphone app, voice control
ConnectivityWi-Fi, Bluetooth
Power SourceBattery-powered
IntegrationAmazon Alexa, Google Assistant, Apple HomeKit
SchedulingYes
Scene ControlYes
Battery LifeApproximately 1 year depending on usage
CompatibilityHunter Douglas blinds and shades
App FeaturesRemote access, scheduling, scene control, integration with smart home systems

Related product manuals