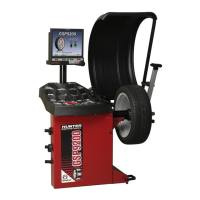
Balancer (3 Spin Procedure)
CAUTION: Remove all cones from shaft prior to beginning calibration
procedures.
Select “Calibrate” from the “Logo” screen.
Select “Balancer” from the “Calibration Procedures” primary screen.
Select “Begin Procedure.”
Spin 1:
Lower hood and press the green “START” button.
Spin 2:
Lift hood and install calibration weight on the left side of the faceplate in either hole
by threading the calibration weight clockwise into the hole.
Rotate calibration weight to the 12:00 position.
Select “Enter 12:00 Position.”
Lower hood and press the green “START” button.
Spin 3:
Lift hood, remove calibration weight, and install calibration weight in the same hole on
the opposite side of the faceplate by threading calibration weight clockwise into the
hole.
Lower hood and press the green “START” button.
If calibration succeeds, the LCD will display a “Calibration Complete” message.
If calibration fails, such as if the weight was placed incorrectly during the procedure,
the GSP9200 will keep previous balancer calibration data.
62
6. Calibration and Maintenance GSP9200 Series Wheel Balancer Operation Instructions
 Loading...