1
INSTALLATION
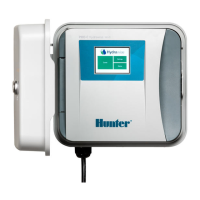
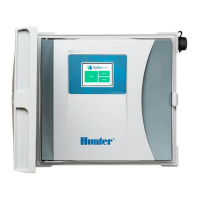
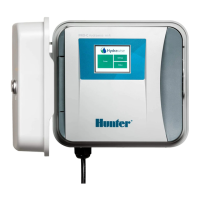
Installing the HC Controller
The HC is designed for indoor installations only. The chosen location must have Wi-Fi
coverage. Wi-Fi coverage can be easily tested using a smart phone. A signal strength of
2 or 3 bars is recommended. Wi-Fi connectivity can also be tested on the HC itself (signal
strength is shown when you select a wireless network).
Cable Entry
The controller has two cable entry
options – from the rear of the case
or via a conduit from the bottom of
the controller.
Entry from the rear of the controller
Using a sharp knife, remove the two
cutouts on the rear of the controller
as indicated on the diagram as .
Entry via ⁄ inch conduit
Using a sharp knife, cut around the
semi-circular line on the controller as
indicated on the diagrams as . Cut
around the matching line on the blue
controller wiring cover.
Note: The HC Controller is an
indoor model and is not water-
proof or weather resistant, and
must be installed indoors or in a
protected area.
Note: Do not plug the
transformer into power source
until controller is mounted and
all wiring has been connected.
 Loading...