INSTALLATION
15
Connect the DC Power Supply
NOTE: When power is connected to the motor, a green LED inside the manual control button
housing will flash to indicate the sheer is ready.
NOTE: If you ordered an optional large DC power supply, refer to the instructions that came
with the unit.
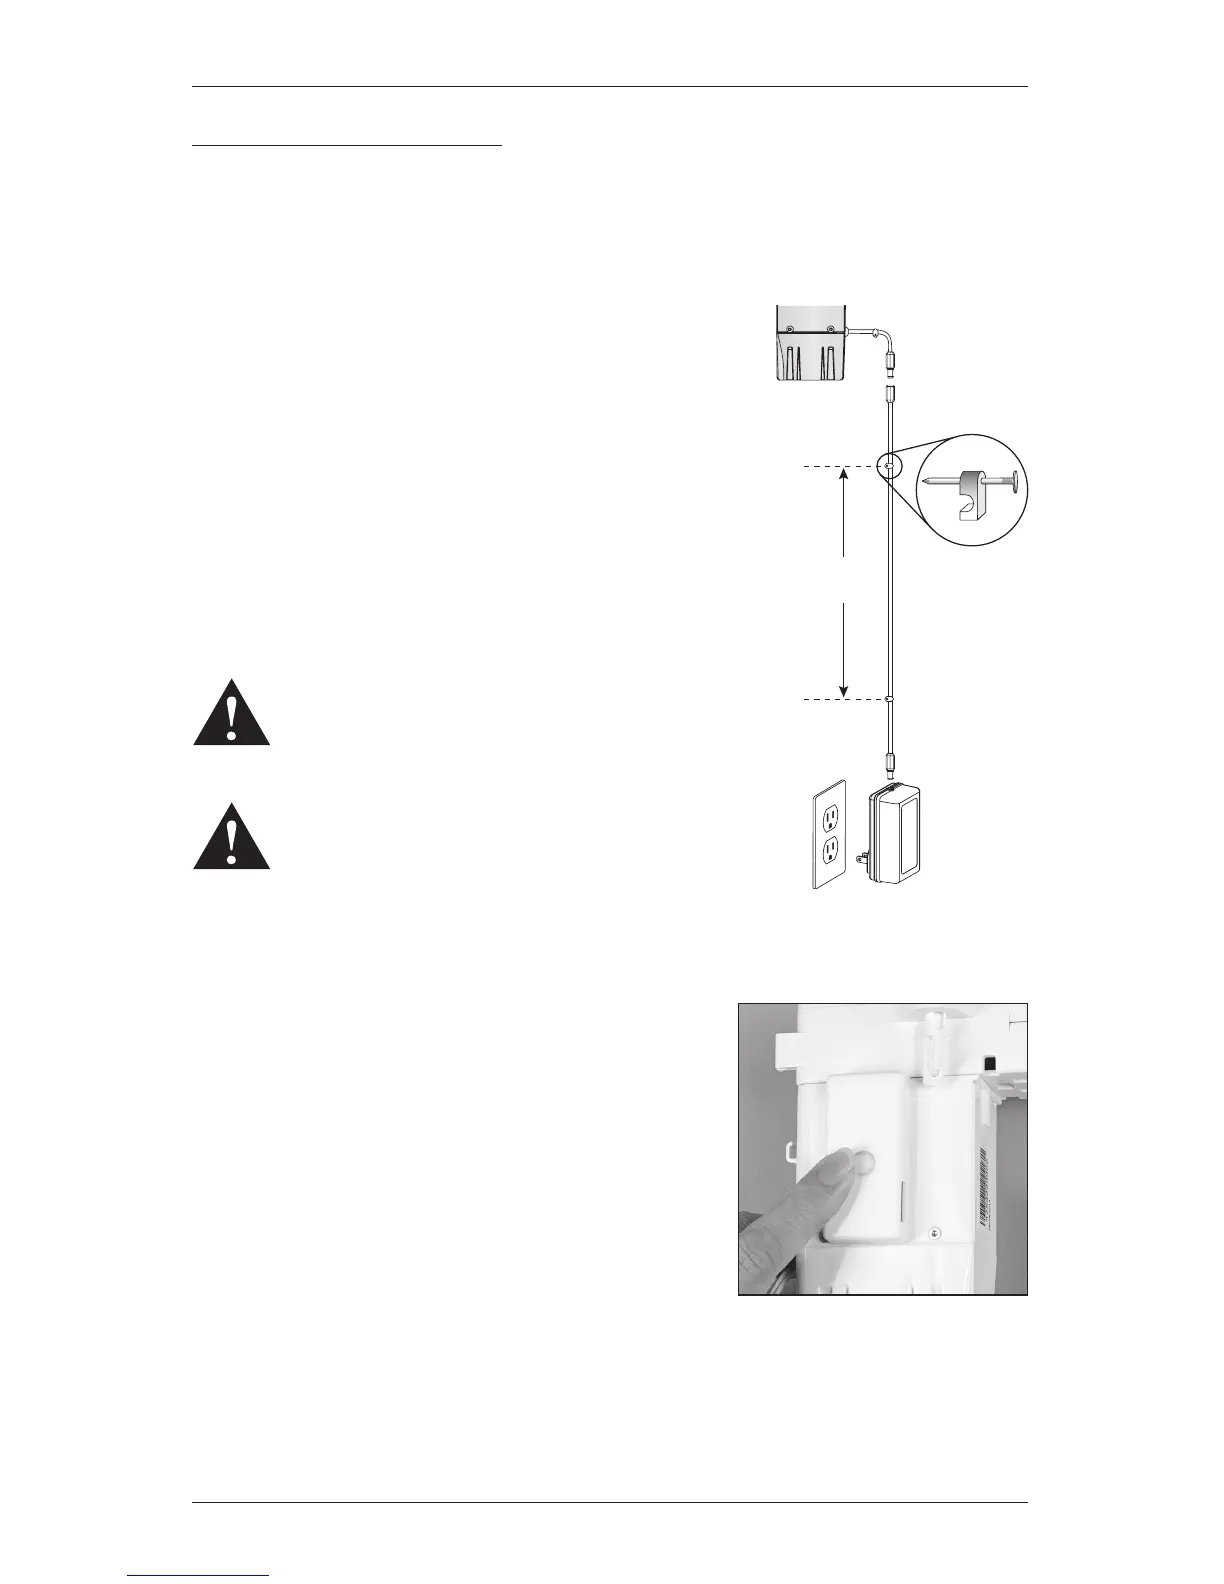
■ Plug the power cable from the motor into the
extensioncable.
■ Plug the other end of the extension cable into the DC power
supply.
■ Secure the extension cable using the C-clips provided. Hide
the cable behind the fabric, making sure it does not impede
operation.
■ Space the C-clips approximately 15" apart along the
extension cable, as shown.
■ Plug the DC power supply into the power source.
WARNING: Keep cables and small parts
out of the reach of children. They can wrap cables
around their necks and STRANGLE. They can also
put small parts in their mouths and CHOKE.
WARNING: Electric shock and/or afire hazard may
occur if not properlyinstalled.
Test Headrail Operation
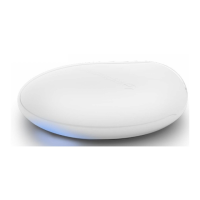
■ Use the manual control button on the motor to test the operation of the headrail.
1. Press and hold the manual control button for 6
seconds. The sheer will move slightly.
2. Release the manual control button. The sheer will
move to its fully open position to set the OPEN travel
limit, then move to the fully closed position to set
the CLOSE travel limit. Next, the vanes will rotate
counter-clockwise and then clockwise to set the
rotation limits. The sheer will move slightly one more
time to indicate that the travel limits have been set.
NOTE: There could be up to an 8 second pause between the vanes tilting from counter-
clockwise to clockwise.
■ Pressing the manual control button while the carriers are traversing or the pinion clips are
rotating will stop the action. The next button press will traverse the carriers or rotate the
pinion clips in the opposite direction.
15"
Maximum
DC
Power
Supply
C-Clip
Extension Cable
Power Cable
Motor
Assembly
Manual
Control
Button